
Using the Cloudflared Add-On

I wrote an article and made a video on how to remotely connect to Home Assistant and other internal network resources using Cloudflare Tunnels. I got a ton of feedback on that asking why I didn't use the Cloudflared Home Assistant add-on instead. The simple answer is that although I'd heard of it in the past, I had forgotten about it and got hung up on the shiny thing that is the Tunnel.
Fast forward a few weeks and it's time to talk about the add-on. The Cloudflared add-on makes it so much easier to do the same thing as creating the tunnel using the Cloudflare dashboard. The prerequisites are the same as before.
- You need a Cloudflare account.
- You own a domain and are using Cloudflare DNS for this domain.
- Make sure you read the Cloudflare TOS so as to not violate those. Pay special attention to section 2.8.
Since the Cloudflared add-on is not part of the core Home Assistant add-ons, you will need to add a repository.

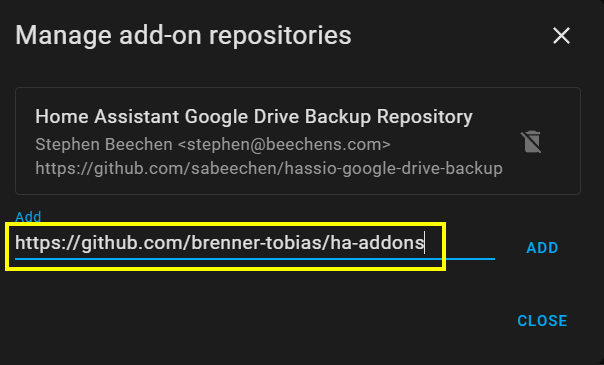
Link to the repository for Cloudflared
https://github.com/brenner-tobias/ha-addons
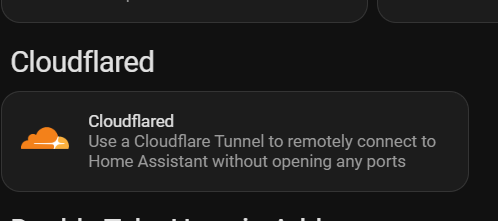
Once you have added that repo and refreshed your add-on store screen, you will see the Cloudflared add-0n.
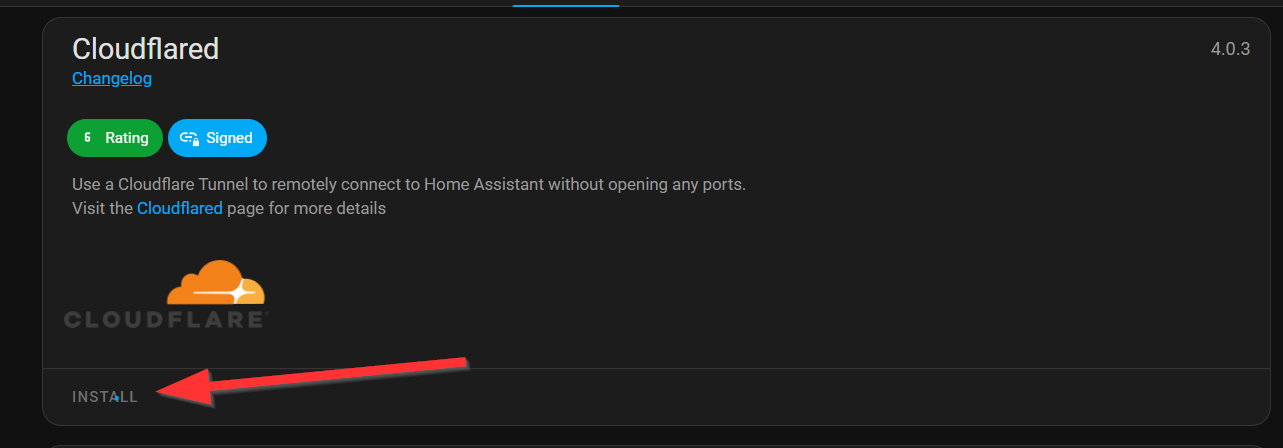
Click the add-on and install it.
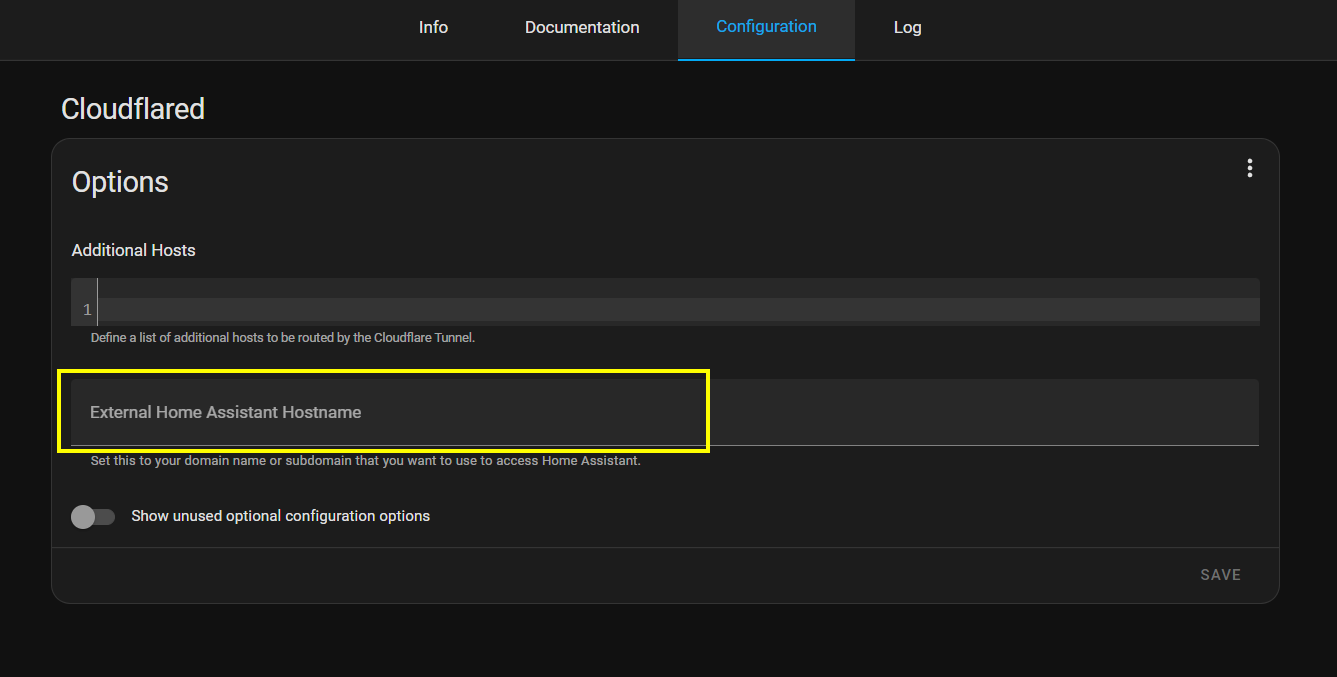
Before starting it, you need to configure the external hostname. This is the hostname that will be configured in DNS on the Cloudflare side of things. It needs to be part of the domain that you have at Cloudflare.
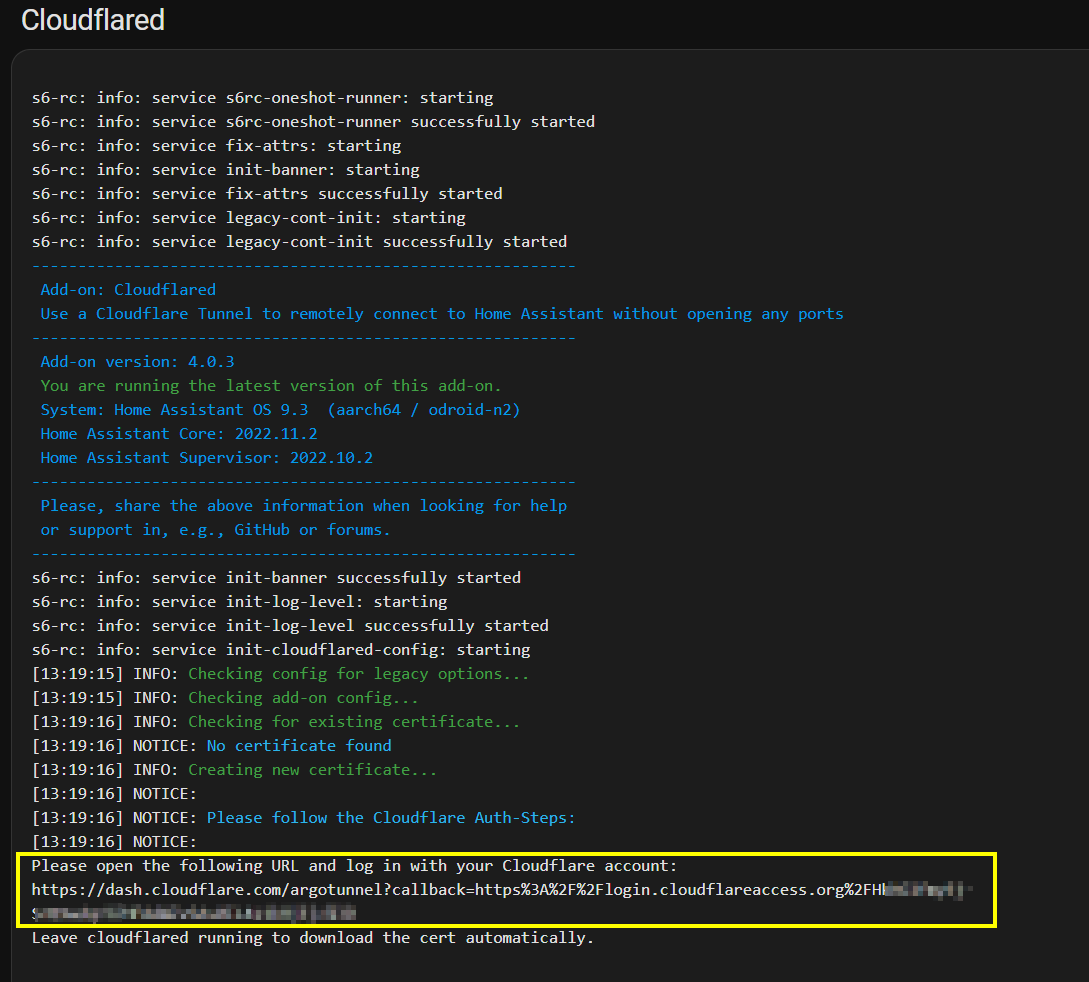
Once you have that configured, you need to check the log for the add-on where a URL will be presented to you. That URL is what will send you over to Cloudflare to authorize the tunnel.
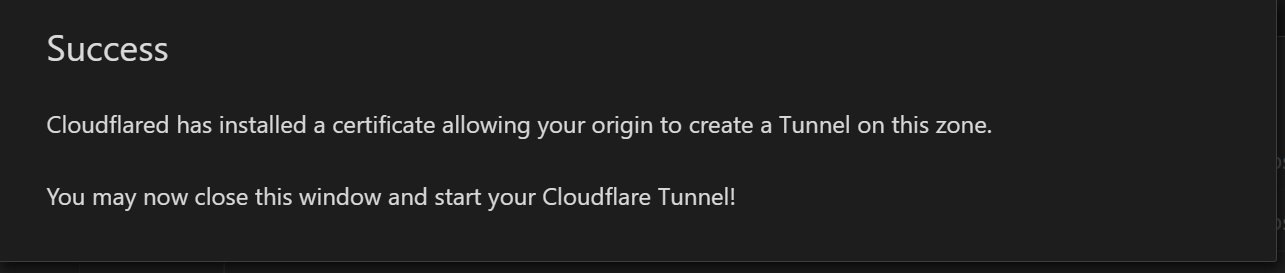
Once you have authorized the tunnel, you will see this message on the Cloudflare dashboard.
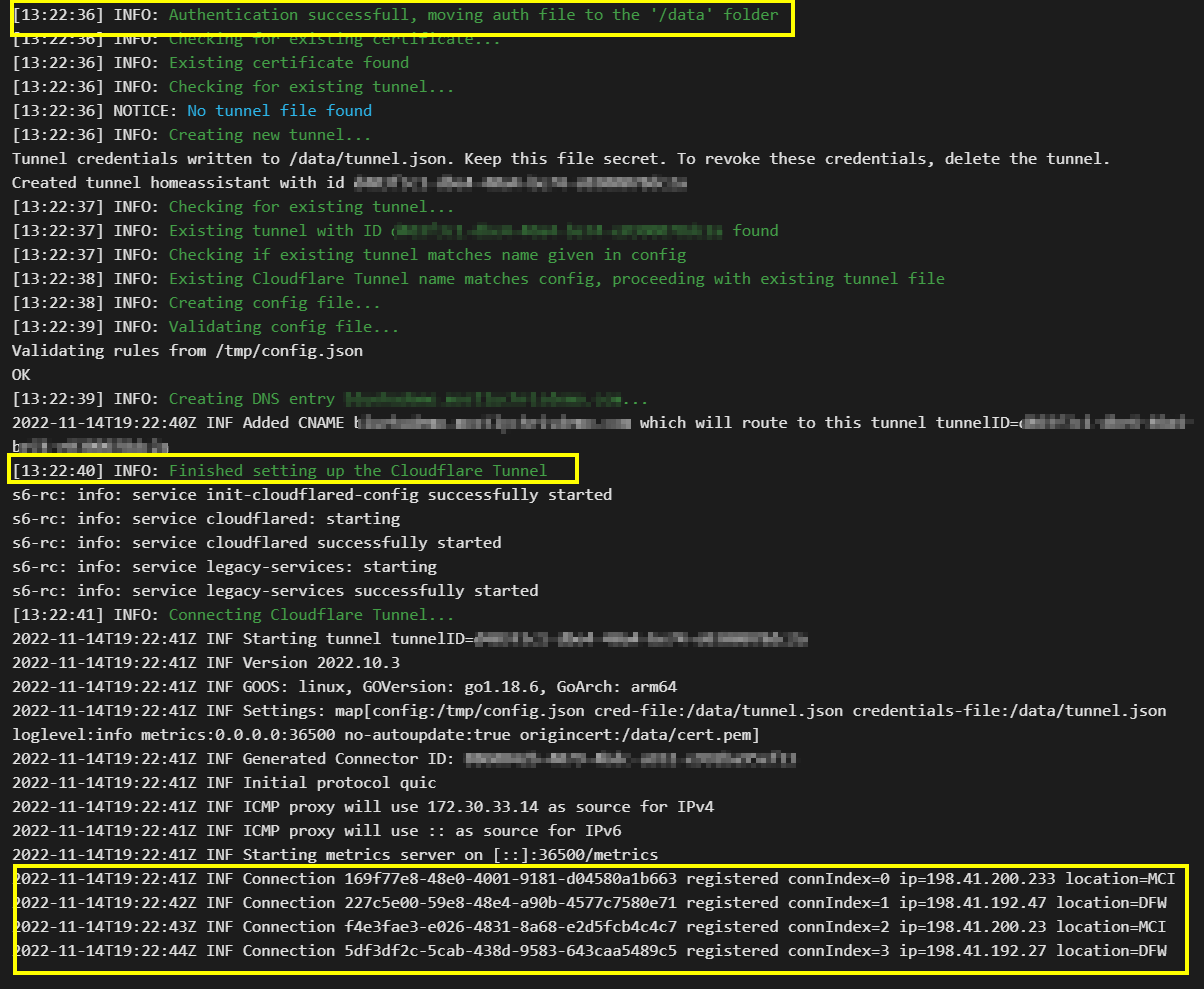
You will also see connections to the Cloudflare tunnel endpoints in your Cloudflared add-on logs along with other success messages.
In order for Home Assistant to allow connections from what it sees as a proxy, you must update your configuration.yaml file to allow trusted proxies. This is arguably the most important step. Otherwise, all this work will be for nothing. This entry will work for Home Assistant OS setups that utilize the native container environment.
http:
  use_x_forwarded_for: true
  trusted_proxies:
    - 172.30.33.0/24
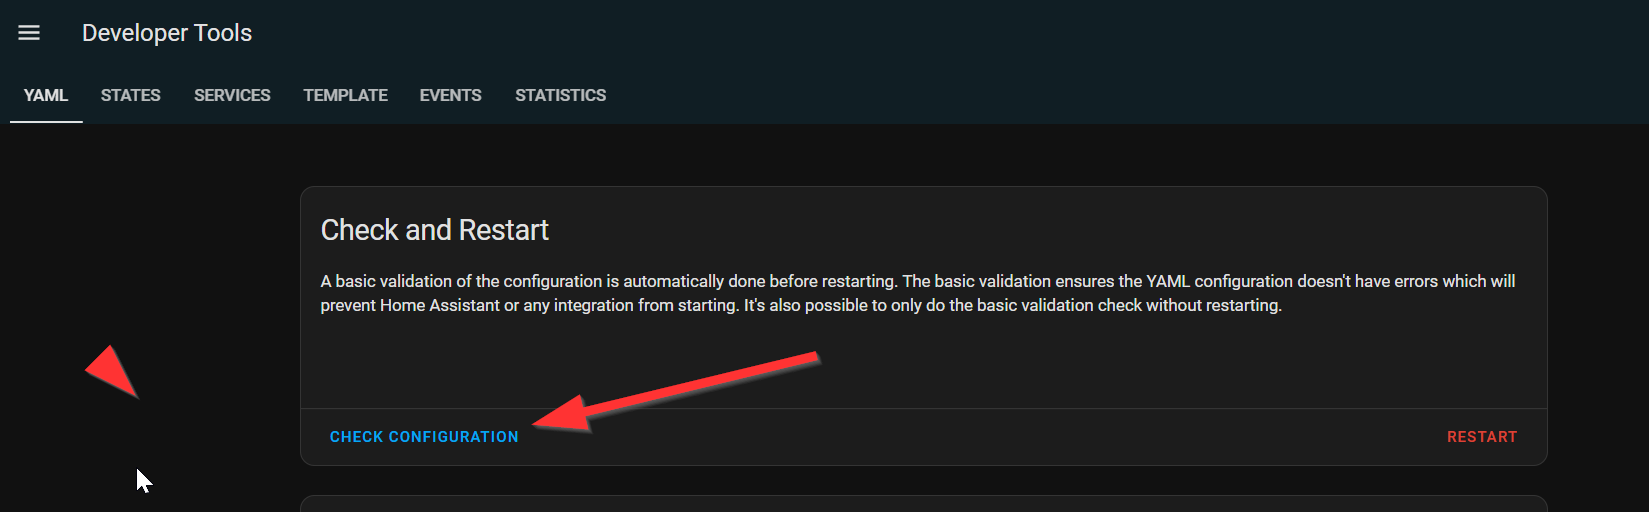
NOTE: You will need to restart Home Assistant after making configuration.yaml changes. ALWAYS check your config first before restarting.
When everything is up and running, you will be able to access your Home Assistant instance via the newly created tunnel and subdomain.
There is even more you can do with this add-on, including adding additional hosts to be able to access other websites, etc., in your local network. You can also secure access via WAF rules and extra authentication. Make sure you take a look at my video for a walk-through of what is covered here, as well as adding those additional hosts.