
More Voice More Voice More Voice (Local Control)
I recently made a video and blog post about controlling Home Assistant entities via a VOIP phone that I have on my desk. This was in answer to being able to use a standard analog telephone with an analog telephone adapter. I wanted to see if the VOIP phone would work, and it does. Watch that video to understand the Assist Pipeline as you'll need that working to use the Atom.
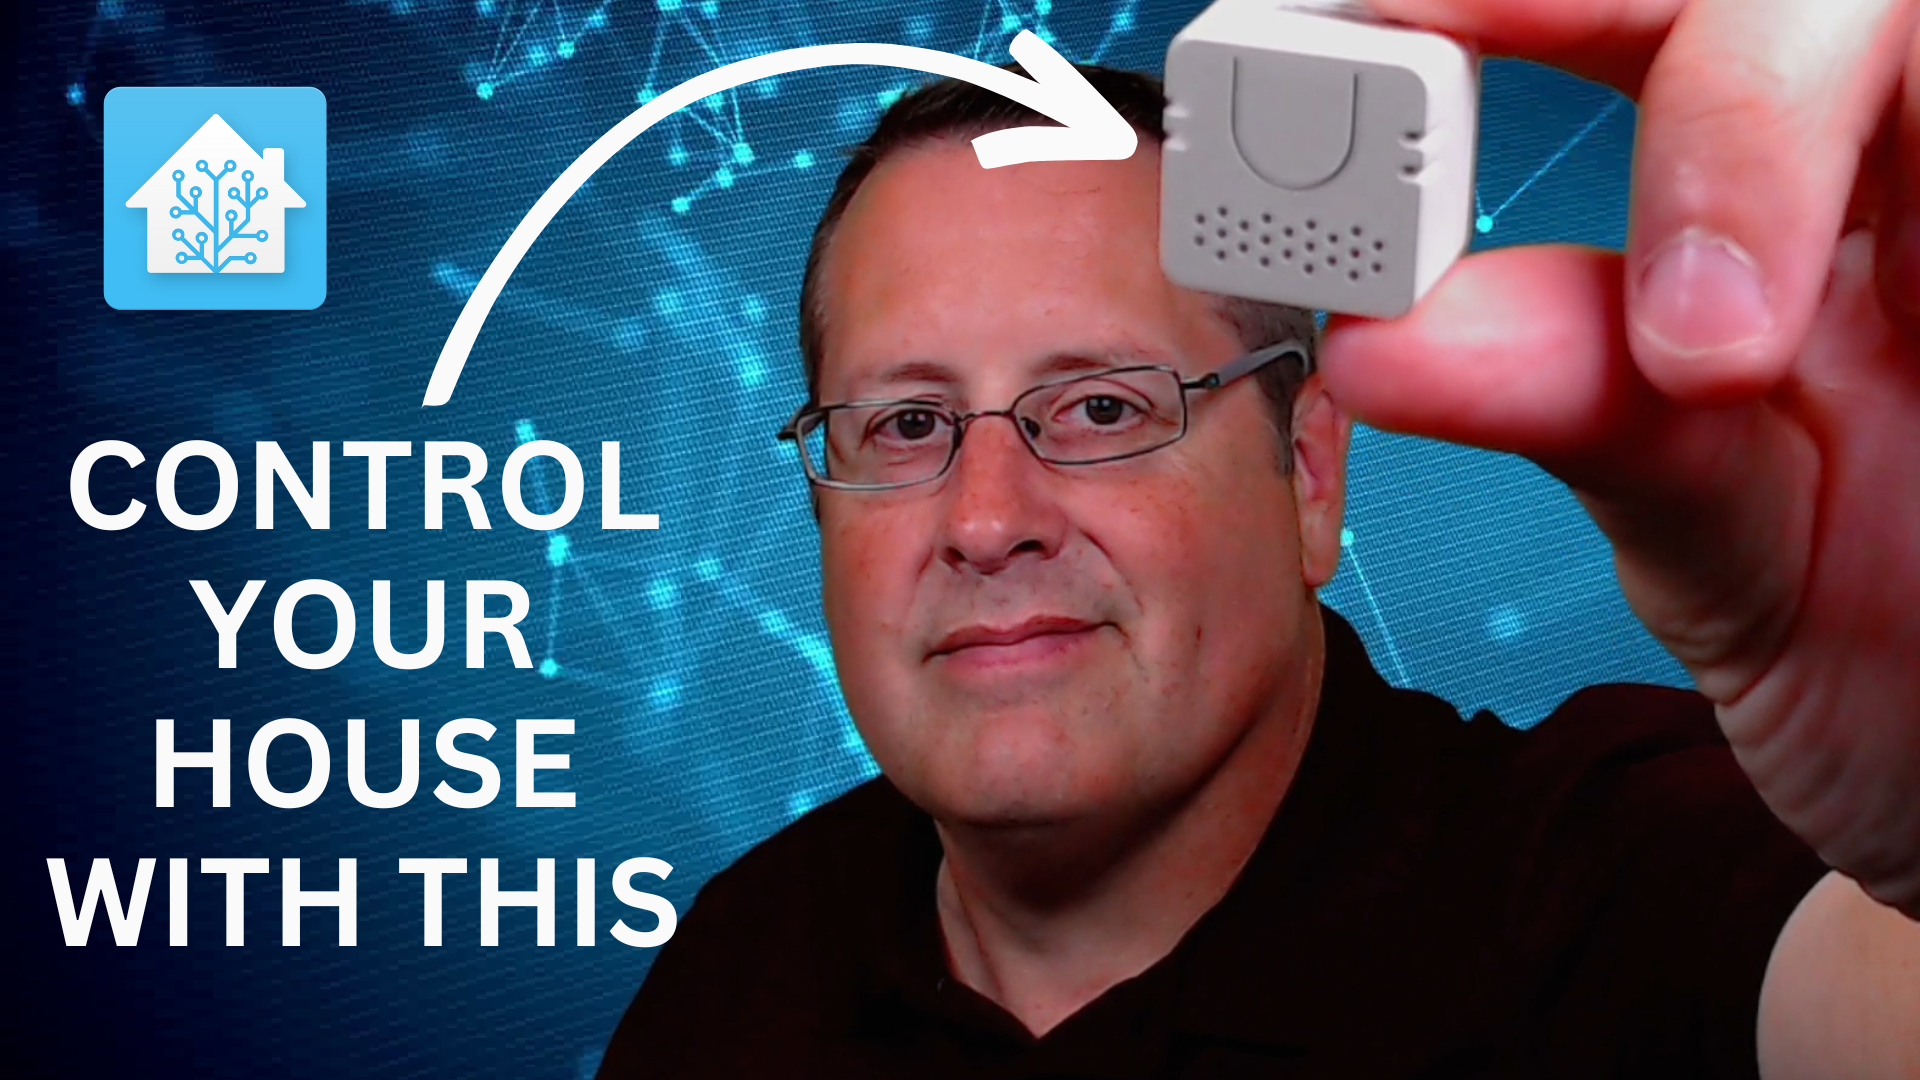
As Home Assistant continues with its "Year of the Voice", I wanted to try out another solution I had seen. It involves using an M5Stack Atom Echo device.
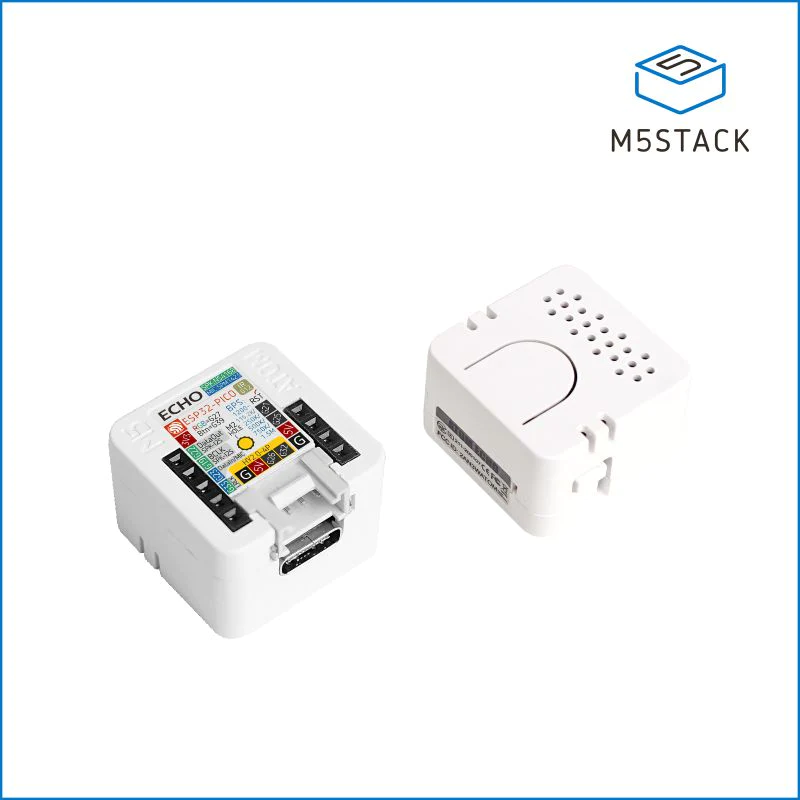
This device is a little smaller than a US Quarter or 24x24x17mm. It is based on an ESP32-PICO which means that you can use it with ESPHome. It is Wi-Fi based and is powered by 5v using a standard USB type C connector. It was refreshing to see the USB type C connector as it kept me from having to dig through my box of parts to find an appropriate USB mini cable that has both power AND data, something I keep struggling with.
To use this device with Home Assistant, you can use the I2S Audio Componenent along with the I2S Audio Microphone. Both of these are explained in detail on the esphome.io site.
This handy little device is not only a microphone but also serves as a media player. The speaker size will limit what you actually want to play through it but it does well in responding to the Assist inputs you give it.
Setting it all up.
What you need:
- M5Stack Atom Echo
- ESPHome Add-On in Home Assistant
I won't go through installing the add-on here. It is straightforward and covered many places in my blogs and videos.
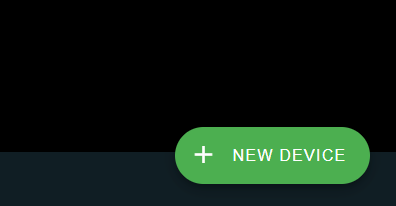
Once you have the add-on installed, open the ESPHome web UI and click on "+ New Device" in the bottom right corner of the screen.
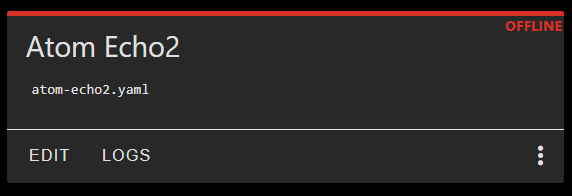
Give it a meaningful name. I called mine "Atom Echo2" because I'm not creative.
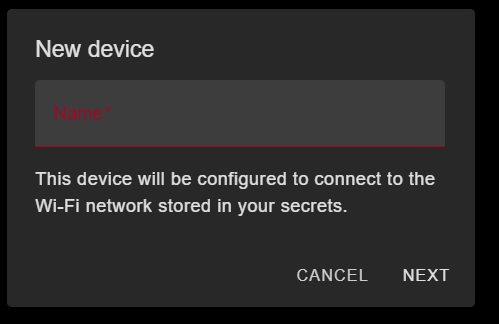
I will be programming this initially by connecting directly to my computer. This is a handy feature that was added to ESPHome and makes it easy to get your code onto devices directly from your PC. You can choose two routes at this point, either "SKIP THIS STEP" or "CONNECT". If you want to simply create a new device so you add the necessary code, click on skip and then you can upload and program the device all at once. If you would rather just get the basic code onto the device and set your Wi-Fi credentials, click Connect.
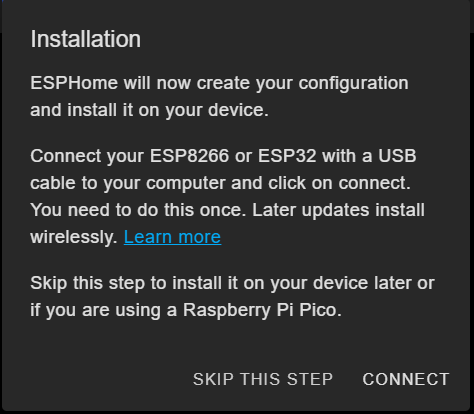
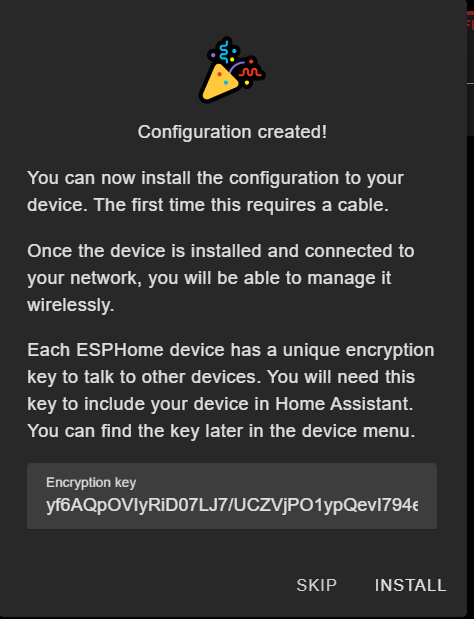
I am going to opt for skipping and adding all the relevant code first. Once you click on "SKIP THIS STEP", you will be asked what device type. Just choose ESP32 and then you will be presented with an encryption key. That key will be in the configuration file that is now created so you can ignore it for now (you can also copy it down and save it for later if you want). Just click "SKIP" on that screen.
Once done, you will have a new device listed in your ESPHome dashboard with the name you gave it.
Next, you need to add/change some code to make it all work. Click the edit button and add the code I list below. DO NOT change your encryption key. I should note that you can use any encryption key you want. If you hover over the word, it will show you a link to generate a random key. Also, make sure to add the appropriate Wi-Fi information. If you are using a secrets file with ESPHome (not to be confused with secrets in Home Assistant) then you can specify your credentials as I have them below.
CREDIT: I got most of this code from the ESPhome media player's GitHub page and modified it for my needs.
esphome:
  name: atom-echo
  friendly_name: Atom Echo

i2s_audio:
  i2s_lrclk_pin: GPIO33
  i2s_bclk_pin: GPIO19

esp32:
  board: m5stack-atom
  framework:
    type: arduino

logger:
api:
  encryption:
    key: {use the key generated automatically}
ota:

wifi:
  ssid: !secret wifi_ssid
  password: !secret wifi_password

  # Enable fallback hotspot (captive portal) in case wifi connection fails
  ap:
    ssid: "Atom-Echo Fallback Hotspot"
    password: "somepassword"

captive_portal:

improv_serial:

microphone:
  - platform: i2s_audio
    id: atom_echo_microphone
    adc_type: external
    i2s_din_pin: GPIO23
    pdm: true

voice_assistant:
  microphone: atom_echo_microphone
  on_start:
    - light.turn_on:
        id: led
        blue: 100%
        red: 0%
        green: 0%
        effect: none
  on_tts_start:
    - light.turn_on:
        id: led
        blue: 0%
        red: 0%
        green: 100%
        effect: none
  on_tts_end:
    - media_player.play_media: !lambda return x;
    - light.turn_on:
        id: led
        blue: 0%
        red: 0%
        green: 100%
        effect: pulse
  on_end:
    - delay: 1s
    - wait_until:
        not:
          media_player.is_playing: media_out
    - light.turn_off: led
  on_error:
    - light.turn_on:
        id: led
        blue: 0%
        red: 100%
        green: 0%
        effect: none
    - delay: 1s
    - light.turn_off: led

binary_sensor:
  - platform: gpio
    pin:
      number: GPIO39
      inverted: true
    name: Button
    id: echo_button
    on_multi_click:
      - timing:
          - ON FOR AT MOST 350ms
          - OFF FOR AT LEAST 10ms
        then:
          - media_player.toggle: media_out
      - timing:
          - ON FOR AT LEAST 350ms
        then:
          - voice_assistant.start:
      - timing:
          - ON FOR AT LEAST 350ms
          - OFF FOR AT LEAST 10ms
        then:
          - voice_assistant.stop:

media_player:
  - platform: i2s_audio
    id: media_out
    name: None
    dac_type: external
    i2s_dout_pin: GPIO22
    mode: mono

light:
  - platform: esp32_rmt_led_strip
    id: led
    name: None
    pin: GPIO27
    default_transition_length: 0s
    chipset: SK6812
    num_leds: 1
    rgb_order: grb
    rmt_channel: 0
    effects:
      - pulse:
          transition_length: 250ms
          update_interval: 250ms
Once you have added and modified the code to your liking, click on SAVE. That will take you back to the main dashboard. You will now want to validate your code using the validate option on the newly created device.
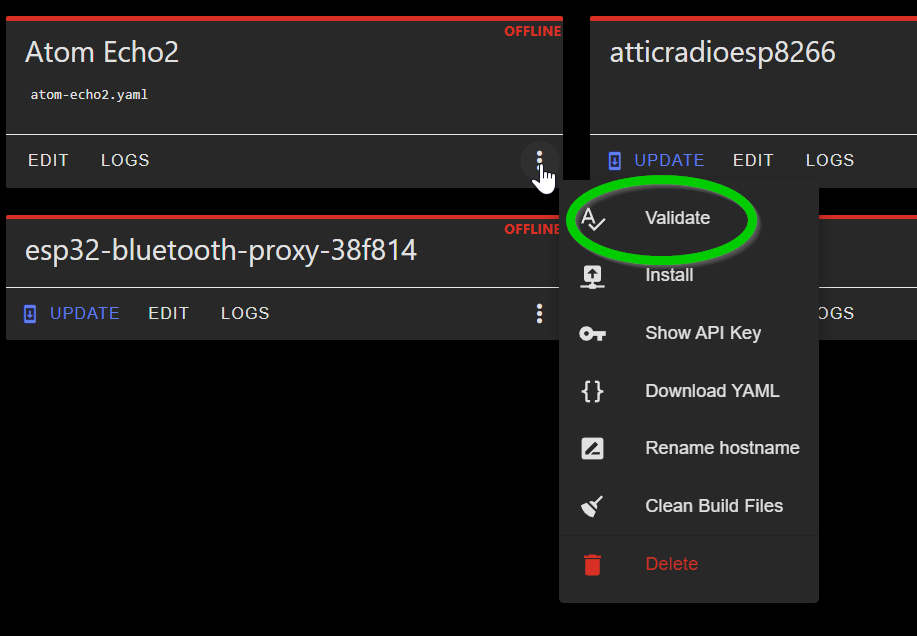
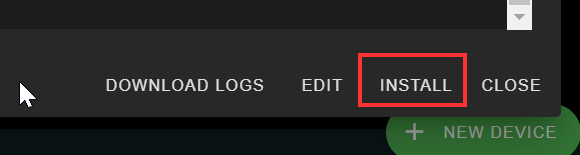
Once it validates with no errors, you can install it using the INSTALL option on the validation screen.
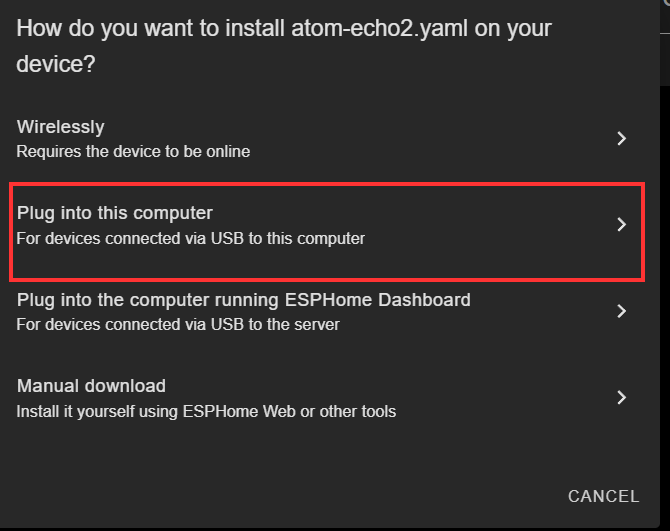
Make sure you choose "Plug into this computer" as you will need to install it this way the first time. Afterward, you can interact with it wirelessly.
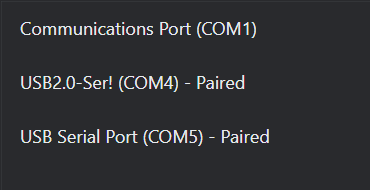
Choose the appropriate COM port.
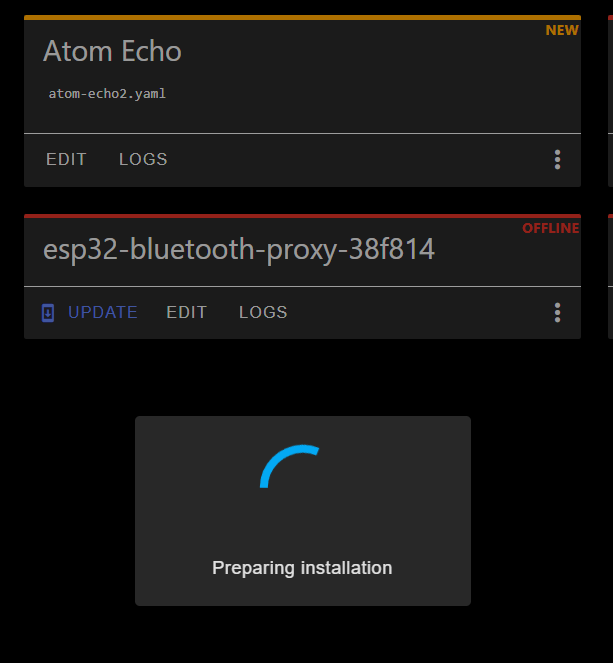
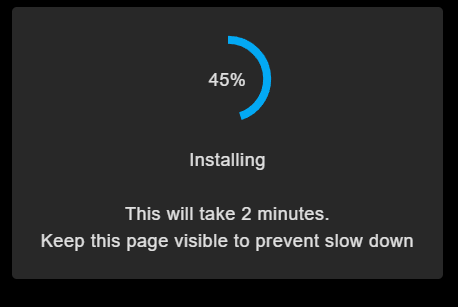
The installation process will take a few minutes. Sit back and relax or go take a break, refill that coffee or other beverage, etc.
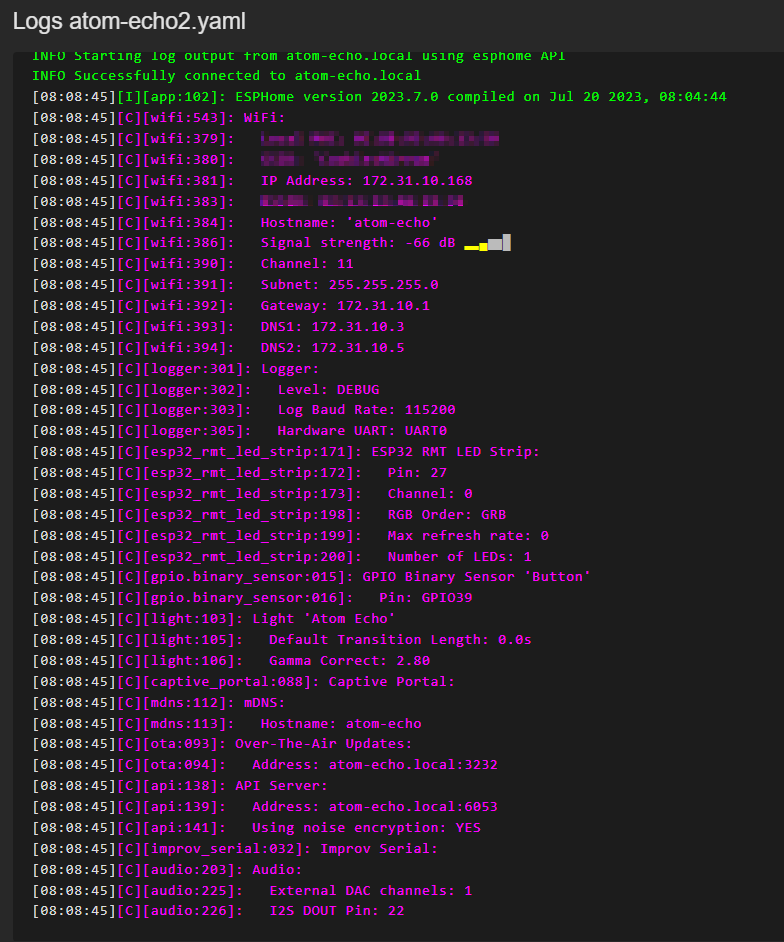
After installation, you can view the logs (wirelessly) and see that it is working as expected.
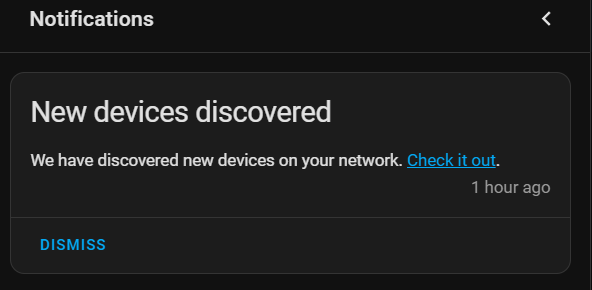
Once everything is working, Home Assistant will automatically discover the device on the integrations page. You will see the notification in the sidebar and clicking on "Check it out" will take you to the integrations page. You can also go directly to the Settings->Integrations page. On that page, click CONFIGURE for the device you want to set up. If asked for the encryption key, you can get it from the device config.

Once it is configured in Home Assistant, try it out by giving in a command that is available to you via the Assist pipeline. If it isn't working, you can go back to the logs in the ESPhome UI for the device and see what is happening.
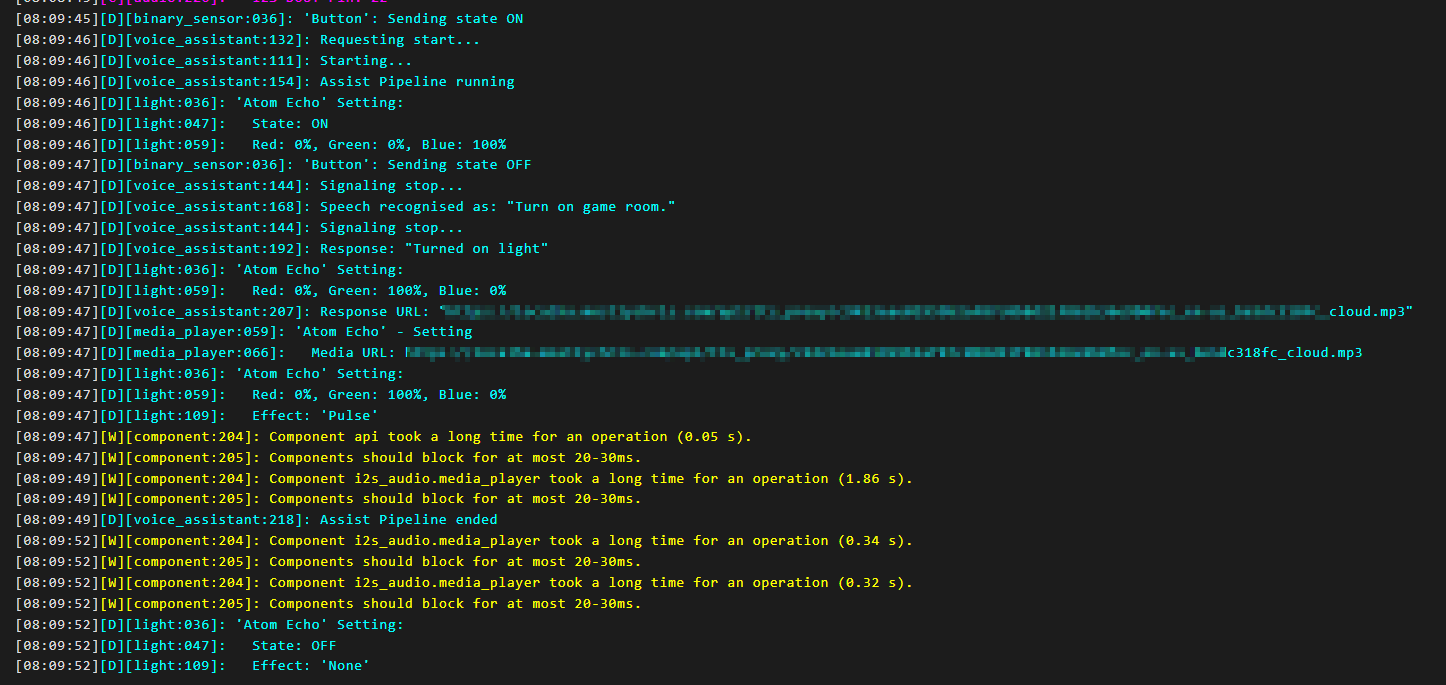
That's it. Your Atom is now ready for you to use to both receive spoken Assist commands as well as receiving feedback from Assist.
Make sure to watch the video for any details I might not have put in the article.
Thanks for reading!