
Using Your VOIP Phone to Control Your House

Home Assistant has been working on local voice control and adding functionality to extend that to more than just the typical smart speakers. They do this through integrations and what they call "assist pipelines".
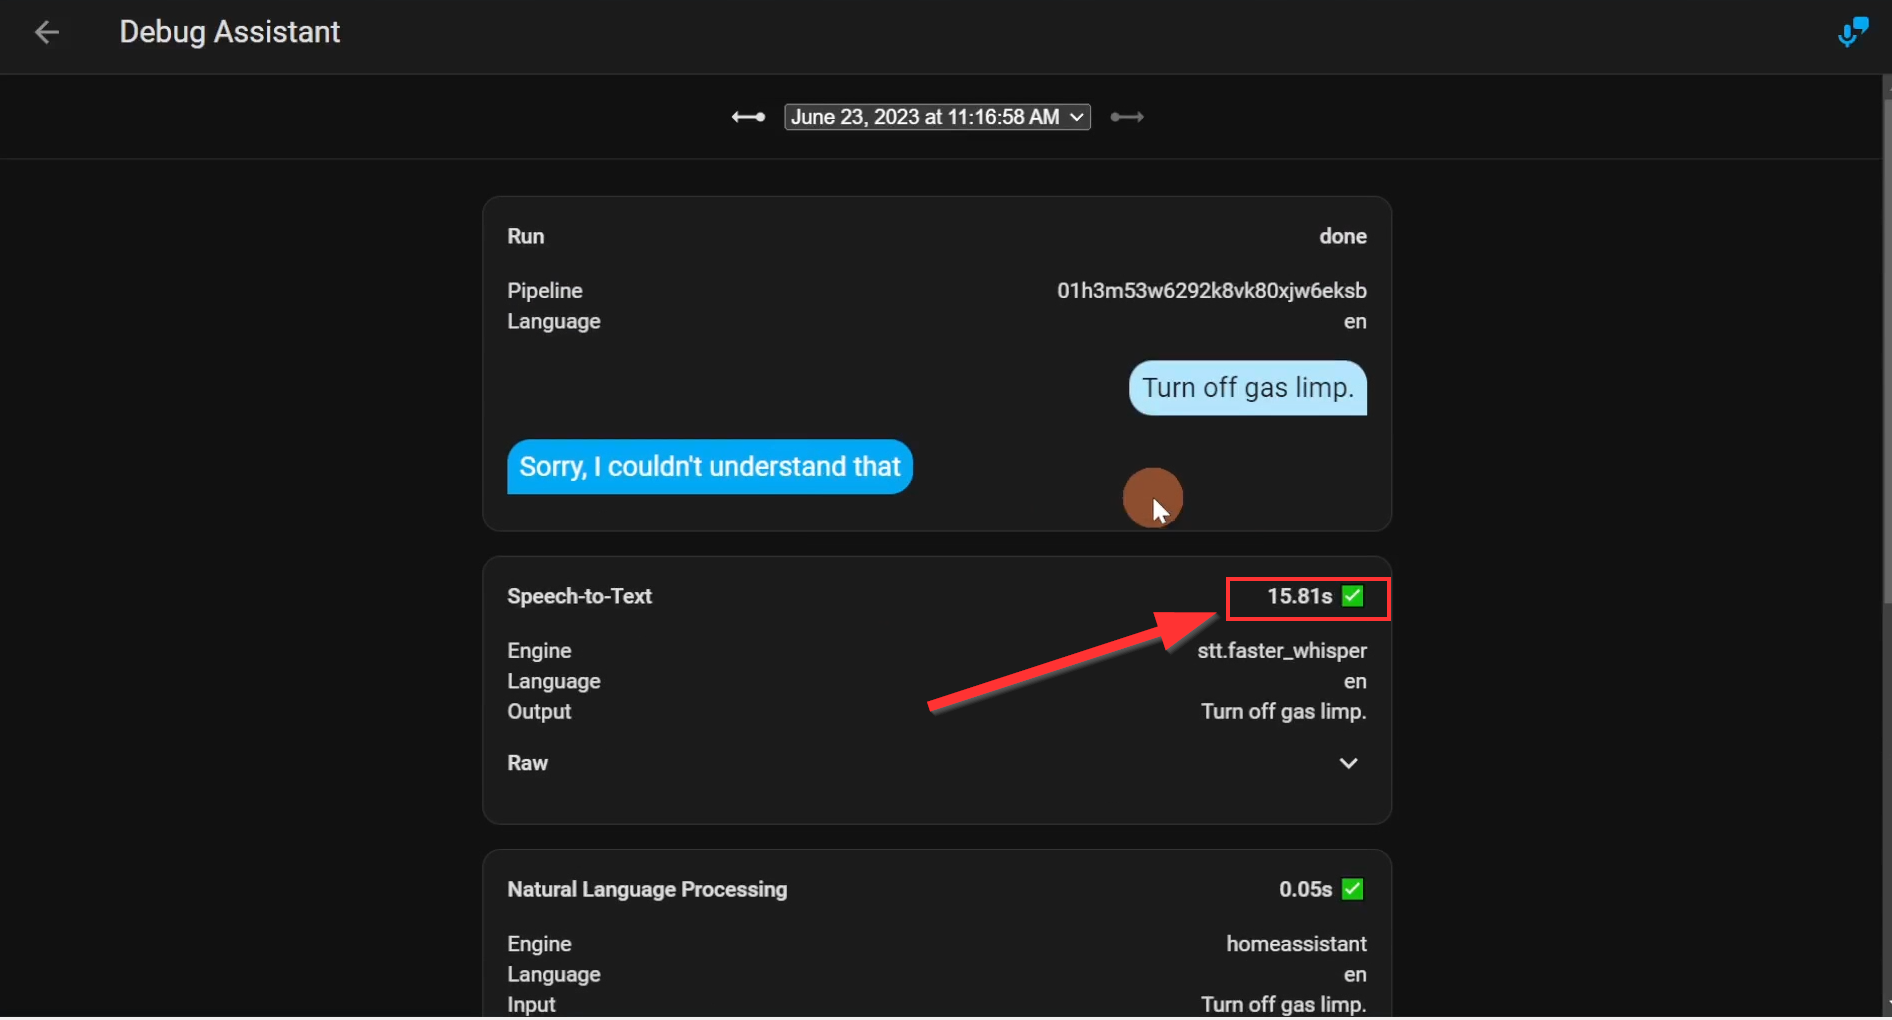
Assist pipelines include speech-to-text and text-to-speech. For those, they use Whisper and Piper.
Piper is a text-to-speech system that is optimized for the Raspberry Pi 4. They claim that Piper can generate 2 seconds of audio with only 1 second of processing time. In my testing on an Odroid N2+, which is arguably more powerful than a Pi 4, processing time was less than a second for all the responses that I got back from Home Assistant. Piper is an add-on that can be installed directly into supervised Home Assistant.
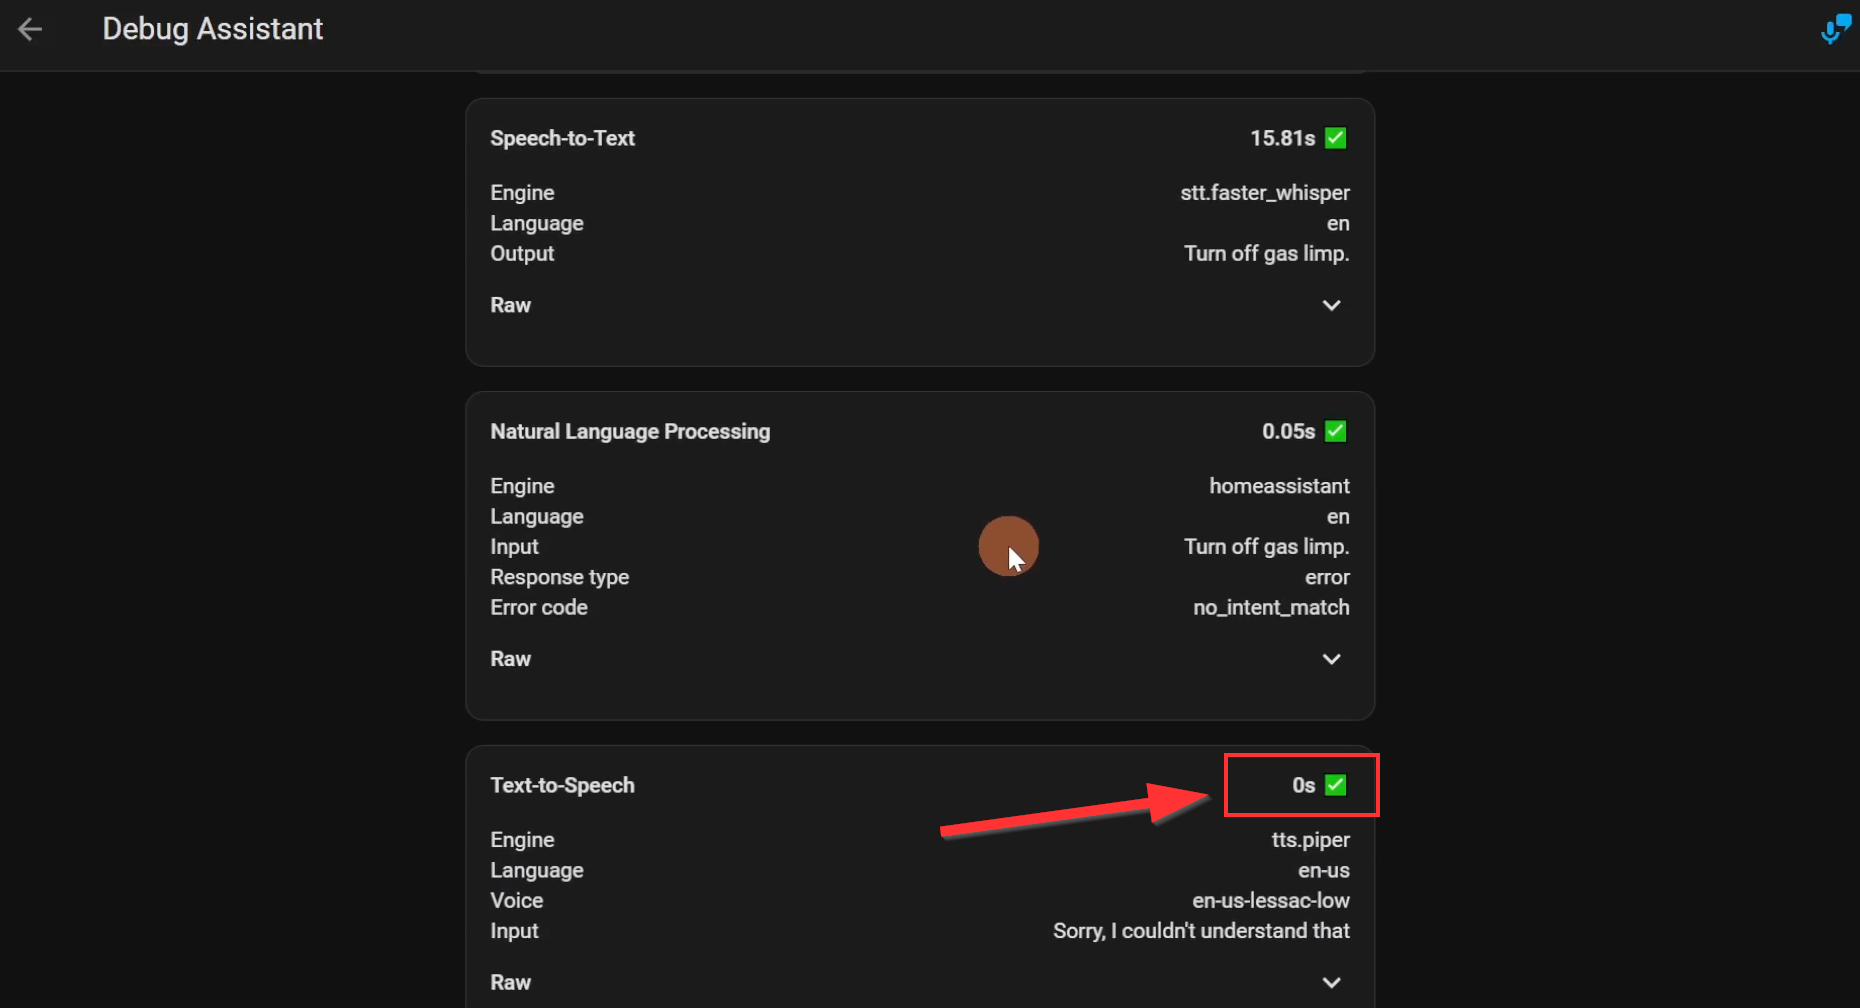
Whisper is an open-source speech-to-text model created by OpenAI. Home Assistant uses a variation of that called "faster-whisper". Processing speech-to-text is more resource intensive. For example, on a Pi 4, it can take upwards of 7 seconds to process a command while using 200 MB of RAM. An Intel Core i5 on the other hand can process the same command in less than a second. There are different models of Whisper. The bigger the model, the more accurate it is, but also more resource intensive. In my testing on the Odroid, I was seeing up to 15 seconds+ of processing time.
If a Raspberry Pi 4 can process speech-to-text in 7 seconds, it stands to reason that the Odroid N2+ should be able to process it faster than the Pi. I am still working to figure that one out.
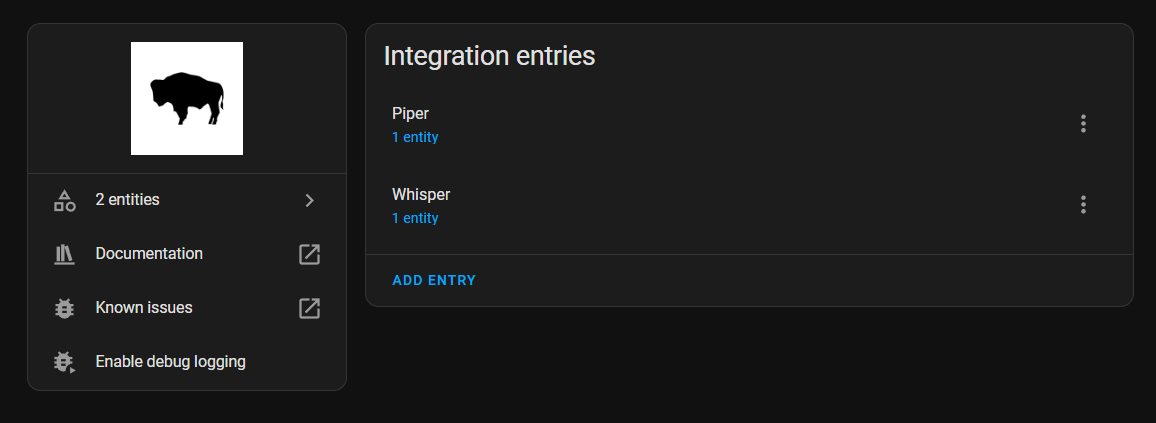
One final piece here. The "glue" that holds everything together is called "Wyoming". When you install Piper and Whisper as add-ons in Home Assistant, you will see that Home Assistant automatically detects these and asks if you want to set them up. This will show in the integrations page. Once you confirm the setup, you will have these entities show up under Wyoming.
Let's get onto the phone itself. I am using a Flyingvoice FIP14G VOIP phone. It is an 8-line phone and is connected to my home PBX, 2 Allstar nodes, and "Hamshack Hotline". It is also now connected to Home Assistant.
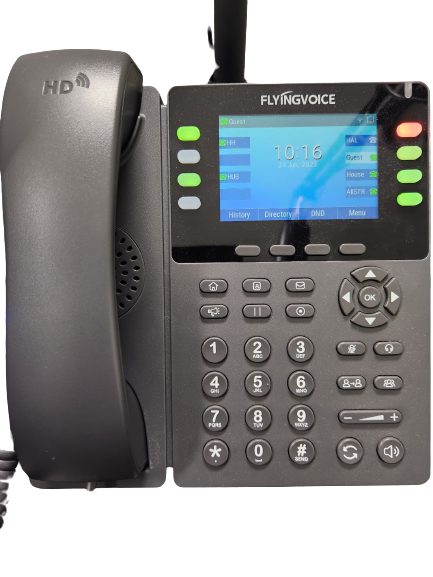
This phone is quite capable and because of that, it is quite a few settings. Each line can be tailored for very specific configurations and use cases. As it turns out, the configuration for talking to Home Assistant is only a couple of settings off of what is the default for a line. I'll break this down into the config screen sections in the phone line page.
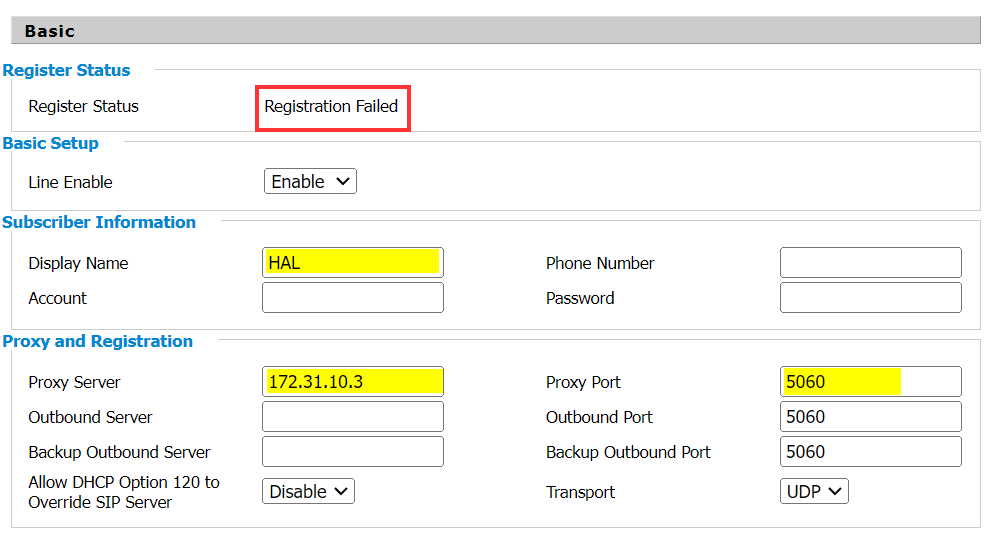
For the Basic section, you need to assign a Display Name, Proxy Server, Proxy Port, and Enable the line. The name is whatever you want. For the Proxy Server, you need to use your Home Assistant IP address. It should be on the same network. If not on the same network, you'll need to do routing magic to make it reachable. If you are doing that, you probably know how to take care of that part. The same goes for the port. The default listen port in Home Assistant is 5060. If you change it there, change it here.
I should mention that the settings I am talking about are specific to this phone. It should give you the basic premise if you need to try this on a different phone. You will notice that Register Status = "Registration Failed". For my phone, I had to enable the line and it tries to register when I do that. Home Assistant doesn't do registrations so it just sits in a failed status. Everything works fine.
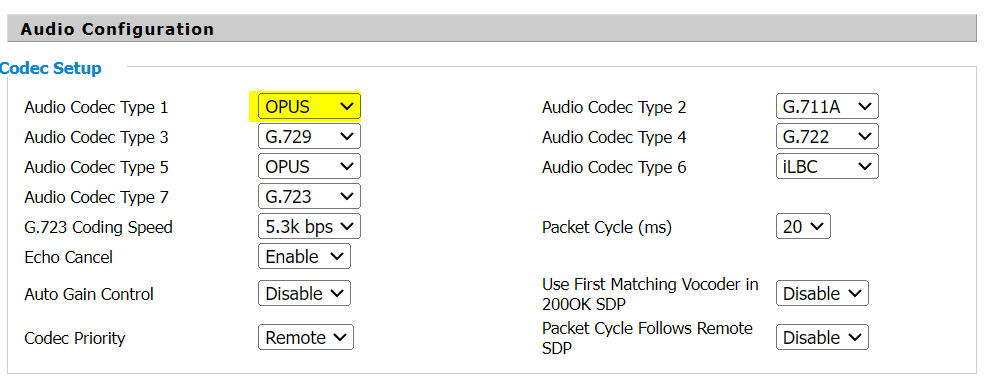
The Audio Configuration section only requires that you select "OPUS" as the primary audio codec.
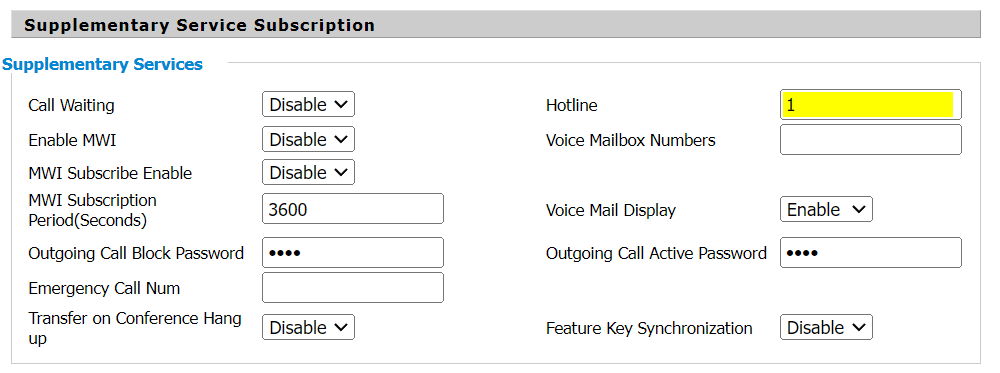
The final section (for this phone) that requires configuration is the "Supplementary Service Subscription". This is where terminology might be quite different between the various phones and phone brands. For my phone, there is an option called "Hotline". If I place anything in that field, the phone will immediately dial those digits when I pick up the phone. It really doesn't matter what you put there. However, I would just put a single digit to make things faster. If you were to leave the hotline blank, you would have to dial a digit after lifting the handset to make it dial out to Home Assistant.
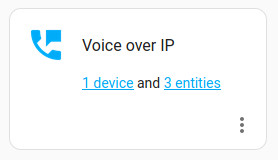
Once you have the phone configured, go over to Home Assistant and install the Voice over IP integration on the integrations page. After installing the integration, pick up the phone and select the line you configured and you will hear Home Assistant say "This is your smart home speaking. Your phone is connected, but you must configure it within Home Assistant."
After this, your phone will show up as a device with three entities. Select the device link so that you can tweak the configuration.
On the device page, the "Allow calls" toggle is turned off by default. If you want to be able to control your devices, you will need to toggle on "Allow calls".
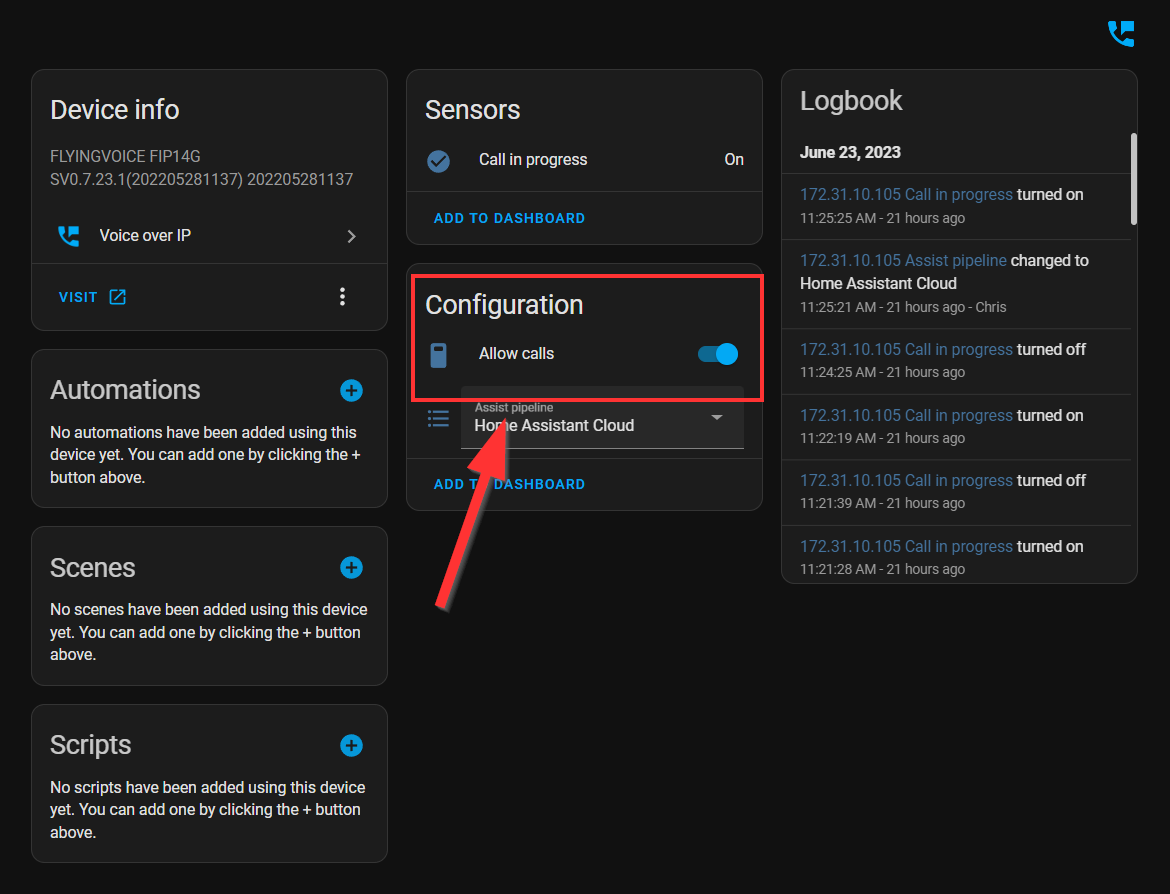
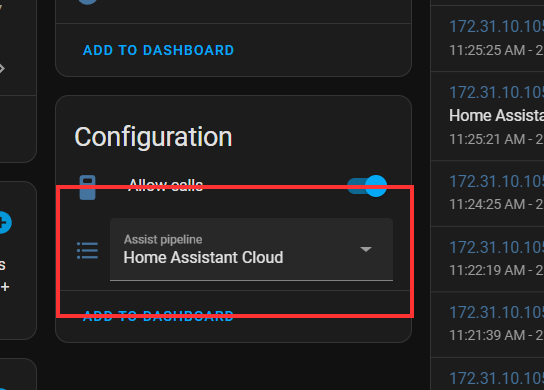
On this same page, you can also choose the Assist pipeline that you want to use with this device. However, before doing this, you will need to configure the Voice Assistants.
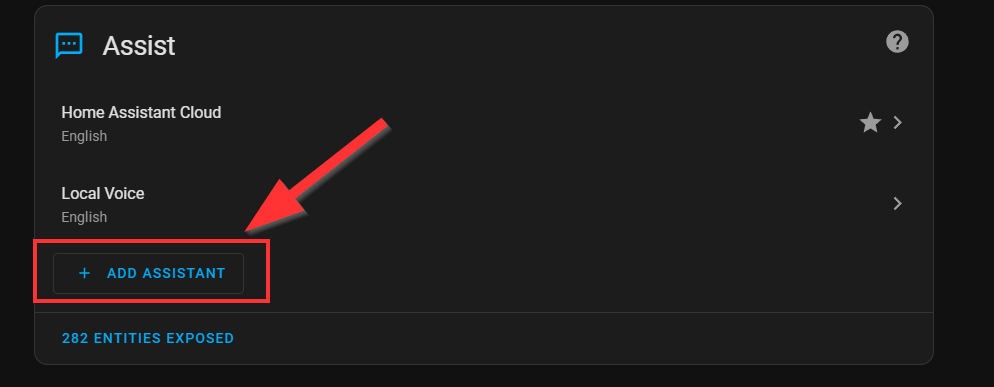
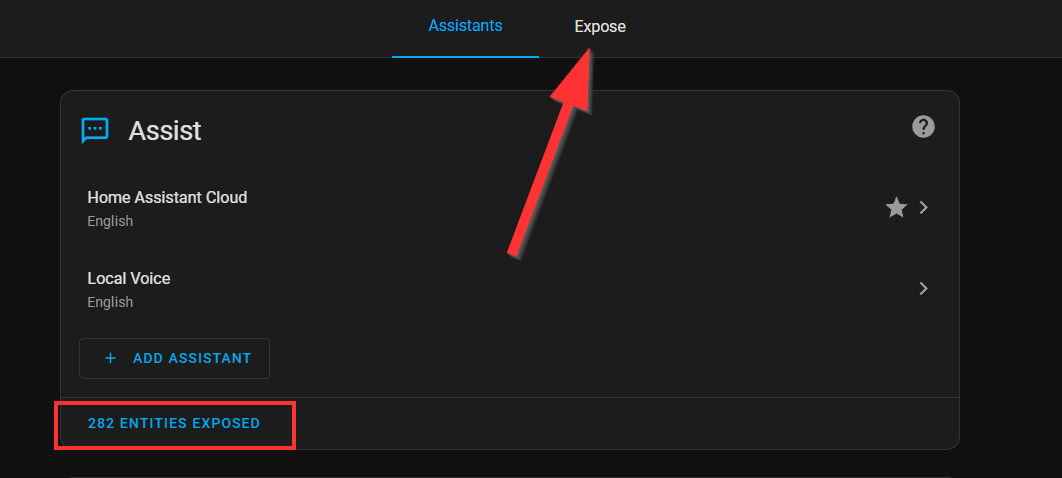
Navigate to Settings->Voice Assistants. On that page, select + ADD ASSISTANT.
If you want to use Piper and Whisper that I mentioned earlier in this article, you would select those in this dialogue. Remember to give it a meaningful name so that you can find it later.
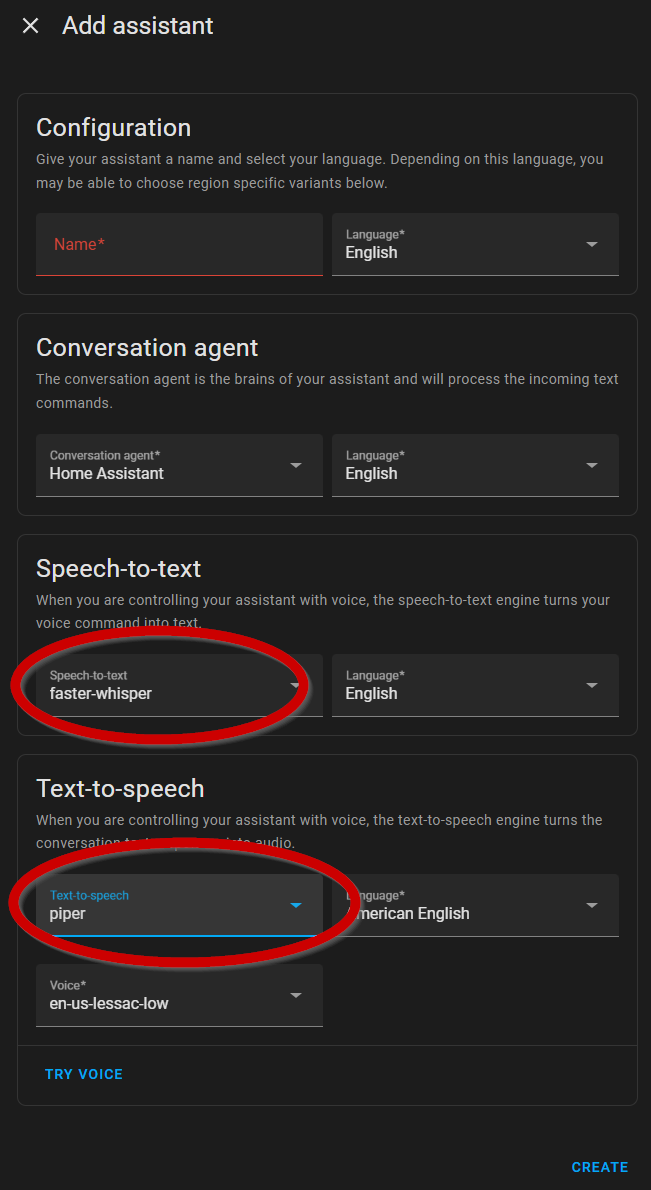
If you are a Nabu Casa subscriber, you will have access to Home Assistant's voice assistant which is super fast. You can choose to use that if you want and it is already installed/configured as the preferred assist pipeline.
Once you have done all of the above, you should be able to control your entities from the phone. Make sure you look at what is exposed to the assist pipeline to make sure you add or omit anything you would like.
In the video, I talk about debugging and do some demonstrations. So make sure to watch (and subscribe) to see how it all comes together.