
Local Control of Samsung Appliances
SmartThings recently announced that they will start charging to use their API to connect to devices starting around October 2026. For a smart home user such as myself, I would fall under the non-commercial, individual developer plan of $4.99 per month. I have no issues at all with a company wanting to make money. You can read their rationale for charging on their blog post.
Watch my video on this topic here!
What it comes down to, as has happened many times now, a company gives away free access to their cloud/api/etc. and then later realizes that it costs money to run such things and either shuts down and bricks devices that cannot operate without their cloud or starts charging for use. At least in the case of SmarThings, there is quite a few months of notice and they are not simply shutting down.
In my use case, I have one SmartThings enabled device--my Samsung refrigerator. I have it connected to Home Assistant via the SmartThings integration. It is this integration that requires the $4.99 monthly charge after October 2026. I don't think paying that amount to connect to Home Assistant for one device is worth it. It was more of a convenience rather than necessity.
Enter Localthings
Localthings by mbillow is a HACS integration that allows local control of newer Samsung connected appliances. It uses a smartthings-local library to talk to appliances using CoAP-over-DTLS. This communication takes place directly on your local network, with no need to connect to the internet or the SmartThings API. This integration does require the use of CA certificate and key. It is not hard to get this using a python script developed specifically for this purpose.
Installation
The installation consists of 3 parts.
- Check appliance compatibility.
- Get the AC14K_M CA credentials (CA certificate and key)
- Add integration to Home Assistant
Part 1
Checking the appliance compatibility is as simple as running an nmap command and checking the output. It is possible to run nmap in Windows, I am using a Debian instance on my local network.
nmap -Pn -sU -p 49152-49160 172.31.10.160

# nmap -Pn -sU -p 49152-49160 172.31.10.160
Starting Nmap 7.80 ( https://nmap.org ) at 2026-07-22 10:02 CDT
Nmap scan report for 172.31.10.160
Host is up (0.072s latency).

PORT      STATE         SERVICE
49152/udp closed        unknown
49153/udp open|filtered unknown
49154/udp open|filtered unknown
49155/udp open|filtered unknown
49156/udp closed        unknown
49157/udp closed        unknown
49158/udp closed        unknown
49159/udp closed        unknown
49160/udp closed        unknown
As long as you can see any UDP port in 49152-49160 open|filtered with a DTLS handshake responding you should be able to talk to the appliance.
Step 2
I am using the same server to get the CA cert and key. To do this, I copied the script code and pasted into a file on the server and ran it with python. Since this script currently resides on GitHub, you can click the Raw button and then copy/paste the code into a file on the server. An easier method might be to click the Raw button, then copy that link and use wget on the server to fetch the file.
wget https://raw.githubusercontent.com/QuiteYellow/SmartThings-Local/refs/heads/main/setup_cert.py
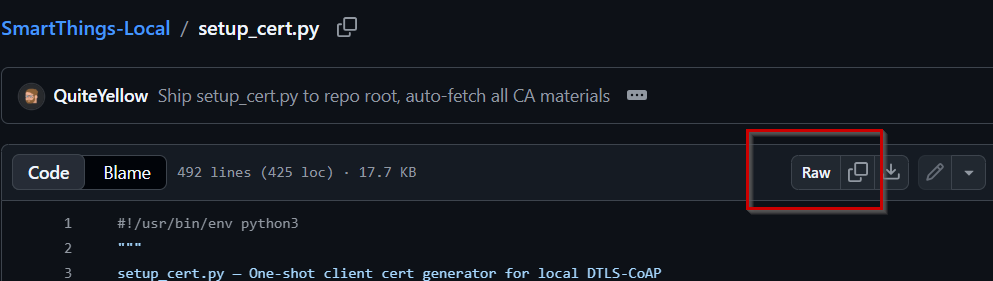
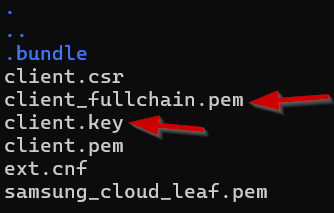
Once you have the file on the server, run it with python, which will grab certs/key and create the files.
# python3 setup_cert.py
============================================================
Phase 1: AC14K_M signing materials
============================================================
  Fetching AC14K_M bundle...
  AC14K_M cert: certs/.bundle/ac14k_m.pem
  AC14K_M key:  certs/.bundle/ac14k_m.key
  chain:        4 certs (cert_1.pem, cert_2.pem, cert_3.pem, cert_4.pem)
  cert/key modulus pair OK

============================================================
Phase 2: identify peer UUID
============================================================
  Fetching from connect-v2.samsungiotcloud.com:443...
  Extracted UUID: ab0b0ac4-aae9-4958-a04d-8ec36fe1b2f9
  Saved server leaf cert to certs/samsung_cloud_leaf.pem

============================================================
Phase 3: mint client cert with UUID ab0b0ac4-xxx
============================================================
  key:       certs/client.key
  leaf:      certs/client.pem
  fullchain: certs/client_fullchain.pem
  Subject: OU = uuid:ab0b0ac4-aae9-4958-a04d-8ec36fe1b2f9, CN = urn:uuid:ab0b0ac4-aae9-xxx, O = Samsung Electronics, C = KR
One thing to note. This script reaches out to samsungiotcloud. I don't know if, after October 2026, this will still be accessible without paying.
Step 3
Installing via HACS is the same as almost every other HACS integration. For localthings, you will need to add a custom repository. Click the 3 dots in the top right of the HACS page and click custom repositories. In the window that opens, put the localthings repo and choose integration as the type.
Custom Repo Link: https://github.com/mbillow/localthings
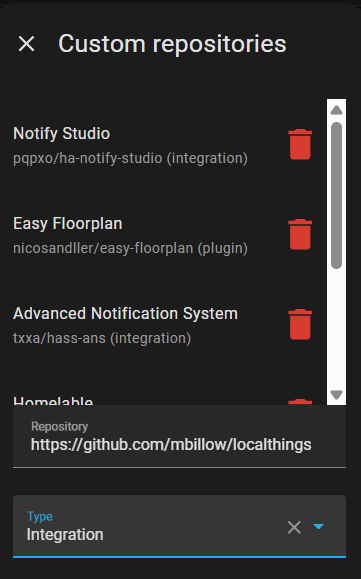
You might need to restart Home Assistant at this point. You can also try a refresh of the page and then search for localthings.
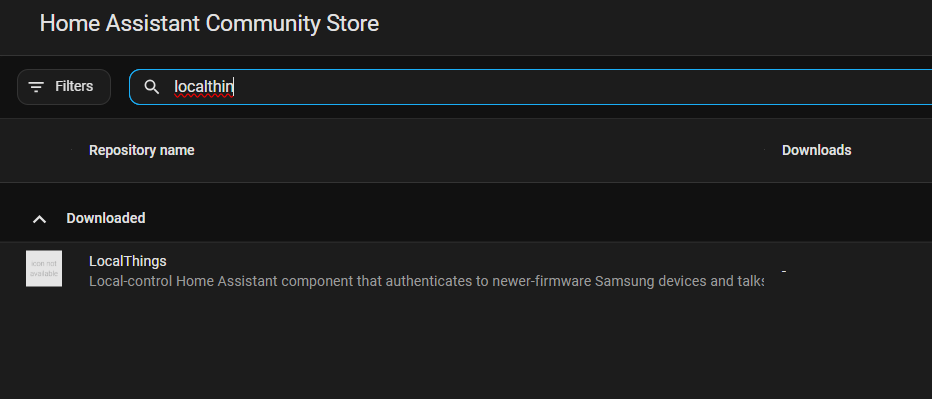
Since I have already downloaded it, it shows in the Downloaded section. If you have not downloaded it will show in the New section.
After download, navigate to Settings -> Devices and Services. Click the Add Integration button in the bottom right of the screen. Search for localthings and click it. When you first install it, the integration will ask you for the IP address of the appliance, the CA Certificate, and the Private Key. You only need to add the cert and key for the first appliance. The integration should use the same for any additional appliances you add.
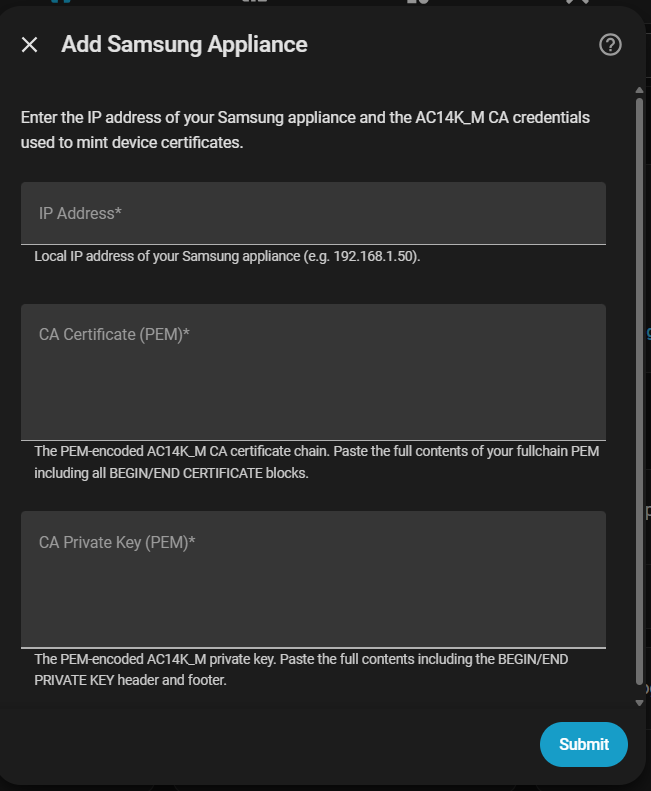
Fill in the IP and then from the files you downloaded with the python script, you will grab the CA cert and the Key. You want the fullchain cert file and the key. Cat the files or whatever method you want to be able to copy the contents. You need the entire file, from the first BEGIN CERTIFICATE to the last END CERTIFICATE. This goes in the CA Certificate box. Same thing for the key, which goes in the CA Private Key box.
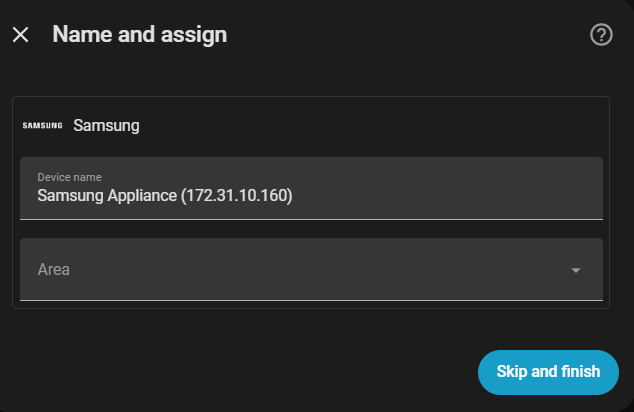
Submit all that information and if it is correct, you should see your appliance populate and you can assign it an area. Be patient, this might take a moment or two.
Once it is done, you will be able to see appliance in the integration page.
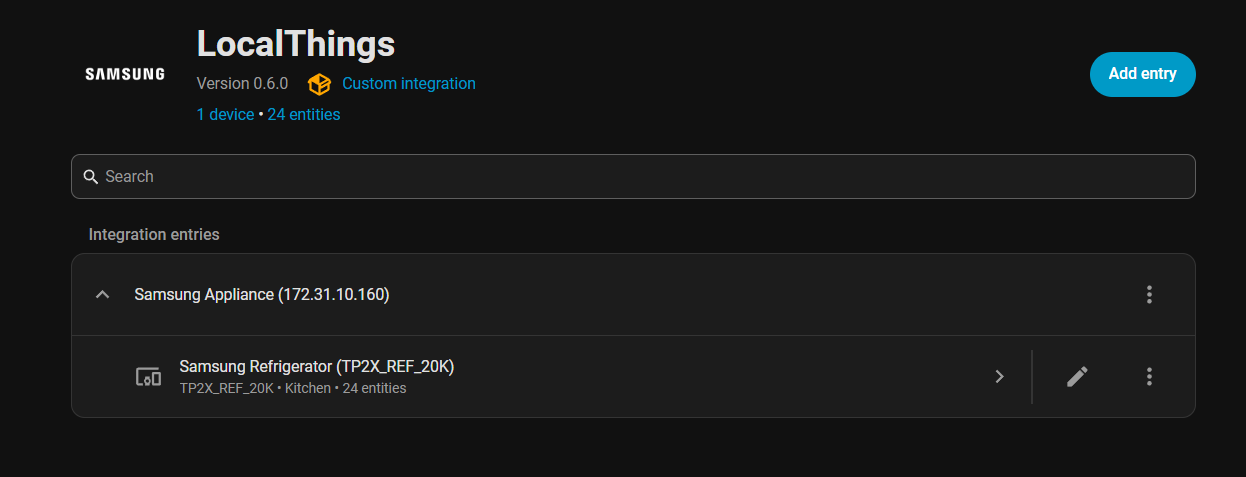
Clicking the appliance will take you to the entity page in Home Assistant.
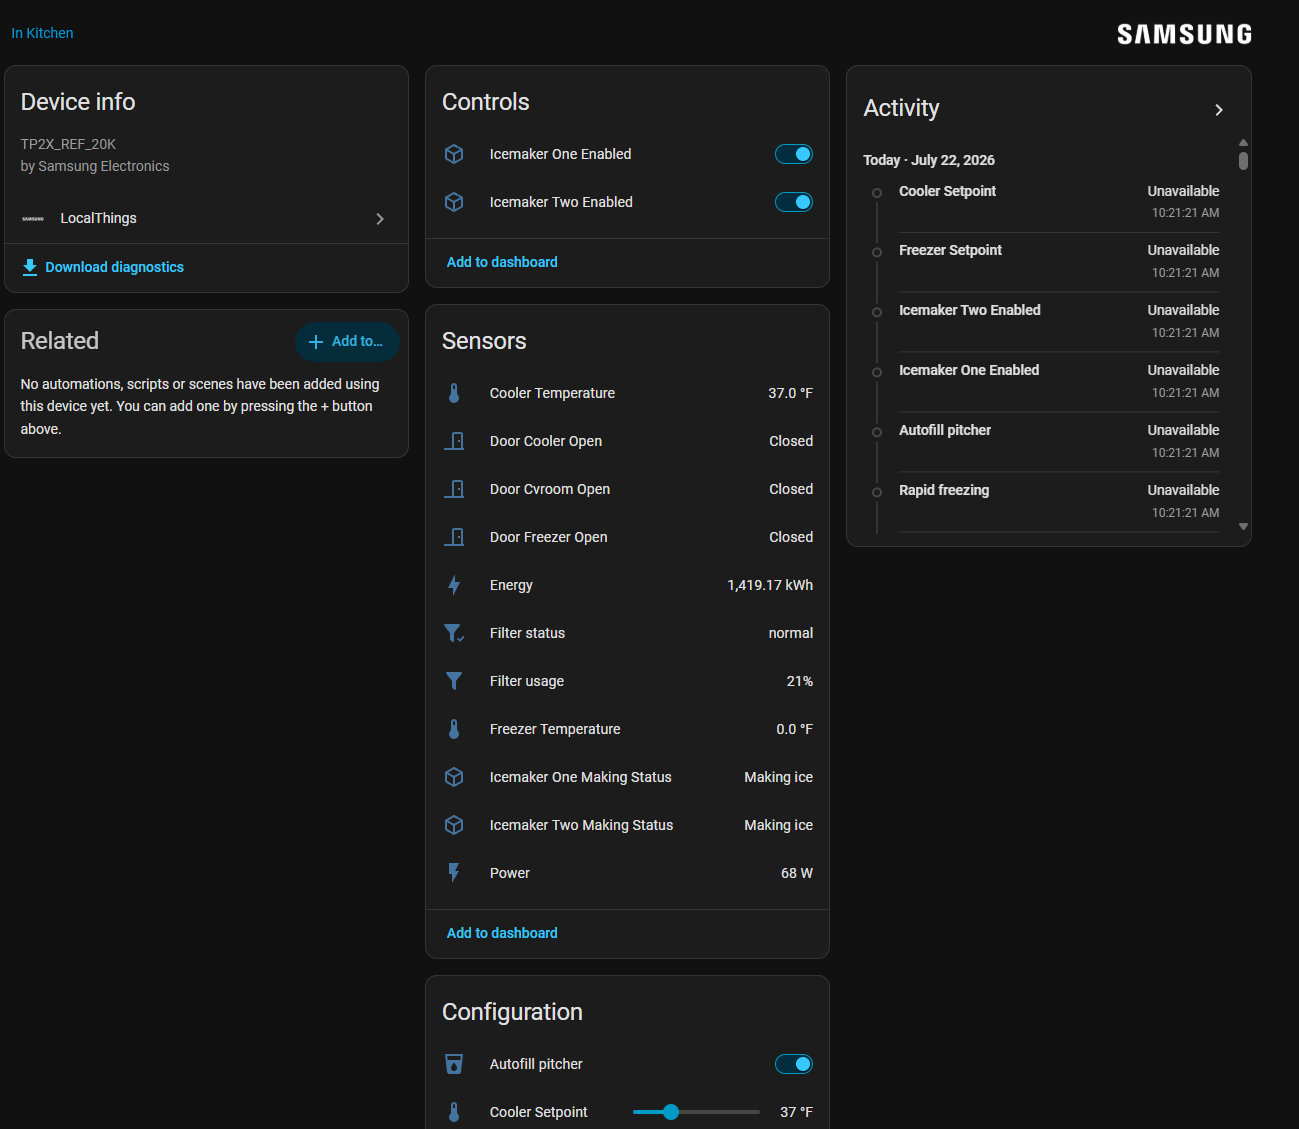
That's all there is to installing and using the localthings integration. Once the appliances are added as entities, you can do the usual Home Assistant things with them.
Thanks for reading!