
Zooz ZEN37 Wireless Remote
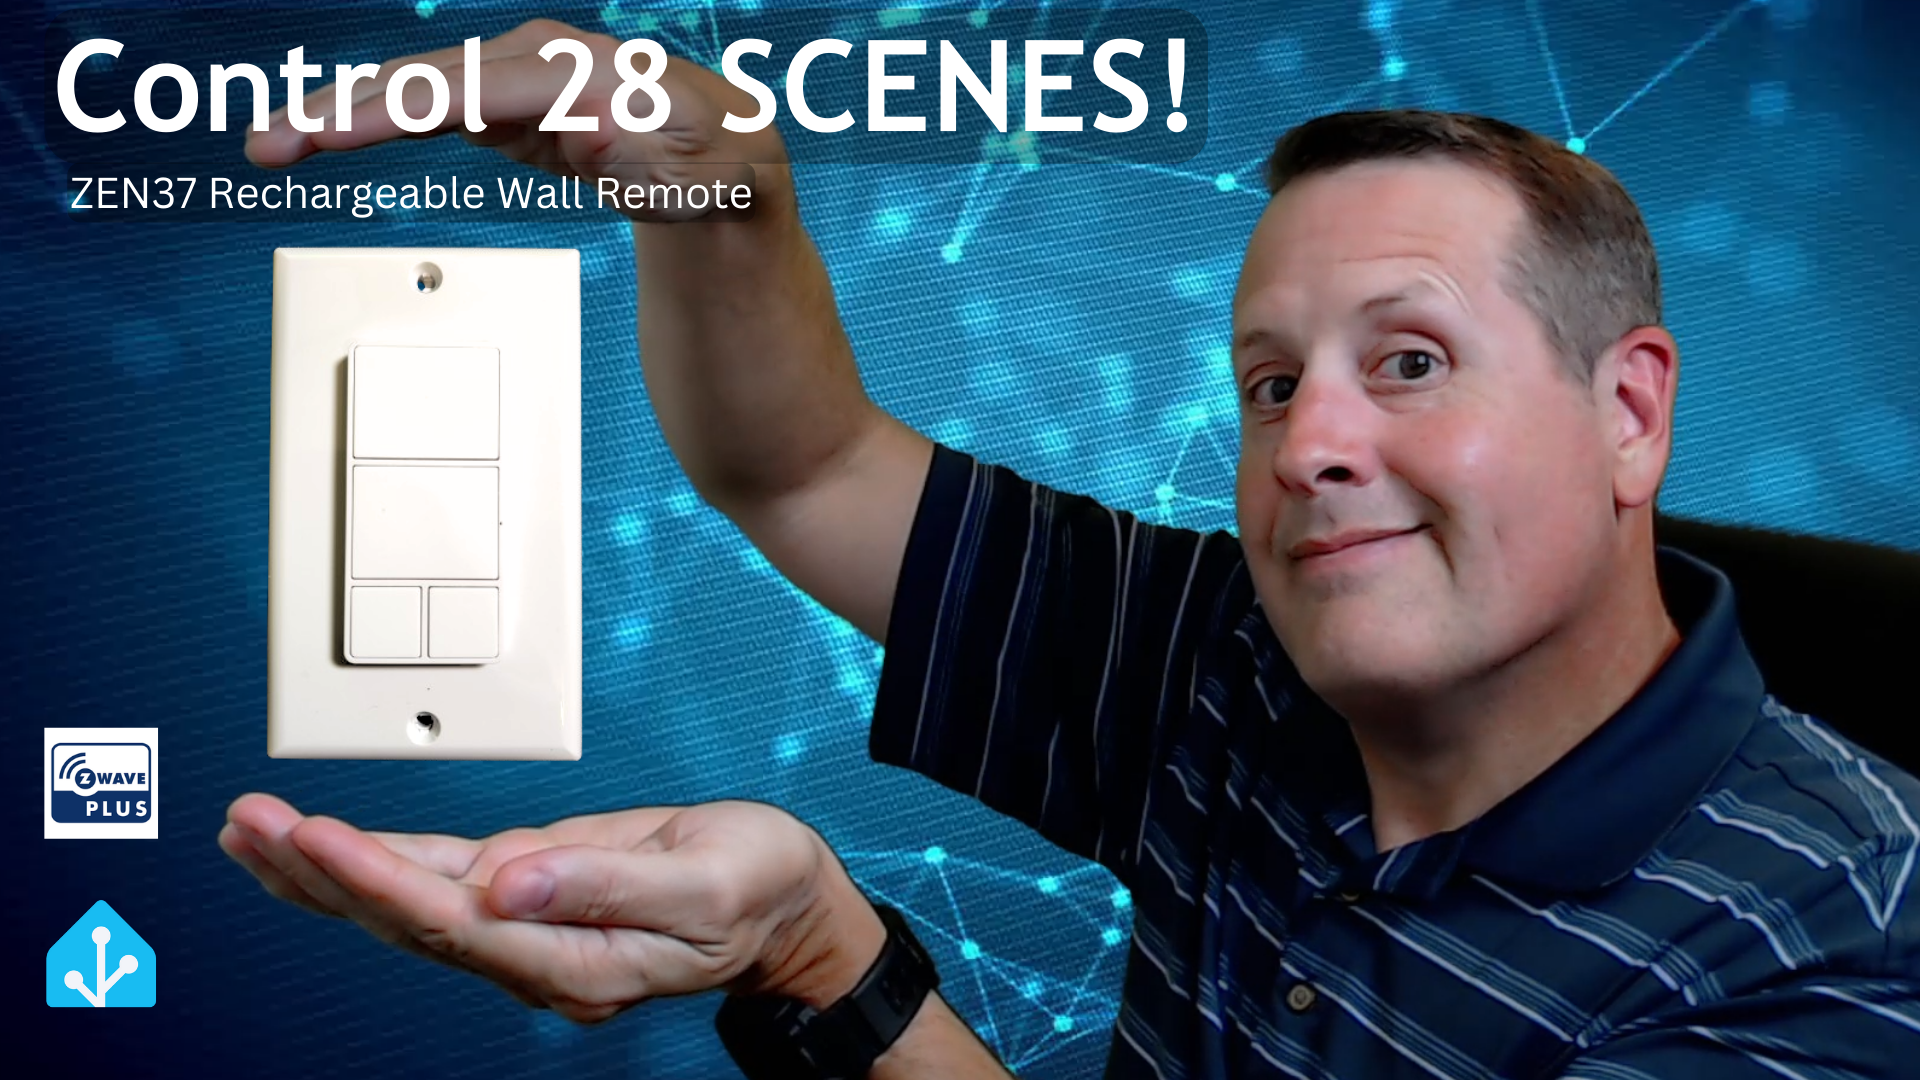
I have always wanted to try a wireless Z-Wave button device. I recently came across the ZEN37 from Zooz. There are probably many options is this arena but I have the Zooz ZEN32 wired scene controller and the ZEN37 fits right in with that same theme so I thought I would try it out.
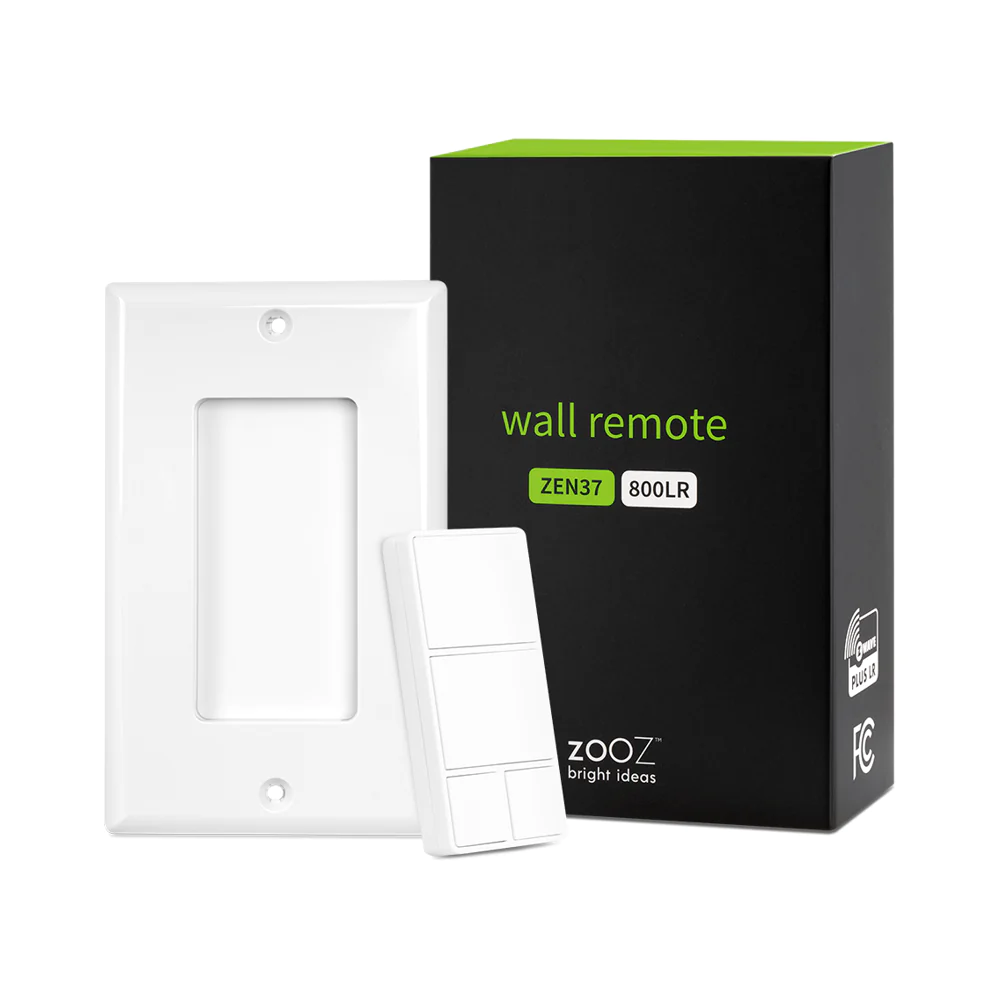
The ZEN37 is a wireless Z-Wave Plus Long Range device. It is built on the 800 series chip, which claims to have more range, faster signal, SmartStart, and S2 security. Since I have multiple wired Z-Wave devices throughout my house, range has never been an issue. It will be interesting to try using this from the street or out in the far corner of the yard. Of course, range varies drastically by environmental factors so someone's long range is not necessarily someone else's long range.
Here are the main features of this device.
- 4 smart buttons: control Z-Wave devices and activate scenes
- Install anywhere: fits a standard decora switch box, sticks to a wall, or keeps handy on your nightstand
- No wires: this device is powered by a rechargeable battery for easier installation and low maintenance (Uses in LIR2032 battery. NOT the same as a CR2023)
- Scene Control (select hubs only): run up to 24 scenes or control up to 24 devices with multi-tap triggers
- NEW 800 chip: more range, faster signal, SmartStart inclusion + S2 security
- Z-Wave Long Range ready: extend the wireless coverage up to 1300 feet if your hub supports Long Range
- Smart bulb control: program the buttons to access your favorite smart bulb presets with just one click
- Magnetic base: take the remote out whenever you need to use it like a traditional remote control and put it back on the base for easy access next time
- Adjustable LED indicator: choose from 7 colors and 10 brightness levels
- Only available in a white color
- S2 authenticated security with SmartStart for the safest and most convenient way to add and manage your Z-Wave devices
- OTA firmware updates for a future-proof device
- 5-year warranty once registered and lifetime tech support
Adding the ZEN37 to Z-Wave
I am using Home Assistant with the Zwave JS UI add-on. Adding this to my Z-wave network is the same as with any device. Because this uses S2 security, you will need the pairing code on the back of the device to pair it to your Z-Wave hub.
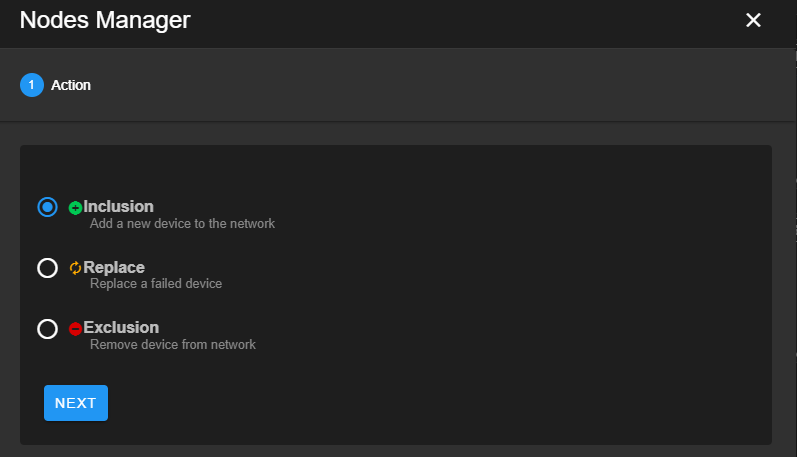
Make sure you select Inclusion and click the NEXT button.
Click next and give it a name. After naming it, click Next one more time to start inclusion.
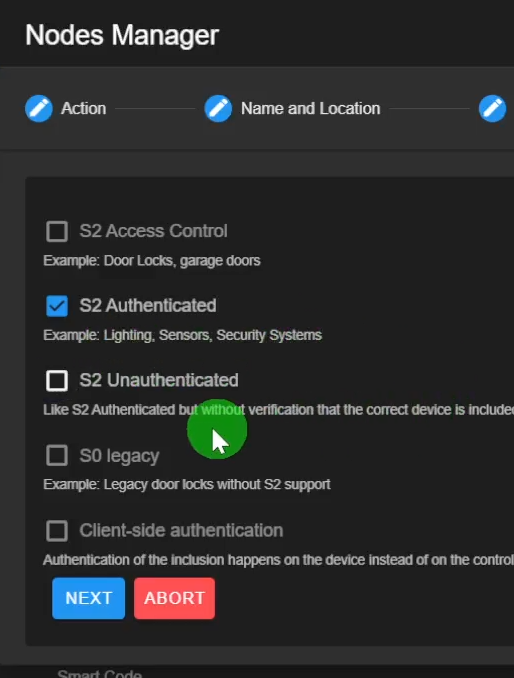
On the ZEN37, you need to click the top button 6 times to put it into inclusion mode. Once Z-Wave JS has found it, you'll get a screen to select the security type. I chose "S2 Authenticated".
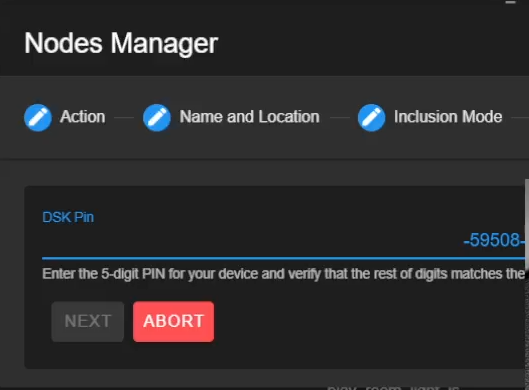
Clicking next will bring you to the screen that asks for the DSK Pin. It is the 5-digit number on the bottom of the QR code on the back of the ZEN37.
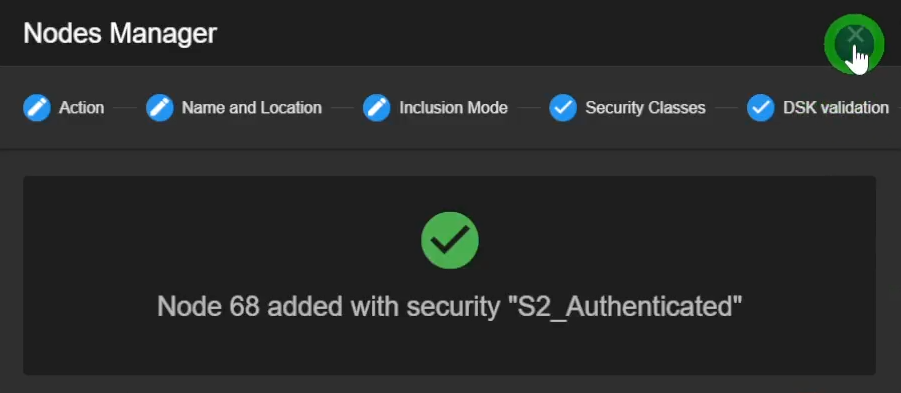
If you have done everything properly, you will see a screen showing that the Node was added. Your node number will likely be different than the one shown for me.
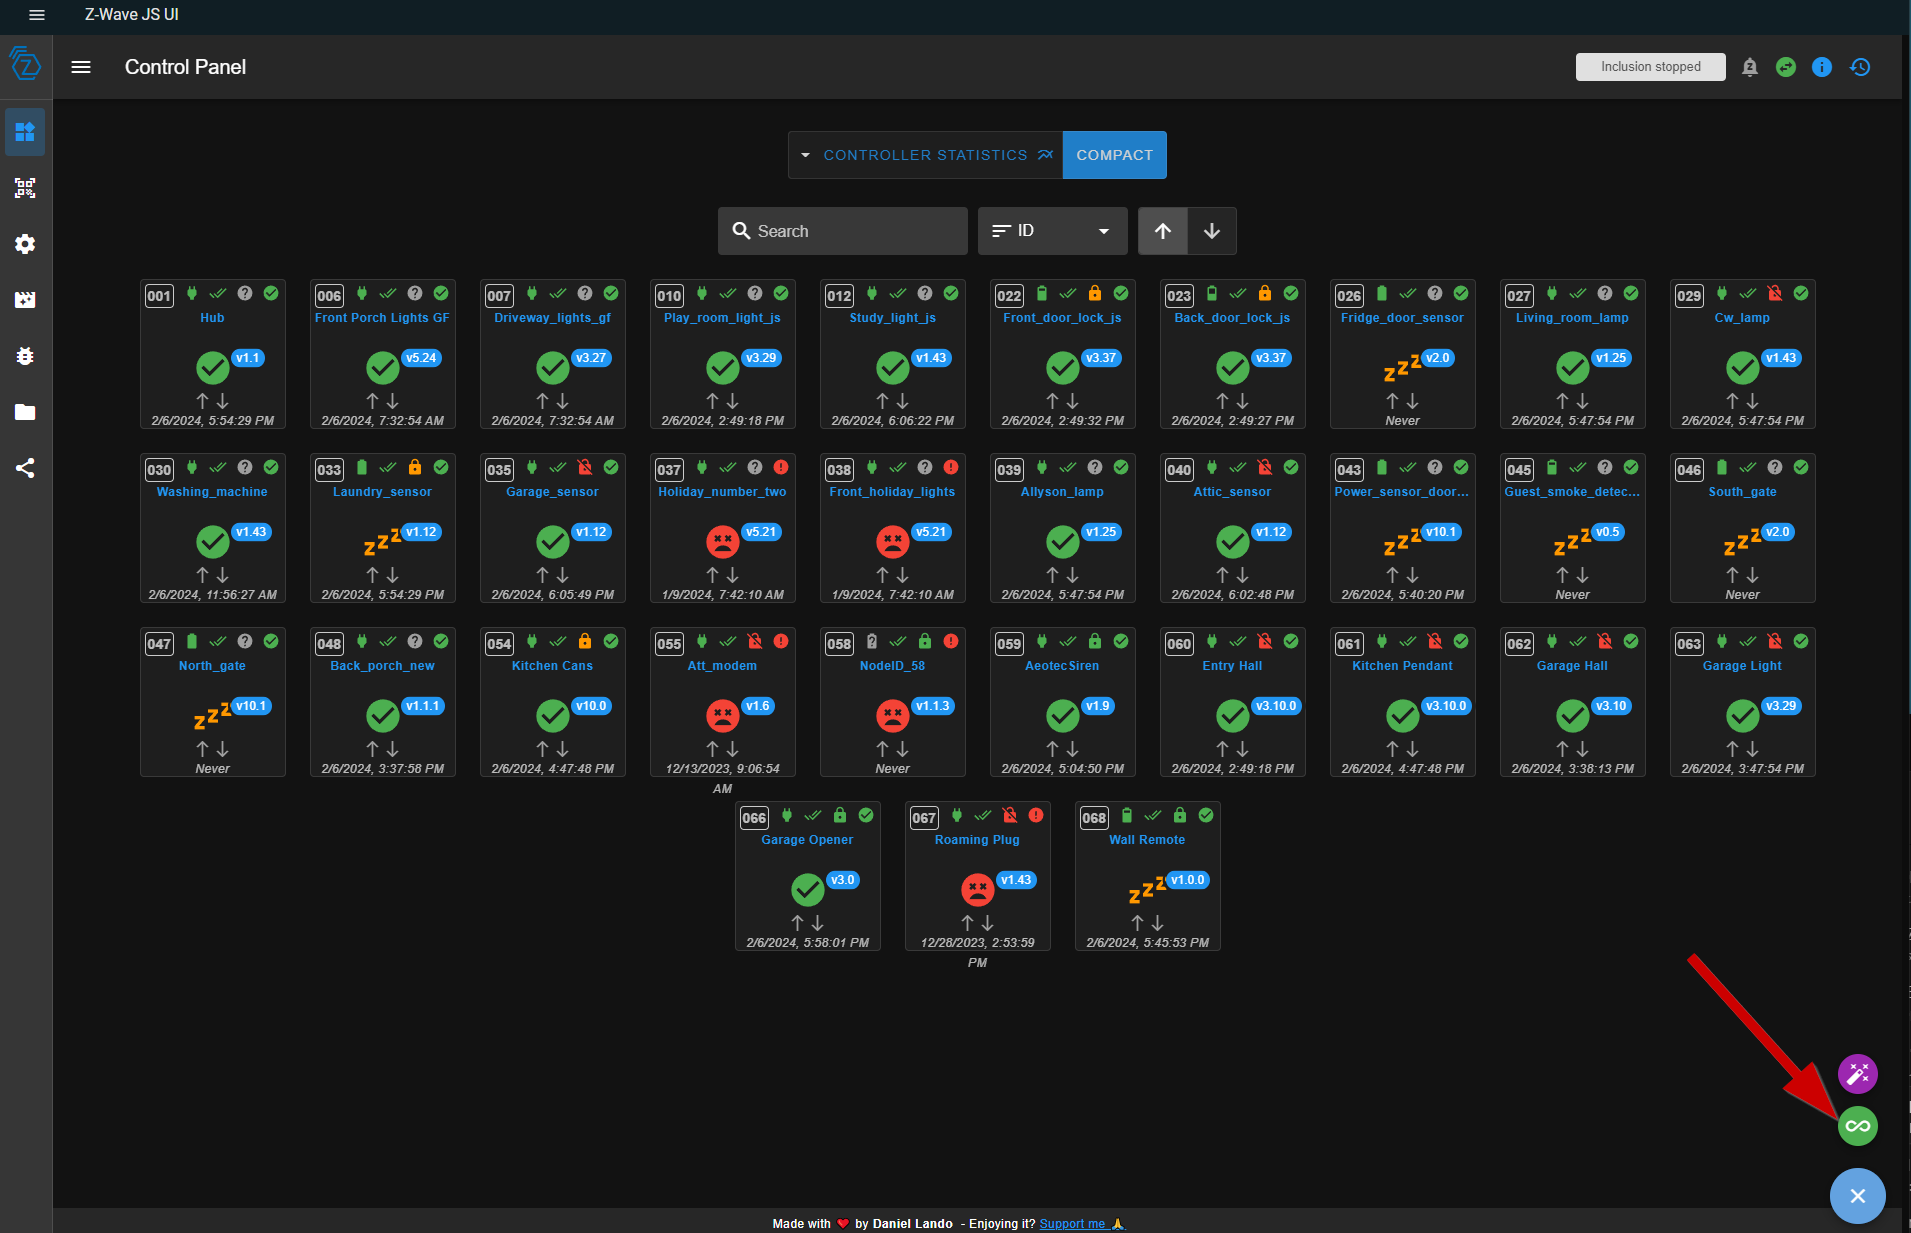
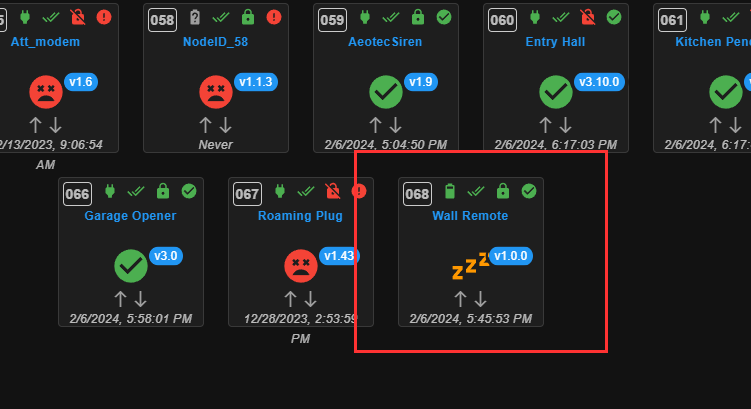
You will also see the new node showing with the name you gave it. If you are using Z-Wave JS UI in compact mode, it will look something like this.
If you have discovery enabled in Home Assistant, it should also show up as a device under the z-wave integration.
Using the ZEN37
Now that you have successfully included the device in your network, it is time to do something with it. For this, I am going to create an automation based on Z-wave event bus. I will listen to the bus for specific events and then automate against them.
I walk through this in my video, so if you want to see me build it make sure to watch the video. I'll post the YAML code below as well.
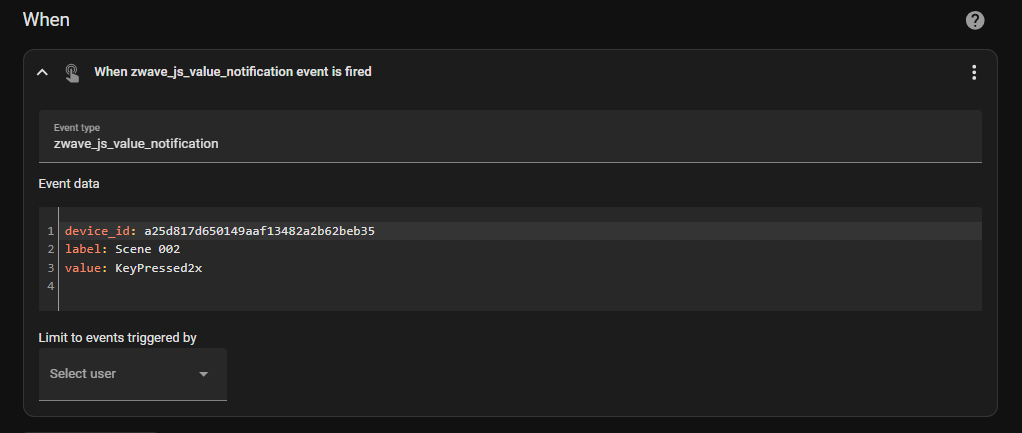
The trigger I am going to use is based on the device_id, the label, and the value. These are all present in the event bus payload. There are other values in the payload you could potentially use. The combination of all of the event data must be unique to that action. For example, pressing a specific button x times.
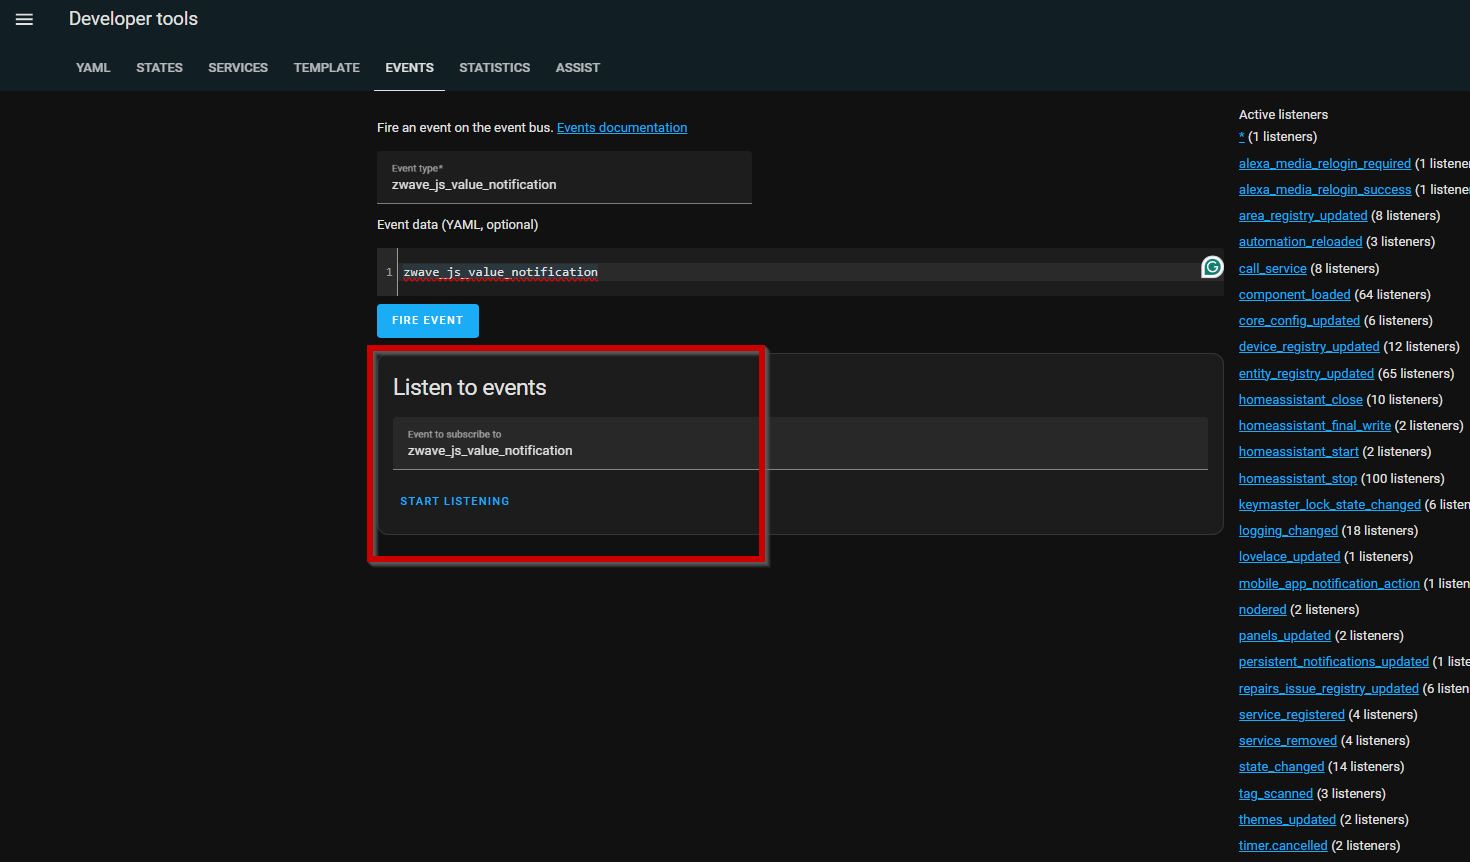
To find information for the data part, I monitored the event bus while clicking the buttons on the remote. Monitoring the event bus is easy using the developer tools->events in Home Assistant. All of the listeners available are on the right-hand side of the screen in the EVENTS tab. I specified zwave_js_value_notification. Add that to the "Listen to events" section and then click "START LISTENING". Click a button on your remote and you will get a packet with all the data you need for your automation.
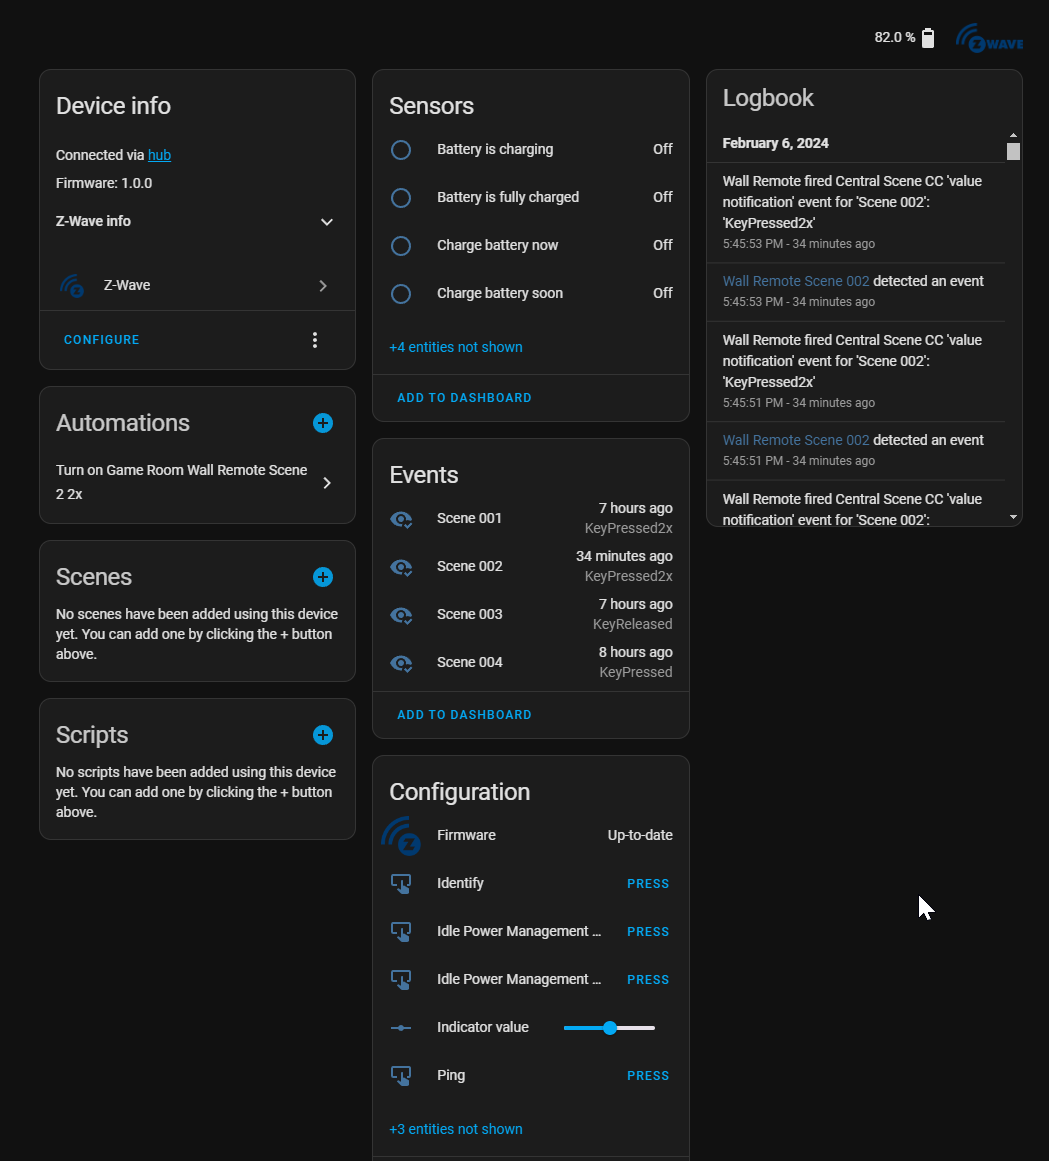
Once you have the device_id, label, and value you can use those to trigger events in your automations. The ZEN37 can do up to 28 scenes based on the button pressed, the number of times it is pressed, or whether it is held down and released.
Each button will return a label as a scene number. The topmost button is Scene 001, the middle big button is Scene 002, the bottom left button is Scene 003, and the bottom right button is Scene 004.
The "value" returned will be how many times the button is pressed in the form of KeyPressed{n}x with n representing the number of times pressed. In my automation example, the trigger will respond to button 2 being pressed 2 times.
Other Notes
There are several mounting options for this device. It can be installed in an existing electrical box. It can be attached to any clean, flat, surface with the included adhesive or screws. You don't even have to mount it at all. You can use it as a remote and just set it on your table or nightstand. If you do mount it on the wall, you can remove it and put it back whenever you like as it uses magnets to hold it to the mounting plate.
The ZEN37 is charged to 80% from the factory. When needed, you can charge it using the included USB-C cable. I haven't run it long enough to know how long the battery lasts. It will vary depending on how much you use it, of course.
LED Light
There is a single LED light in the top left of the top button that changes colors depending on the button pressed. It will flash the number of times the button is pressed. This happens after the button press so I am not sure what value that has other than a visual indication that you pressed a button x number of times. You can change the color of the light as well as the brightness through the advanced options. These are values available in the Z-Wave JS UI interface options for the device.
That's about it for this post. Make sure to watch the related video to see all of this in action. With up to 28 scenes, that leaves a lot of room for fun!