
The Inevitable SD Card Failure

At some point in your Home Assistant, or IT, existence, you are going to have an SD card failure. It's a fact of life that is unavoidable. What happens next depends on how well you have prepared for this terrible eventuality.
When it comes to Home Assistant, you have easy options. Options that will let you say "Uh oh, the system is down. No worries, we'll be back up in 10". I will assume that you already know how to backup your system to an off-device location. If not, take a moment to watch this video.
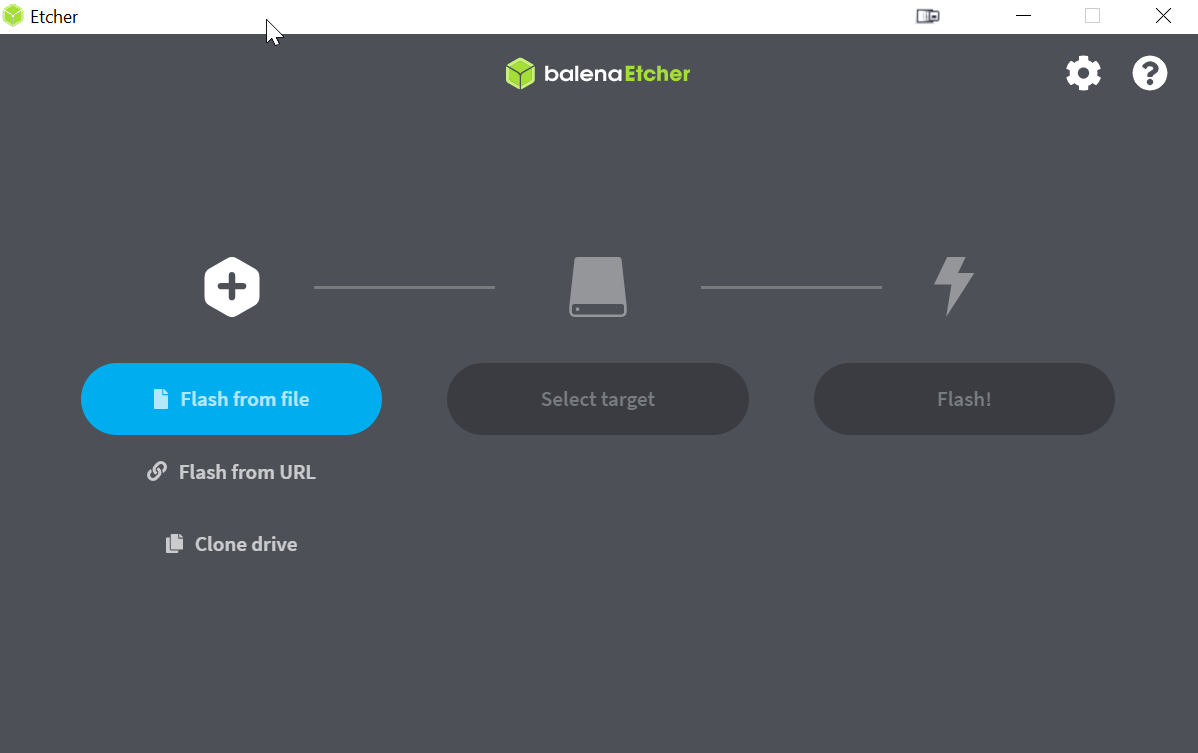
Restoring your system is easy and straightforward. The first step is to grab an image for your particular system. They are all available here. We'll be using the 64 Raspberry Pi 4 image. Once you have that, flash it onto your SD card using a tool such as Balena Etcher.
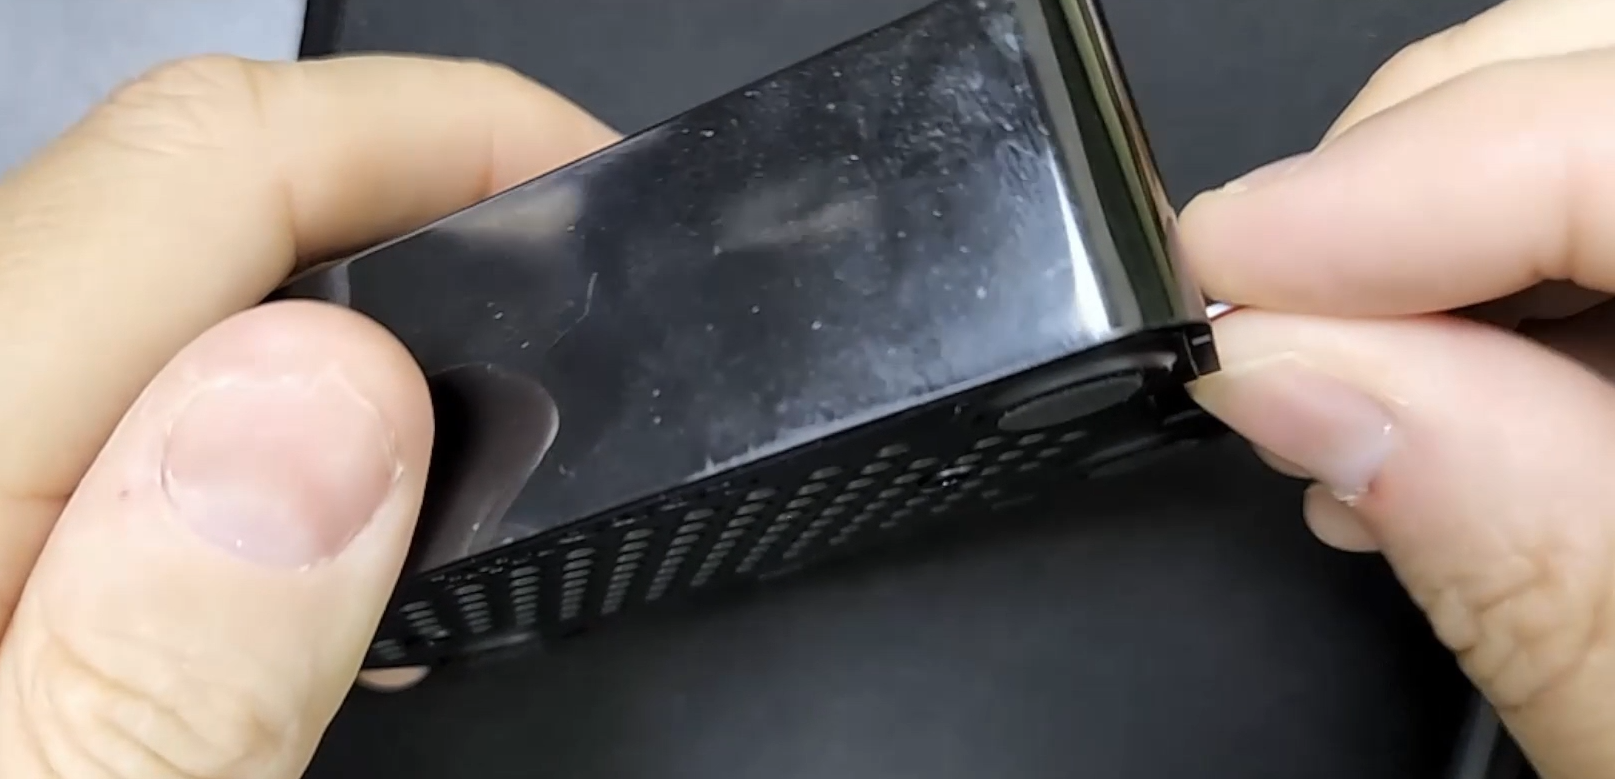
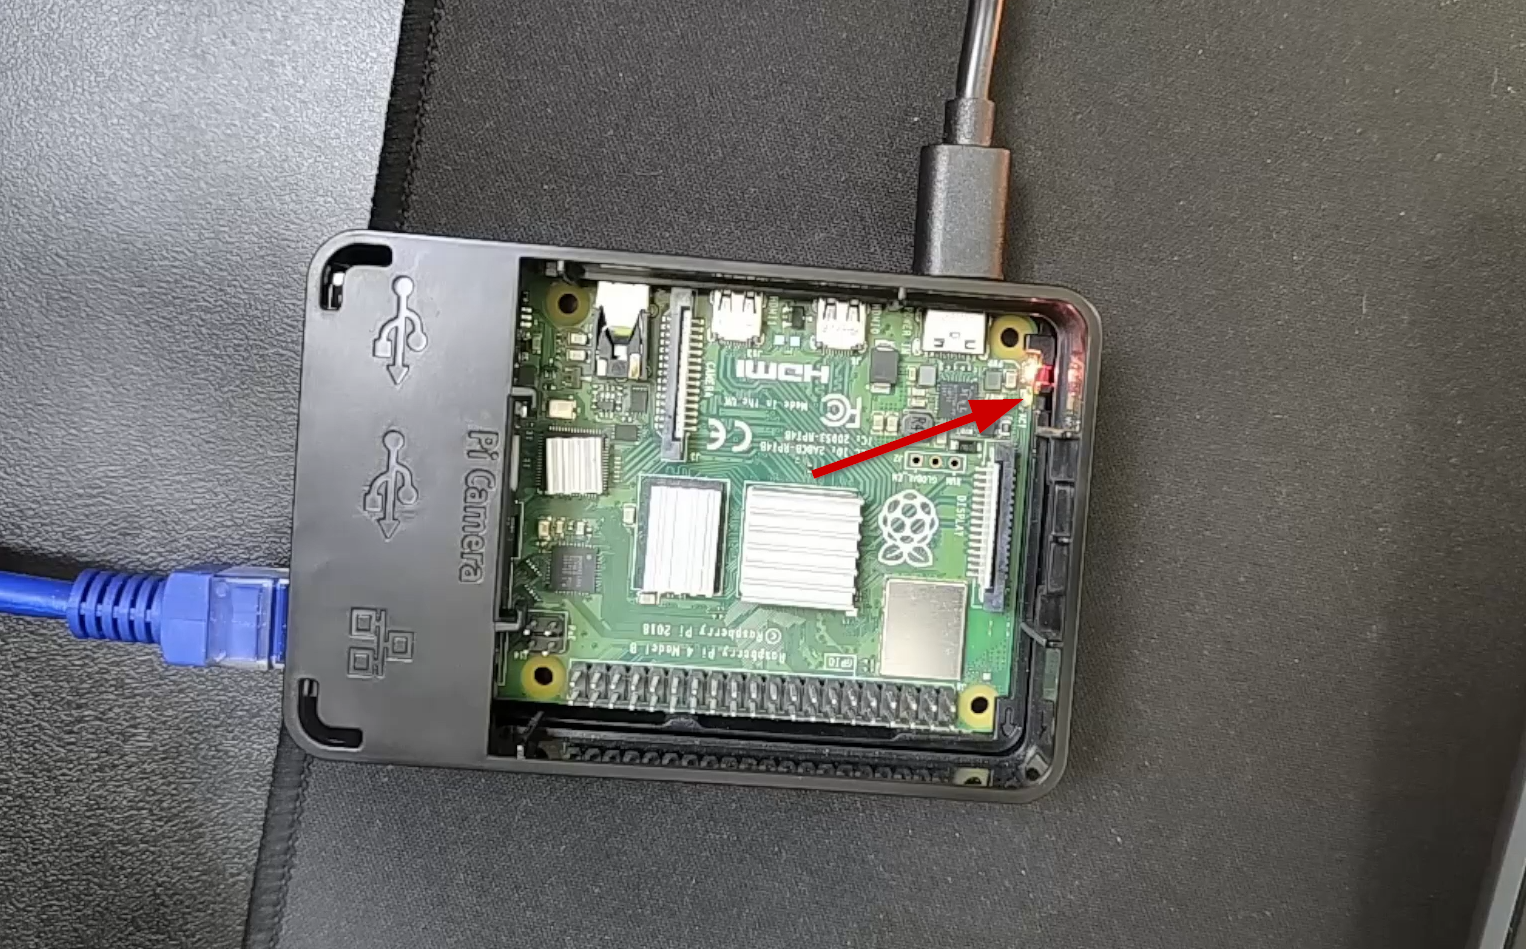
Once you have that flashed, install it in your Raspberry Pi and boot it up.
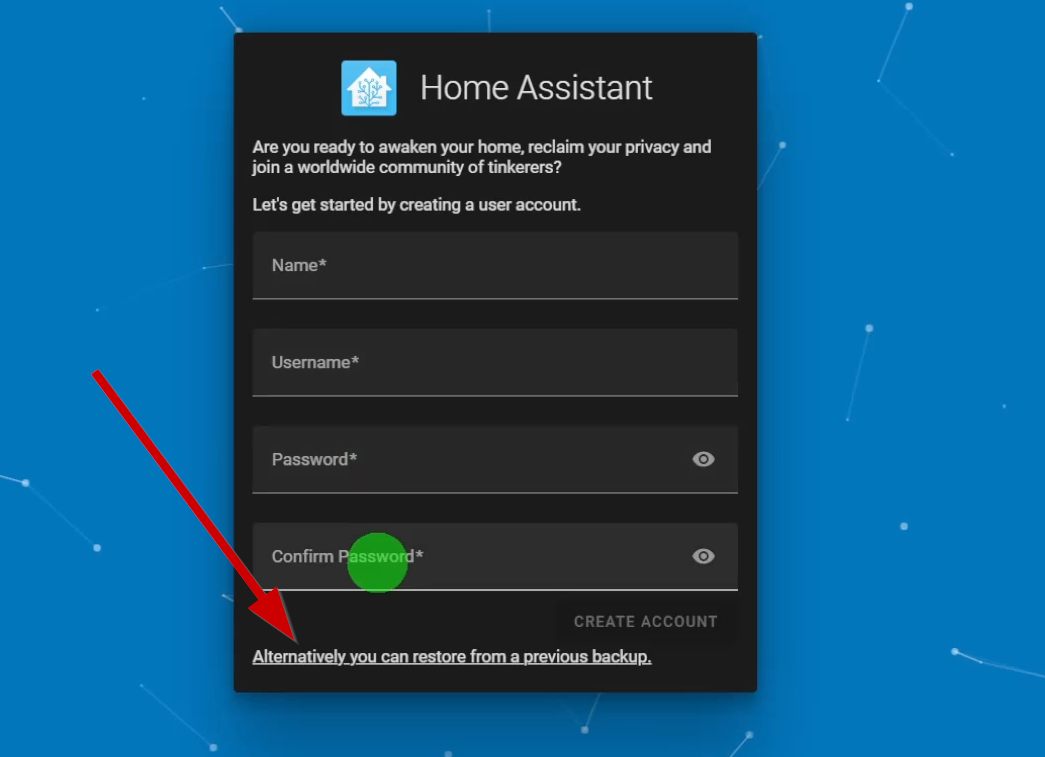
After you have Home Assistant re-installed, you need to restore the backup. I recommend the full backup, although you could do a partial restore if you really wanted to.
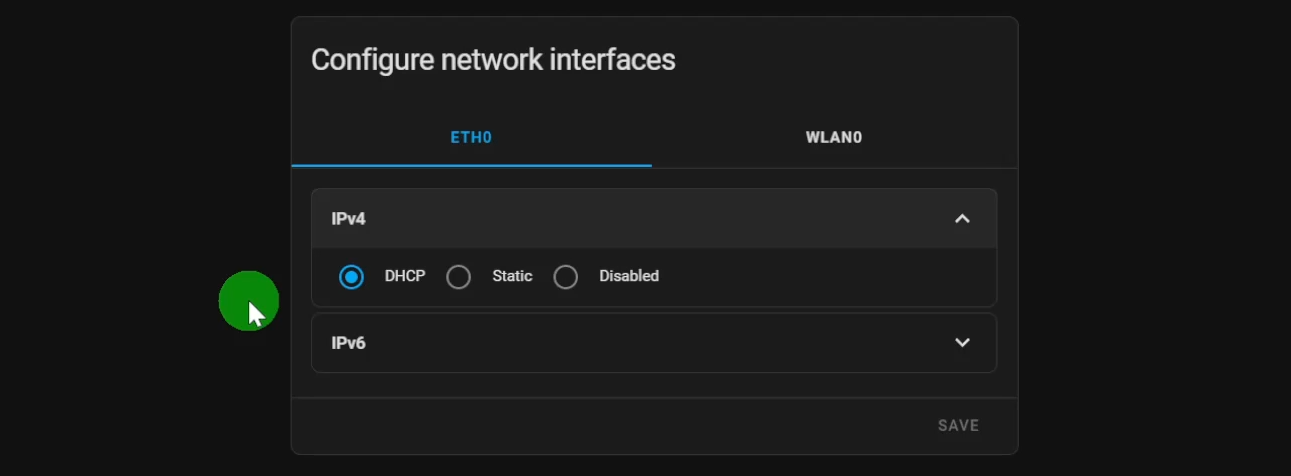
Once your restore is complete, you can access Home Assistant at http://homeassistant.local or the IP address assigned by your router. You may have to check your router to find the IP. If you had a static IP set up prior to the restore, you may need to set it again. I had to do this. Check your network interfaces section.
As always, the details of all of this are available in my video. Make sure to give it a look!