
Finally! Adding Fan Speed Controls
I recently moved to a new house and one of the things about the old house that drove me crazy was having ceiling fans that ran all the time, even when no one was home. I vowed (with the proper approvals) to add fan controls to my Home Assistant setup. It turns out that wasn't as easy as just ordering a switch.
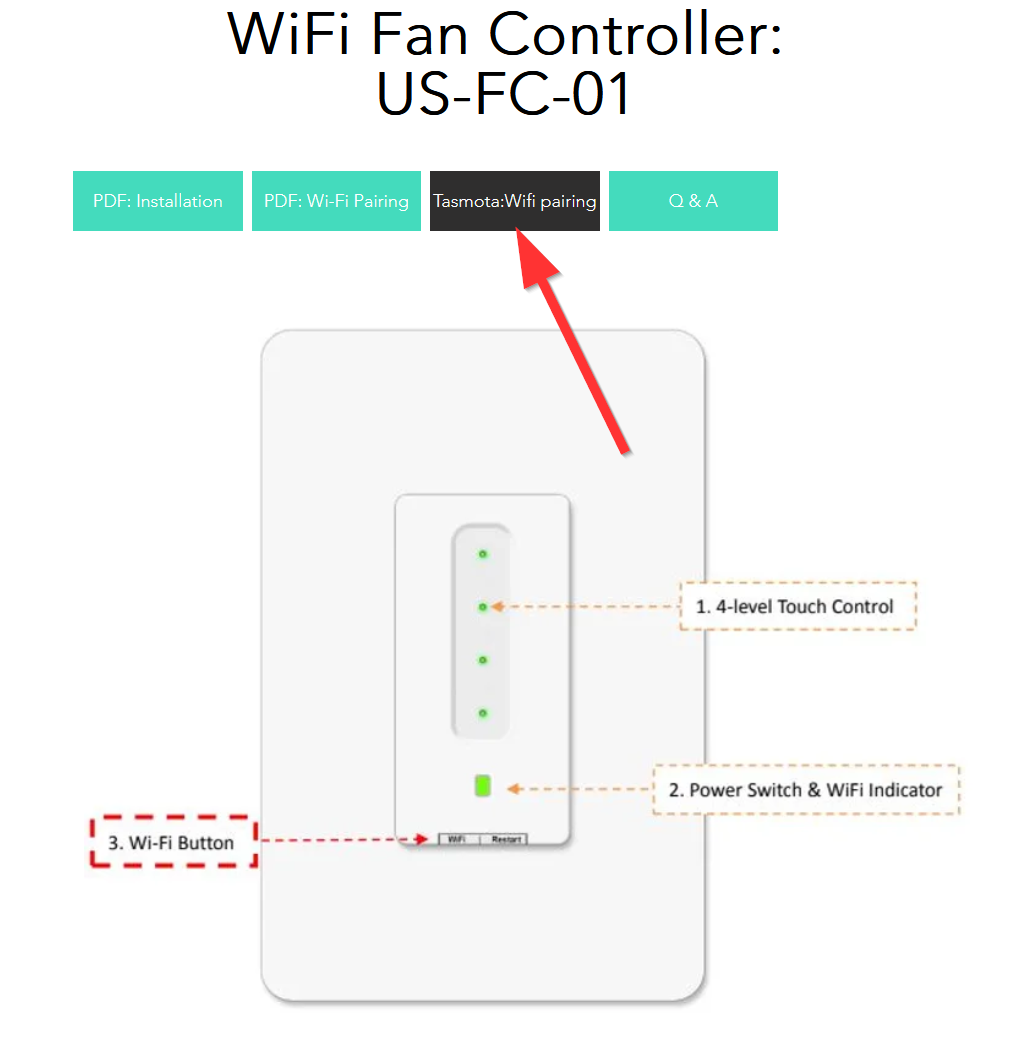
I won't bore you with the research I did, but I will sum it up with the simple fact that there aren't that many choices out there. What I stumbled across was this switch by Martin Jerry.
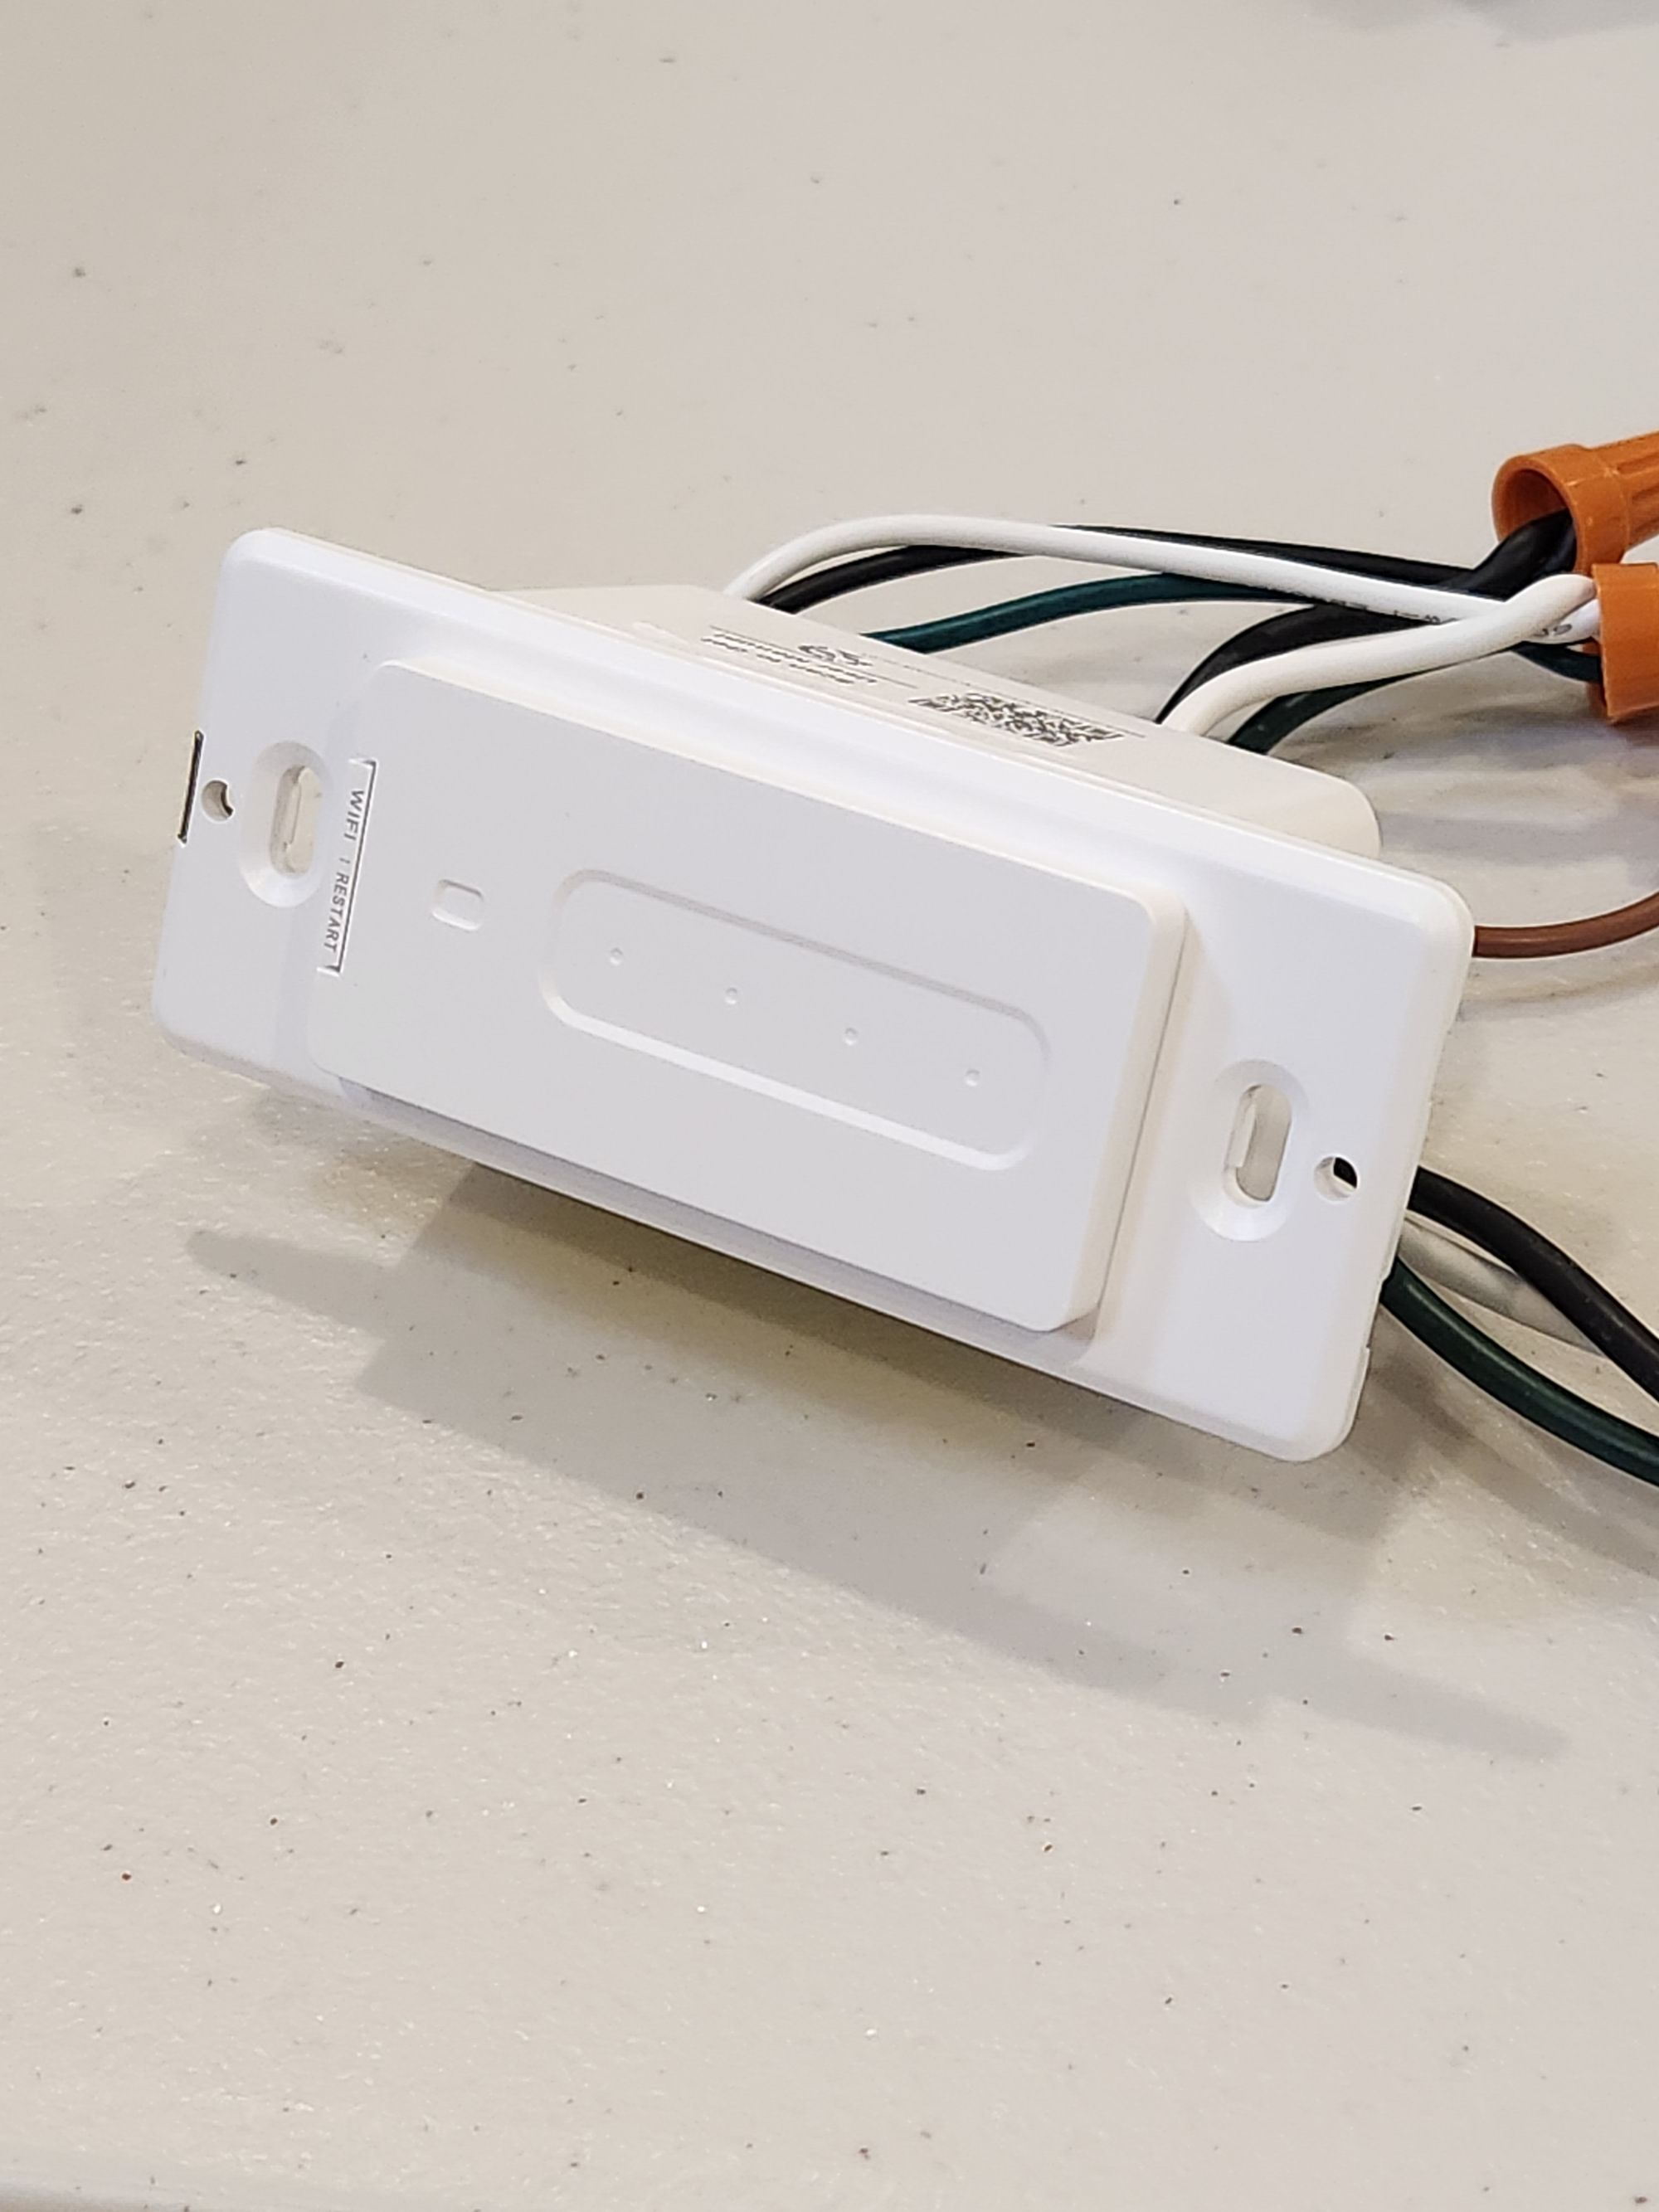
This particular model is pre-flashed with Tasmota. That means if you have a 2.4Ghz wifi network and an MQTT broker running in your smart home environment, you can almost plug and play this switch. By almost, I mean that there is some configuration that needs to happen in order to make the speed part work.
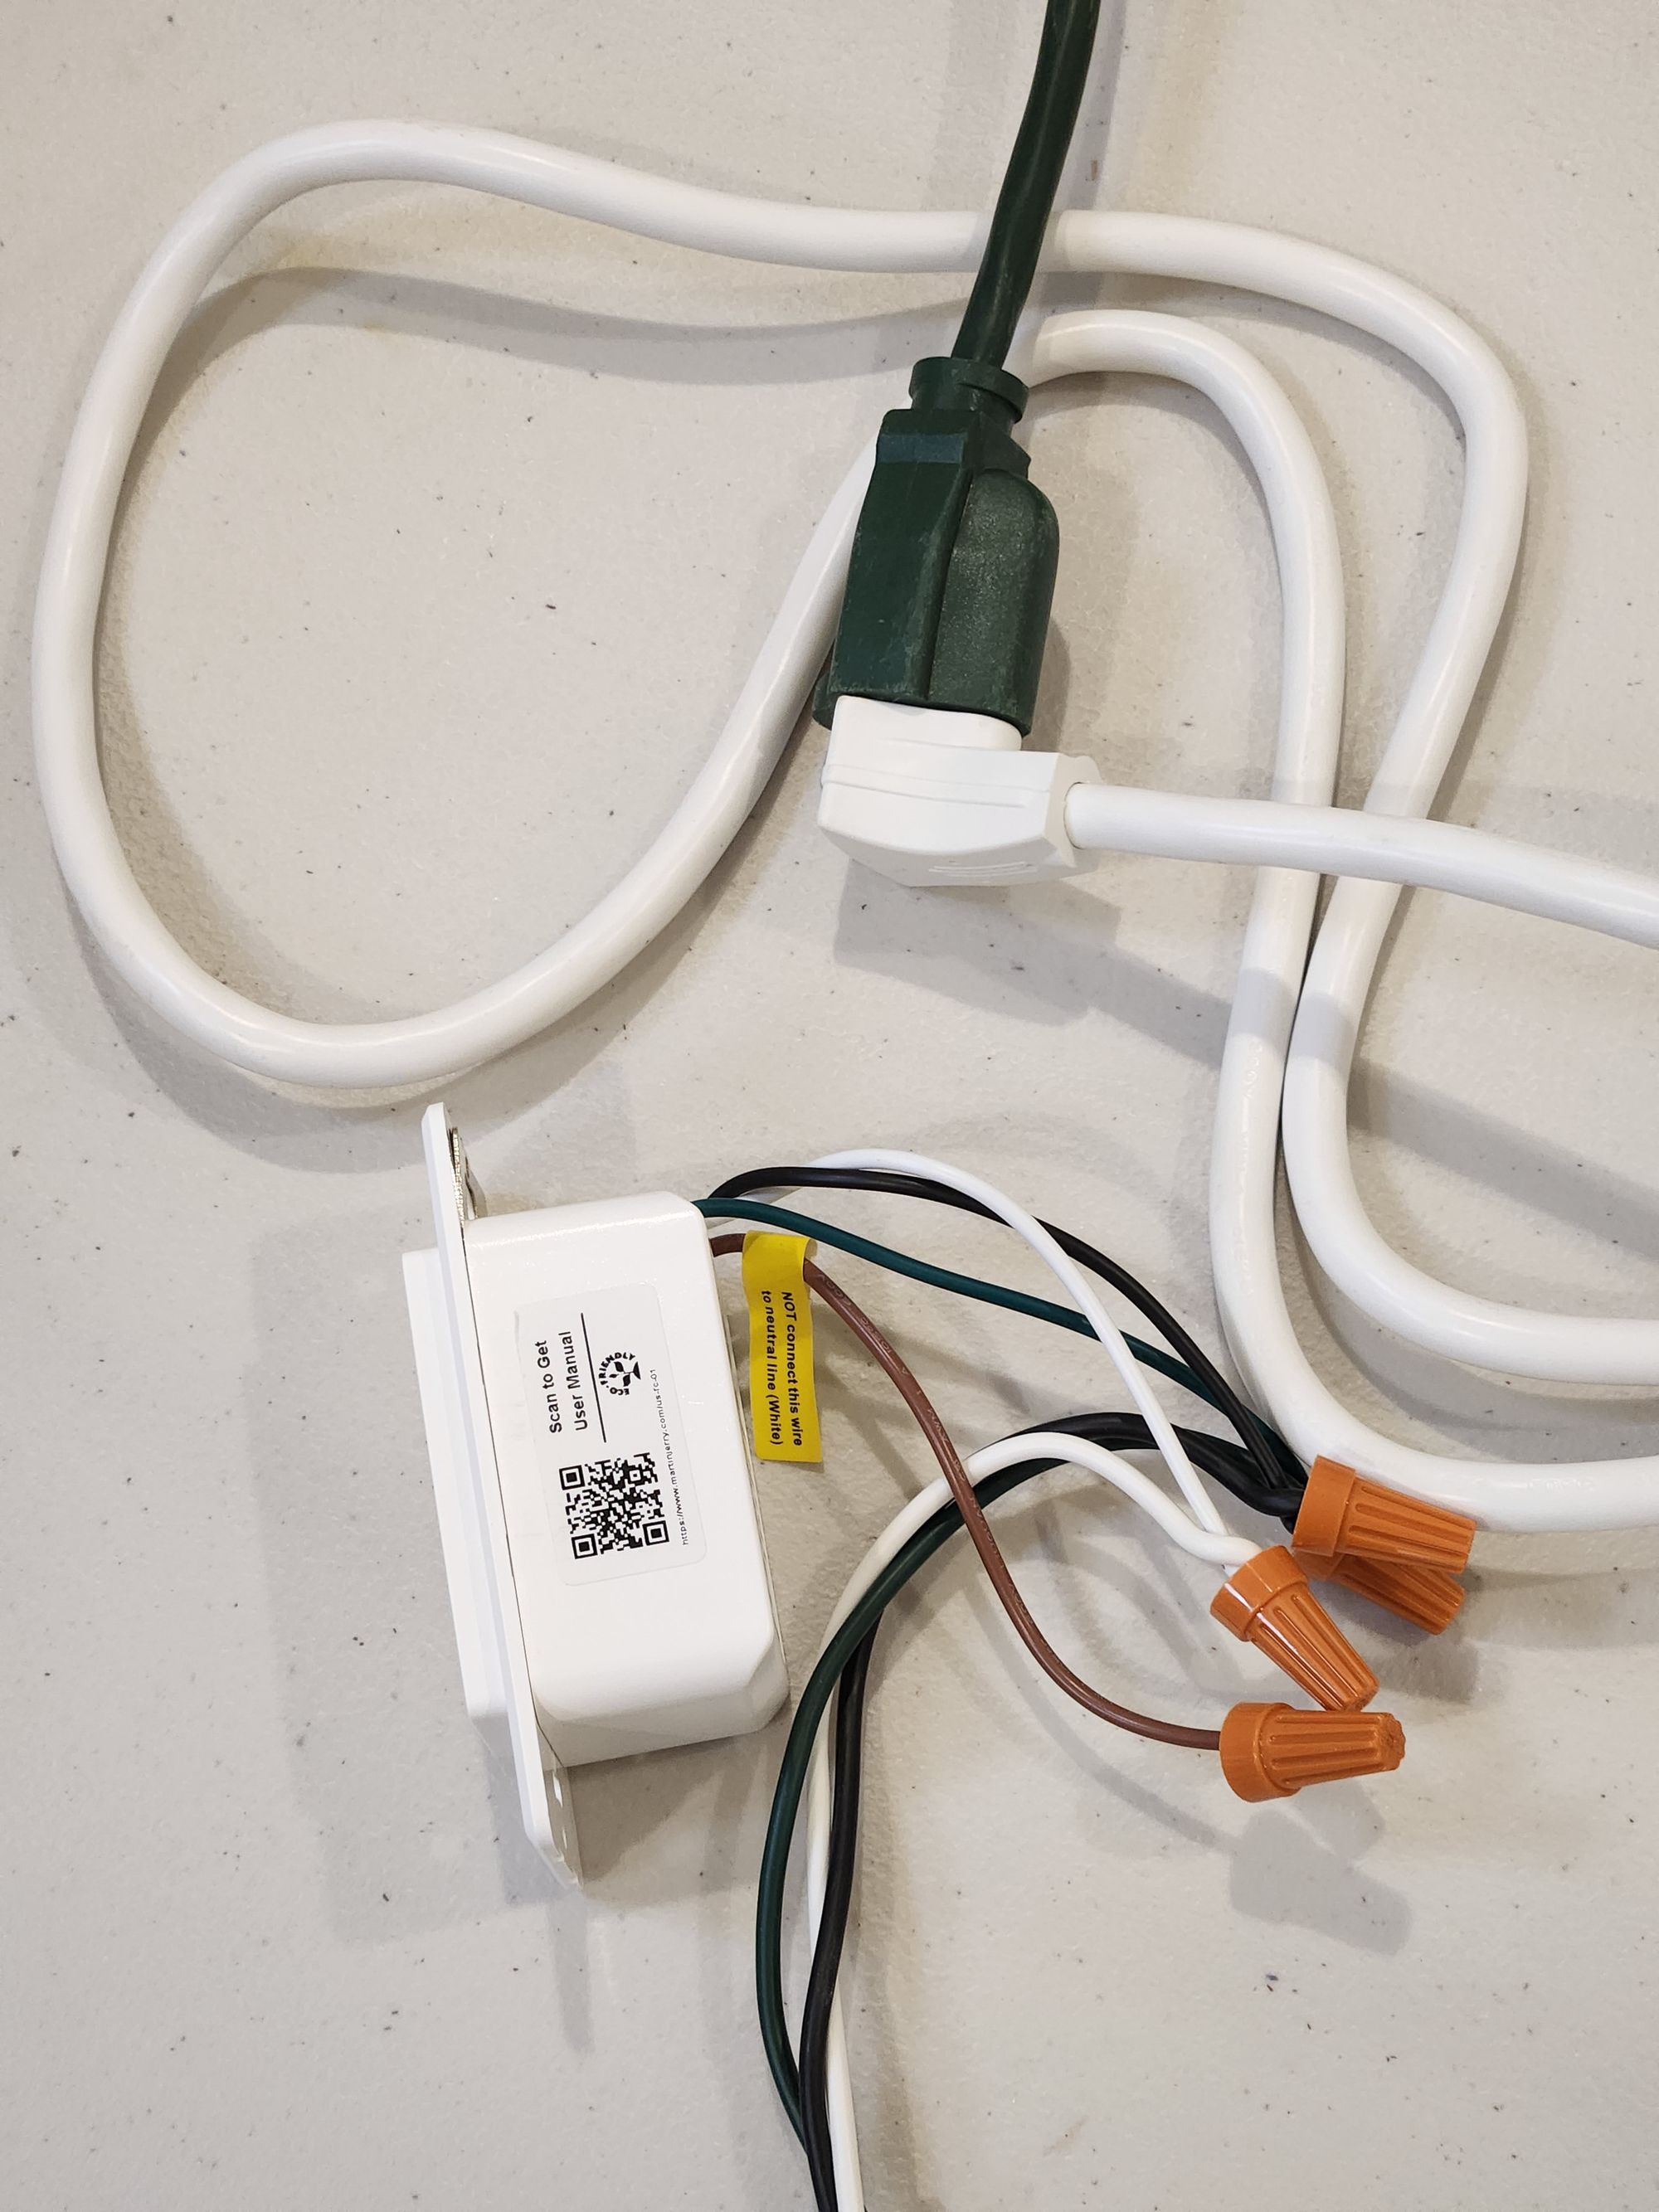
To make this easy and to make sure the switch worked before going through the trouble of wiring it into the wall, I use the power cord off on an old power strip I had (turns out I have way too many anyway) and wired the switch so I could power it from a plug in the wall.
Once you have it powered up, it will create an access point that you can get to at http://192.168.4.1. This is all covered in the manual on their website.
After you get it onto your wifi network and you browse to it in your web browser (just like any other Tasmota device), there are some configuration options you will want to take care of.
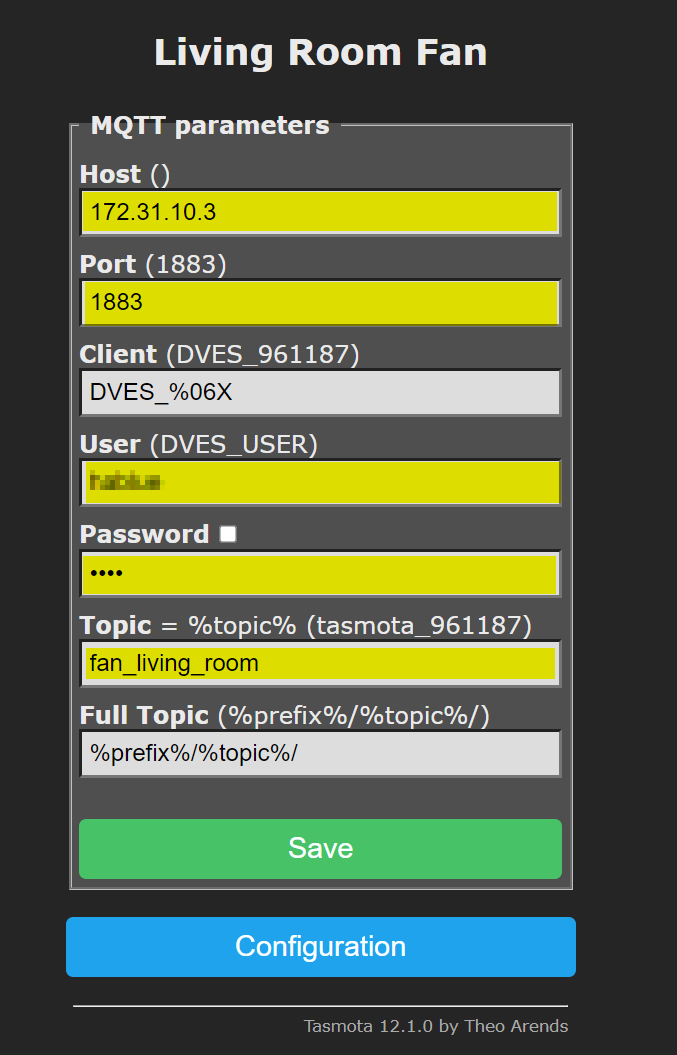
First, make sure you set up your MQTT section by clicking Configuration -> Configure MQTT. Fill in the yellow sections with the appropriate info. Give the switch a descriptive name in the "Topic" so you can tell what it is among all the other MQTT stuff you have.
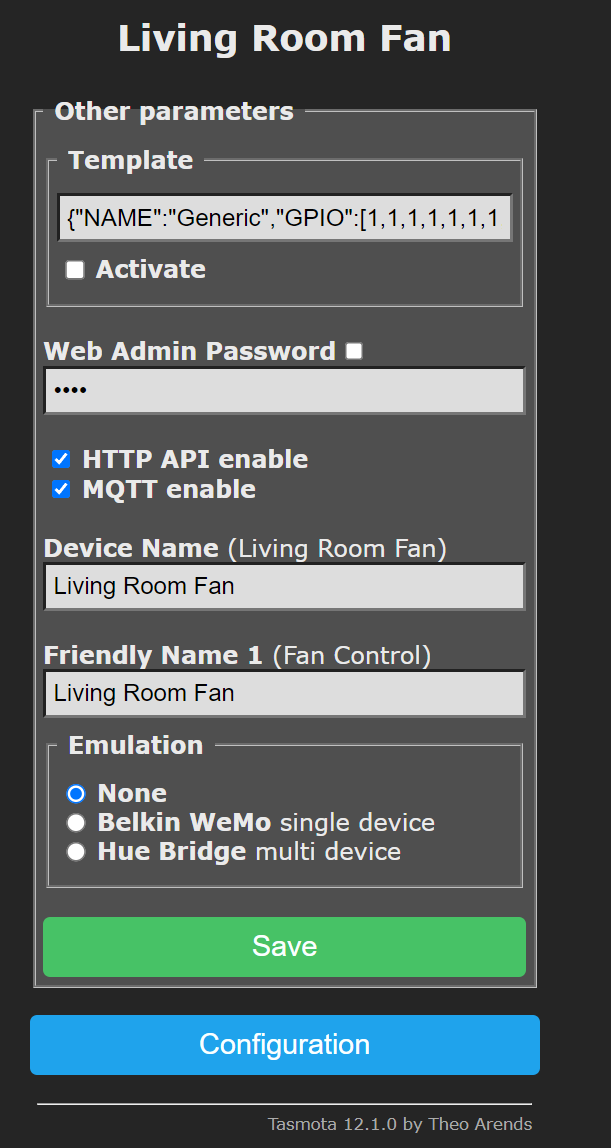
I also made some changes to the Configure Other section by giving the Device Name and Friendly Name something that made sense. I left everything else as default.
Now comes the fun (or maybe not fun part). You need to make some changes in the console in order for the fan to be able to send speed information to Home Assistant. There is an auto-discovery method, which is limited to only on/off and fan speeds. It doesn't send over the presets because of a limit on the size of the packet. There is also a yaml method, which is what I used.
Before I go any further, I need to give credit where it is due. I found this information for the presets and auto-discovery on DigiBlur's website. Take a look at his stuff. Lots of good stuff over there.
You have two options to control the fan. The first will change the preset without turning on the fan. The second will turn on the fan if the preset is changed. I like the second one as it allows an easy one touch to set the speed and turn on the fan.
Option 1:
Rule1 on TuyaReceived#Data=55AA03070005030400010016 do publish2 stat/%topic%/speed 3,0 endon
      on TuyaReceived#Data=55AA03070005030400010117 do publish2 stat/%topic%/speed 3,1 endon
      on TuyaReceived#Data=55AA03070005030400010218 do publish2 stat/%topic%/speed 3,2 endon
      on TuyaReceived#Data=55AA03070005030400010319 do publish2 stat/%topic%/speed 3,3 endon
Option 2:
Rule1 on TuyaReceived#Data=55AA03070005030400010016 do backlog power1 1 ; publish2 stat/%topic%/speed 3,0 endon
      on TuyaReceived#Data=55AA03070005030400010117 do backlog power1 1 ; publish2 stat/%topic%/speed 3,1 endon
      on TuyaReceived#Data=55AA03070005030400010218 do backlog power1 1 ; publish2 stat/%topic%/speed 3,2 endon
      on TuyaReceived#Data=55AA03070005030400010319 do backlog power1 1 ; publish2 stat/%topic%/speed 3,3 endon
Enable Rule 1 by typing the following in the console:
Rule1 1
If you want to use the auto-discovery method, here is what you need to paste into the console section of the UI. Console is under the main menu of the device. Don't worry that looks ugly in the console. Just paste it in and hit enter.
Rule3
ON DeviceName#Data DO Var1 %value% ENDON
ON SYSTEM#BOOT DO backlog DeviceName ENDON
ON Var1 DO publish2 homeassistant/fan/%macaddr%_fan/config {"name":"%Var1% Fan","uniq_id":"%macaddr%_fan","stat_t":"stat/%topic%/POWER1","cmd_t":"cmnd/%topic%/POWER1","avty_t":"tele/%topic%/LWT","pct_stat_t":"stat/%topic%/speed","pct_val_tpl":"{{((value|replace(\"3,\",\"\"))|int(0)+1)*25}}","pct_cmd_t":"cmnd/%topic%/tuyasend4","pct_cmd_tpl":"3,{{((value|int(0)-1)/25)|int(0)}}","pl_avail":"Online","pl_not_avail":"Offline","pl_on":"ON","pl_off":"OFF","dev":{"connections":[["mac","%macaddr%"]]}} ENDON
After you paste the above, you need to enable the rule by typing the following into the console and hitting enter.
rule3 1
After that, restart the switch either by hitting the red restart button from the main menu of the gui or by typing the following in the console.
restart 1
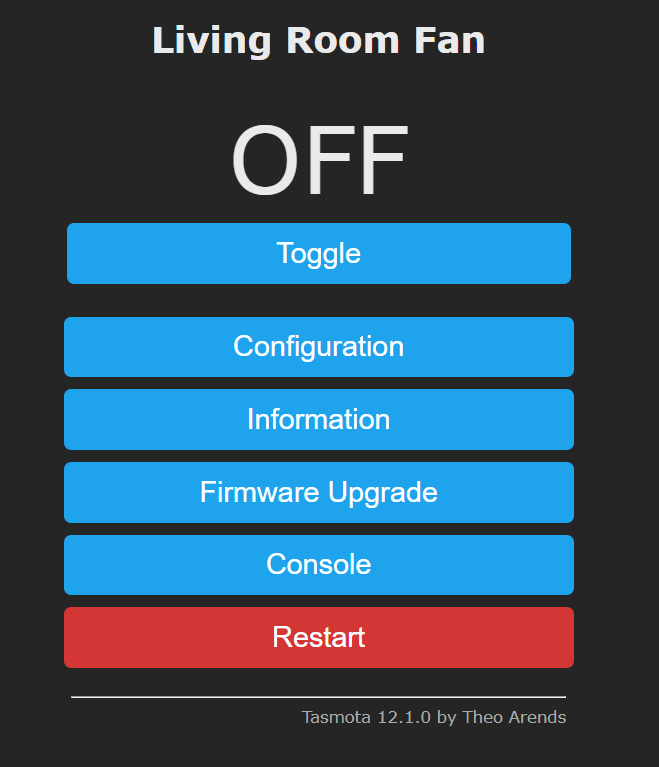
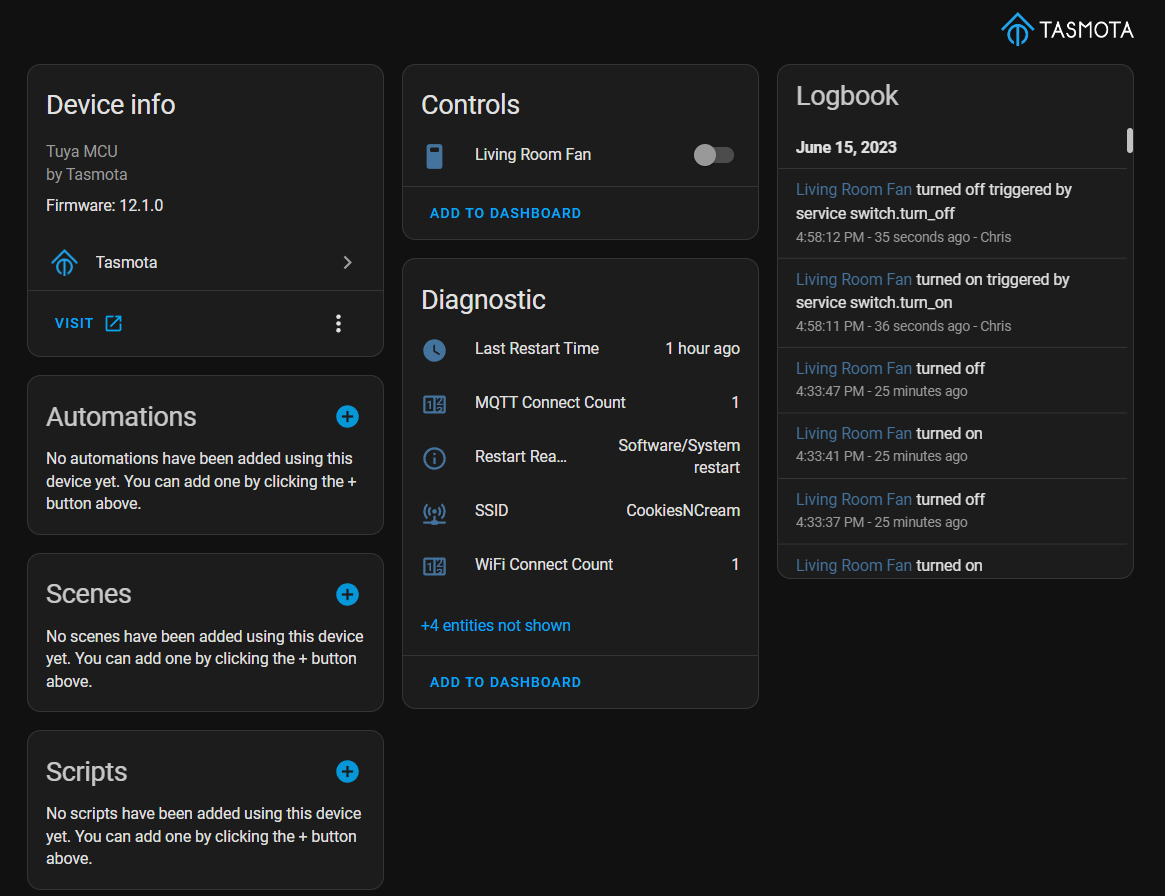
If you've done everything correctly, look at your devices in Home Assistant and the device with the name you gave it in the MQTT config screen on the device should show up.

The YAML Way
In order to get presets to show in Home Assistant you need to add some yaml to your configuration under the mqtt: fan: section. It will look something similar to this if you already have an mqtt section in your config. Again, credit goes to Digiblur for this information. If you don't have an mqtt section already, add mqtt: above the word fan: and move the whole fan block over 2 spaces for correct yaml syntax.
fan:
  - name: "Living Room Fan"
    qos: 1
    state_topic: "stat/fan_living_room/POWER"
    command_topic: "cmnd/fan_living_room/POWER"
    availability_topic: "tele/fan_living_room/LWT"
    percentage_state_topic: "stat/fan_living_room/speed"
    percentage_value_template: '{{ ((value | replace("3,","")) | int + 1) * 25 }}'
    percentage_command_topic: "cmnd/fan_living_room/tuyasend4"
    percentage_command_template: "3,{{ ((value | int - 1) / 25) | int }}"
    preset_mode_state_topic: "stat/fan_living_room/speed"
    preset_mode_value_template: '{{ value | replace("3,0", "turtle") | replace("3,1", "low") | replace("3,2", "medium") | replace("3,3", "high") }}'
    preset_mode_command_topic: "cmnd/fan_living_room/tuyasend4"
    preset_mode_command_template: '{{ value | replace("turtle", "3,0") | replace("low", "3,1") | replace("medium", "3,2") | replace("high", "3,3") }}'
    preset_modes:
      - "turtle"
      - "low"
      - "medium"
      - "high"
    payload_available: "Online"
    payload_not_available: "Offline"
    payload_on: "ON"
    payload_off: "OFF"
Once you finish with the above config, you will need to restart Home Assistant. Make sure to pay attention to any issues that might get reported. 99% of those will be syntax errors in the yaml so adjust as needed.
After restarting Home Assistant, you will have an entity under developer tools that should have fan control speeds based on pre-sets (not percents).
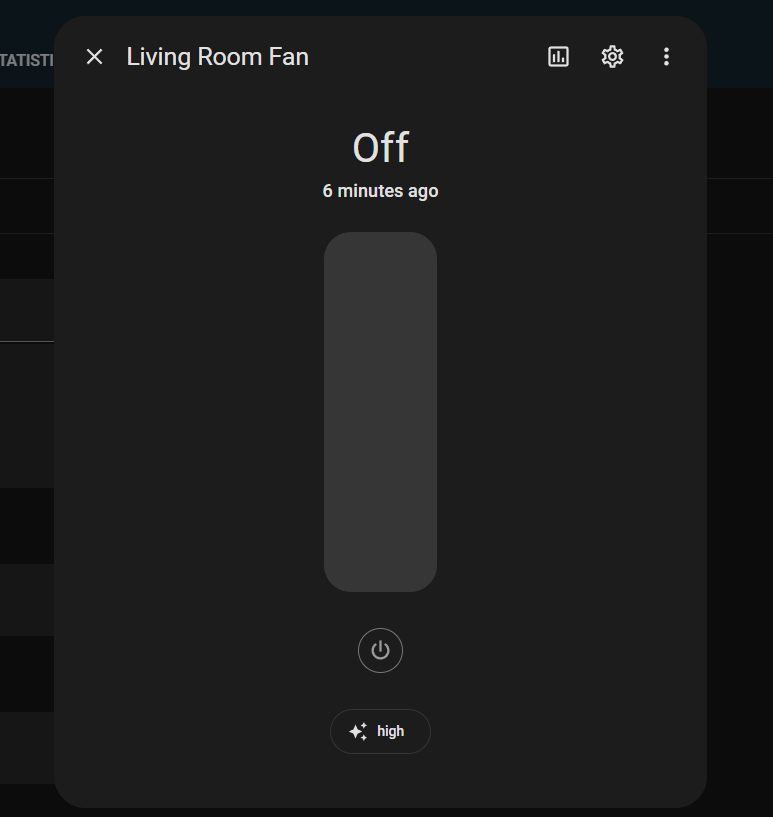

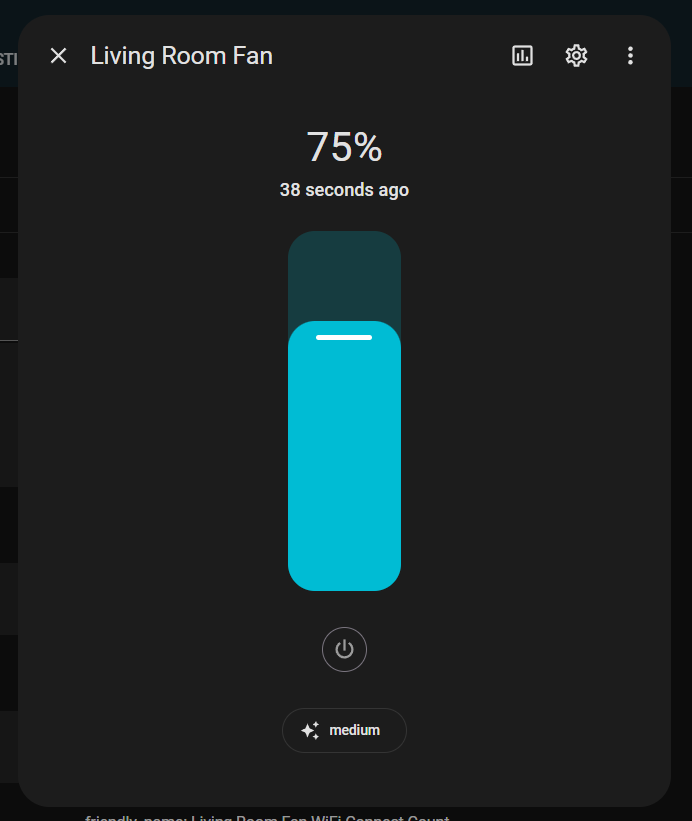
You will notice that there is a percentage on the fan slider. This is relative to the number of presets and not a true fan speed percentage. In the above image, 75% represents medium and 100% would represent high.
Once you have it all working on the test stand, you can go install it in the wall if you feel comfortable doing that. Otherwise, consult your licensed electrician.
Make sure to watch the video for any details I might have left out here and to see this all come together.
Thanks for reading!