
Conversations and Service Call Data in Home Assistant
Make your IoT work for you. Conversations and Sentence Triggers with Automations in Home Assistant.

The Home Assistant 2023.7 release was another big one, with lots of new features and updates. One of the biggest, and the one I focus on in this article, is that services can now respond with data.
How is this different than before? In the past, calling a service via automation or script was a one-way path. You call it, it does something, the end. With this new update, you can now ask for information from a device or other service. I am going to show you how I get a summary of my day using this new feature.
To accomplish this, I am going to be using the conversation.process and calendar.list_events services. I will also be using a blueprint from @allenporter as my basis for creating this automation. Thanks Allen for your work on this!
In addition, I will be using the sentence trigger to ask conversationally to tell me about my day. Let's put all this together.
In order for the blueprint to function, there are some pieces that you will need to make sure you have installed in Home Assistant. Those pieces include the following:
- Home Assistant version 2023.7 or greater
- The OpenAI Integration
- Some sort of weather integration
- A notification path
- At least one calendar integration in Home Assistant. You can use the HA calendar or one of your linked calendars such as Google.
The OpenAI integration allows you to create conversational responses generated by AI into Home Assistant. It can be used for more than just the blueprint but it does come with a caveat. You need to pay for a subscription.
This integration requires an API key to use, which you can generate here.. This is a paid service. We advise you to monitor your costs in the OpenAI portal closely and configure usage limits to avoid unwanted costs associated with using the service.
I set up some pretty strict usage limits to prevent something from going haywire and charging me lots of money. My limits are in the single-digit dollar range. As I was playing with this integration and doing testing, it cost me about $0.02 cents US for all of what I did. If you make a couple of calls to the blueprint per day, it will not be bad at all.
Many of the weather integrations require an API key as well and there are some free ones out there. The National Weather Service, for example, can use any random string as an API key and it doesn't cost anything. Pay attention to API limits for the service you choose.
Since I have the Home Assistant Companion app installed, I will use that for my notification path. However, I will also show how I am using one of my Alexa smart speakers.
Installing the integrations in Home Assistant is just like any other integration. Go to Settings -> Integrations and click the Add Integration button on the bottom right of the screen.
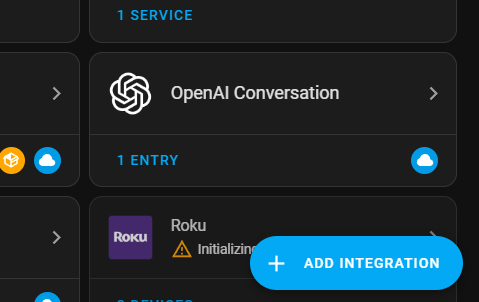
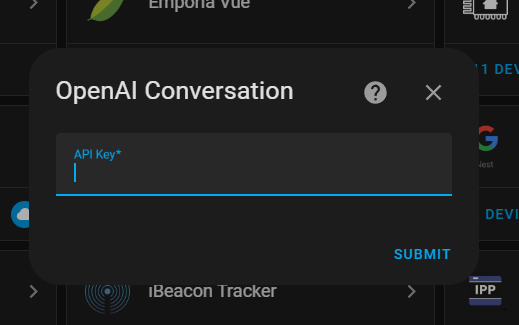
Search for the integration you want to install (OpenAI, weather, etc) and follow the on-screen prompts. For example, installing the OpenAI integration asks for your API key.
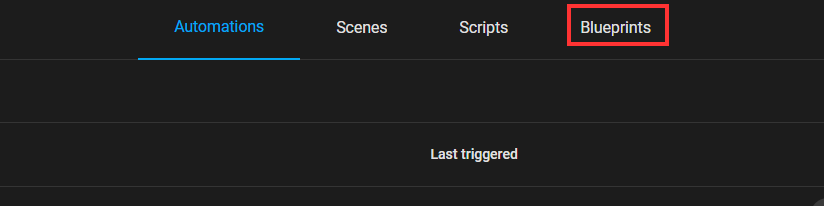
Once you have OpenAI and the weather integration of your choice installed, you can move on to installing the blueprint that I linked above. Navigate to Settings -> Automations and click the Blueprints link at the top of the page.
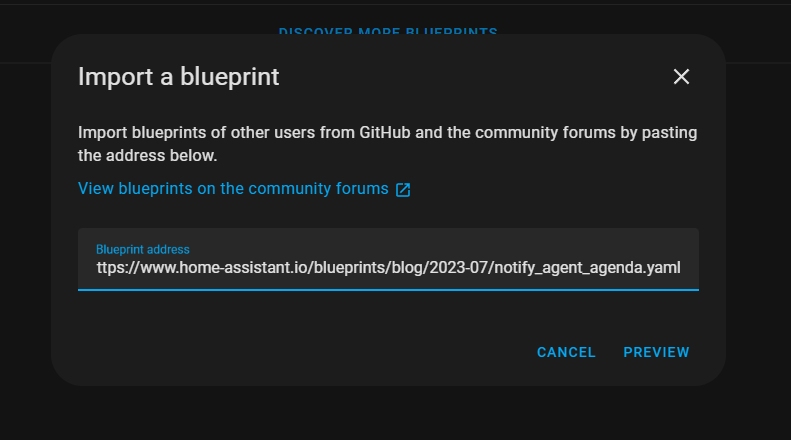
On the bottom right of that page, click on Import Blueprint and paste the blueprint link.
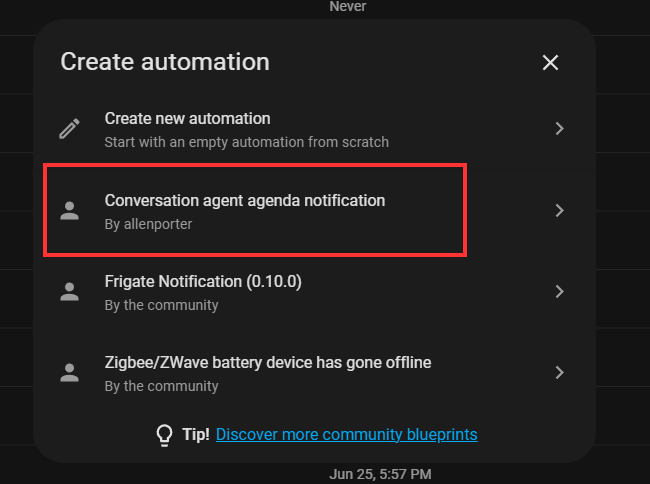
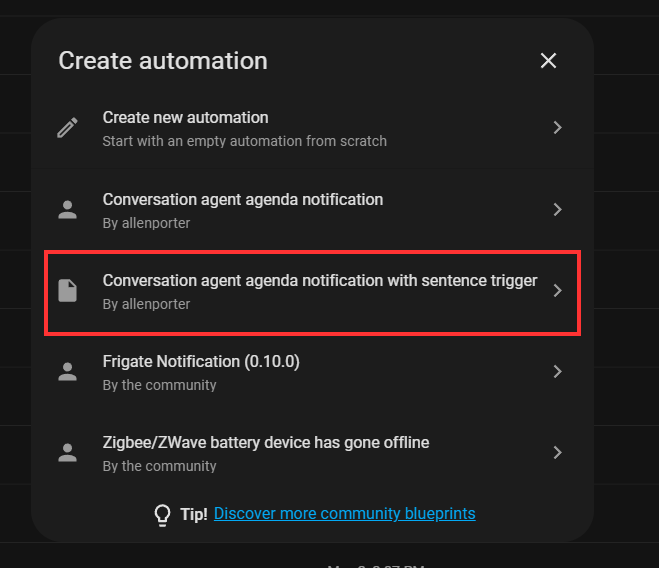
After you have installed/downloaded that blueprint, click on the Automations option at the top of the page. Click the Create Automation button on the bottom right. Here your popup may differ from what I show based on what you other blueprints you might have installed. For this article, choose the Conversation agent.
Choosing that will pop up the blueprint that you can fill in with all the relevant information.
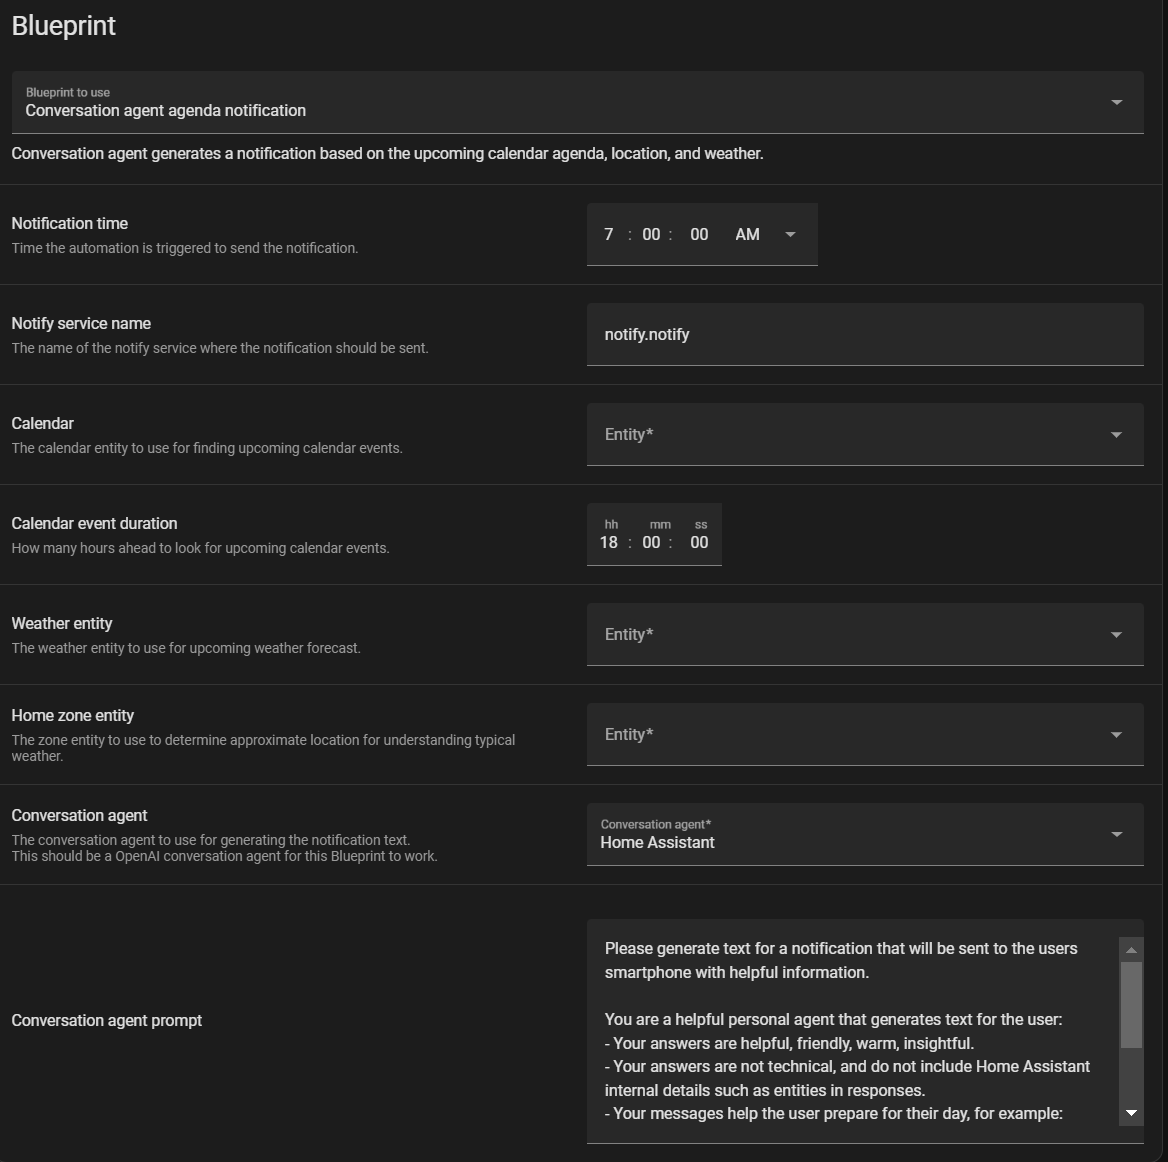
Most of the options are straightforward and have descriptions of what to put in each one. It is important to note that the Conversation agent needs to be OpenAI for this particular blueprint to function. You must also choose a weather entity and calendar. The default notify.notify service name will send the alert to your companion app on your phone. You can choose what time of day to send this in the notification time setting.
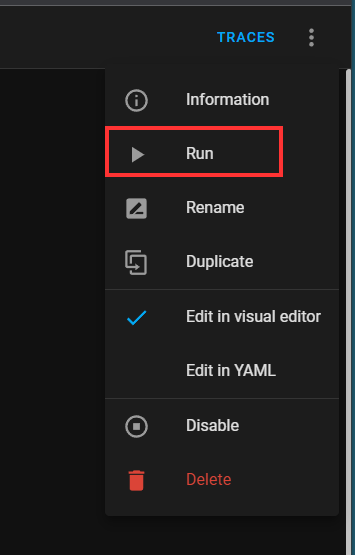
Once you have all the fields filled out, save the automation, give it a name, and then you can force run it. If it doesn't work, troubleshoot as you would any automation using Traces or your favorite troubleshooting method.
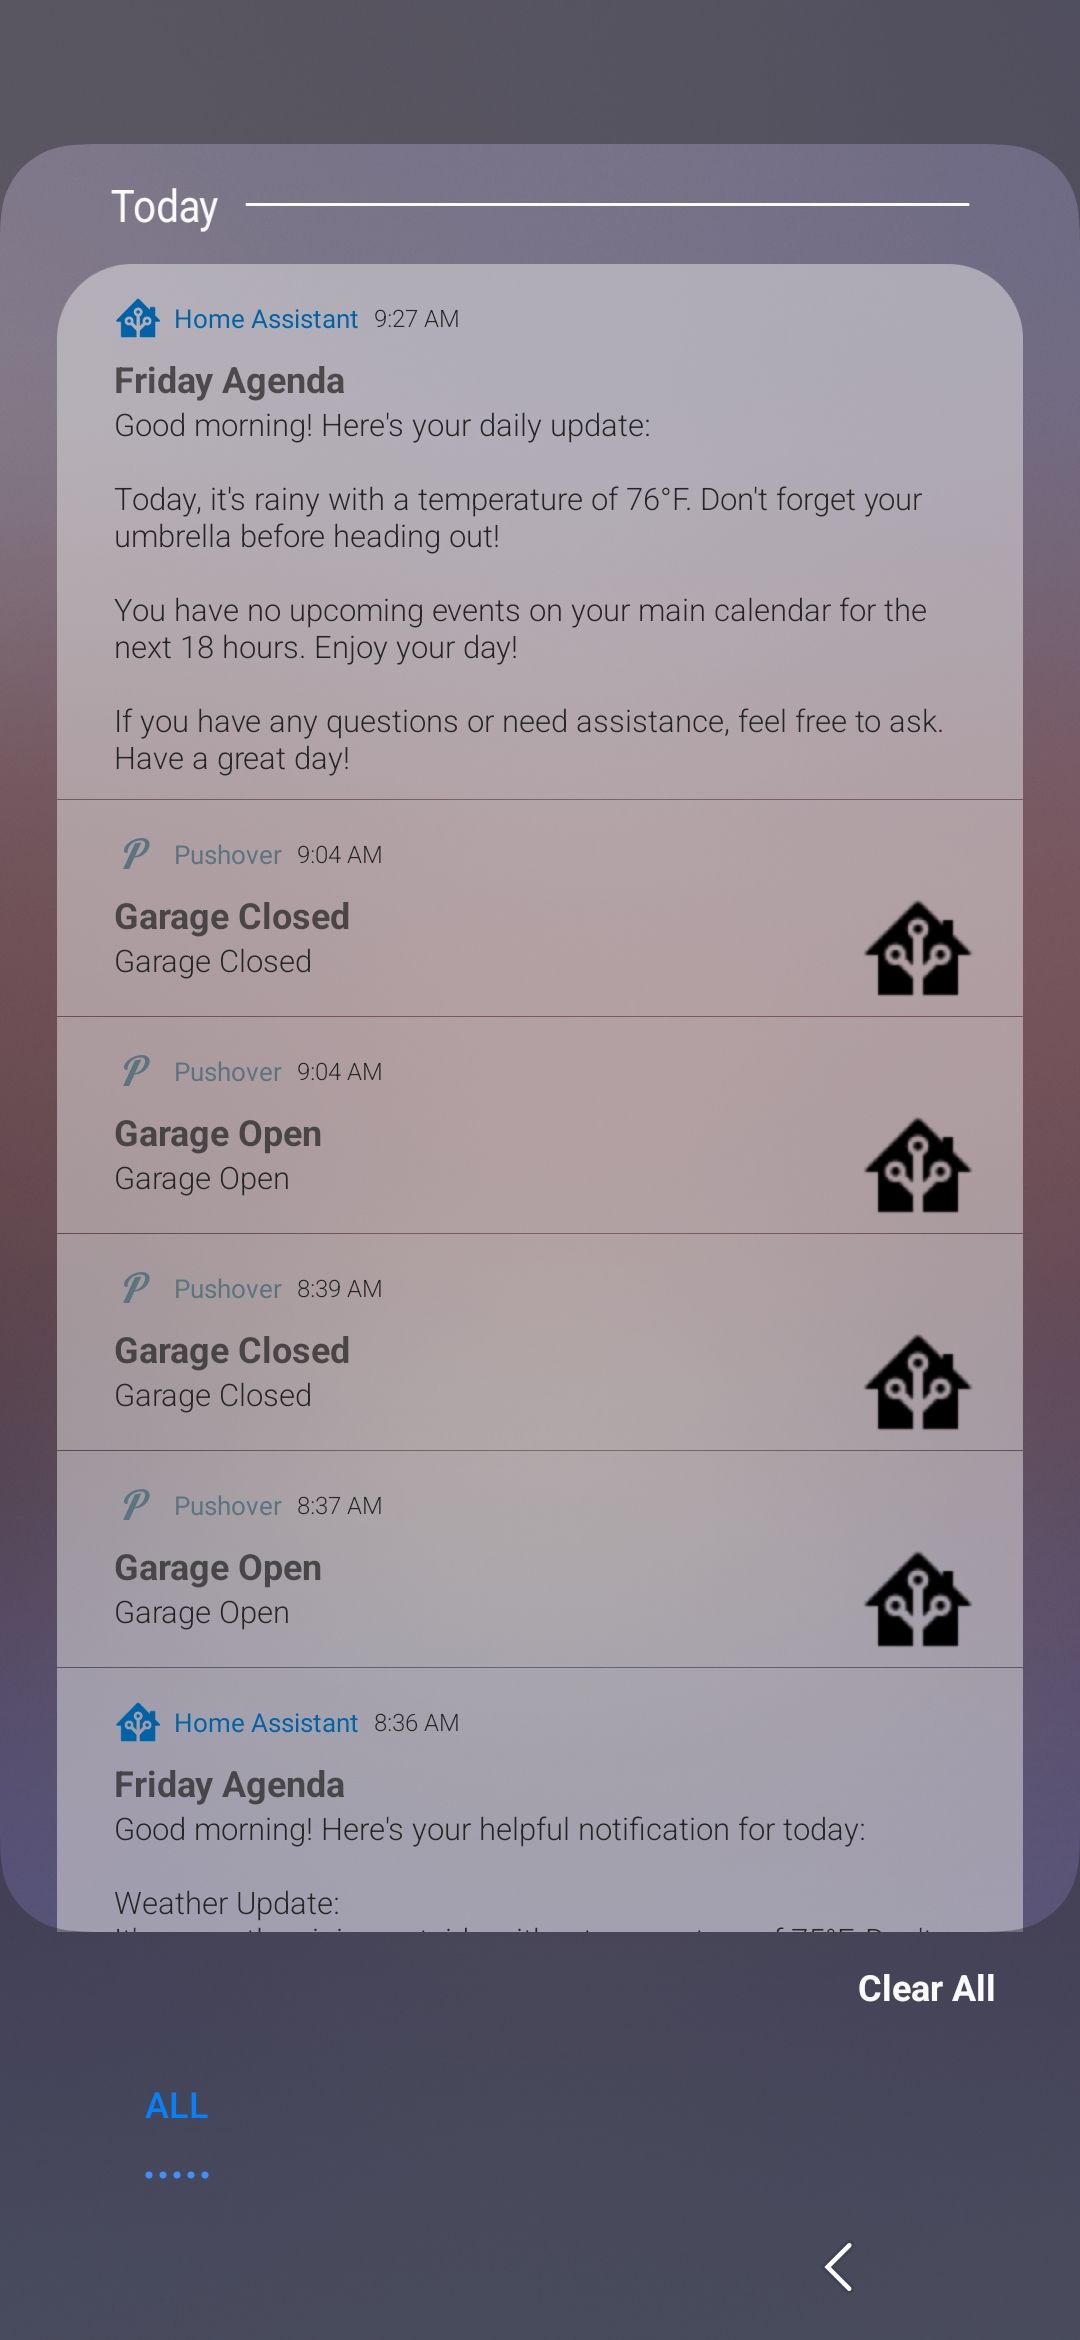
Congratulations! You are now sending "helpful, friendly, warm, insightful" updates to your phone for the weather and your upcoming events. But what if you wanted that to go to a smart speaker or other notification path?
Turns out, this is as simple as changing the notify service name.
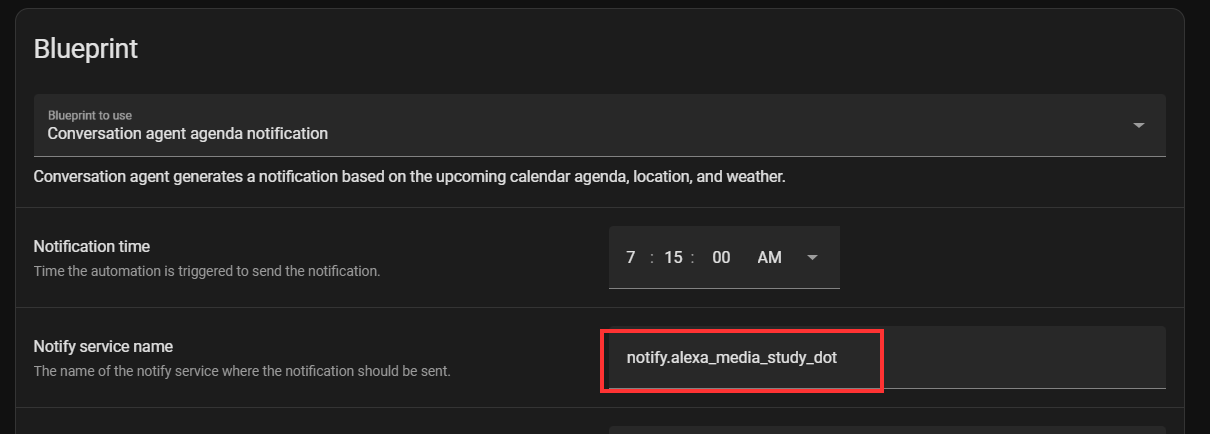
There is no auto-fill for this field so you will need to know that service name to set. However, once you add it in here, it should send your information to that notification path (if that notification service supports it).
BUT WAIT! There's more!
What if you wanted to use a common sentence to get your update rather than specify a time? This is easy using the new sentence trigger in version 2023.7 of Home Assistant. You can do this one of two ways. Either update the blueprint to use the sentence as a trigger instead of time OR build a new automation and include the sentence trigger but use the rest of the automation.
This gets into the code a bit so if you are squeamish about touching yaml, look away now and just use the default blueprint. Otherwise, read on.
The first thing I did was open a terminal in Home Assistant and navigate to the config->blueprints->homeassistant directory. I made a copy of 'notify_agent_agenda.yaml'
cp notify_agent_agenda.yaml notify_agent_agenda_with_sentence.yaml
In the copy, I made the following changes.
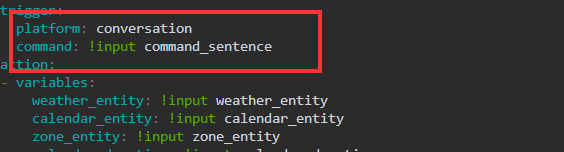
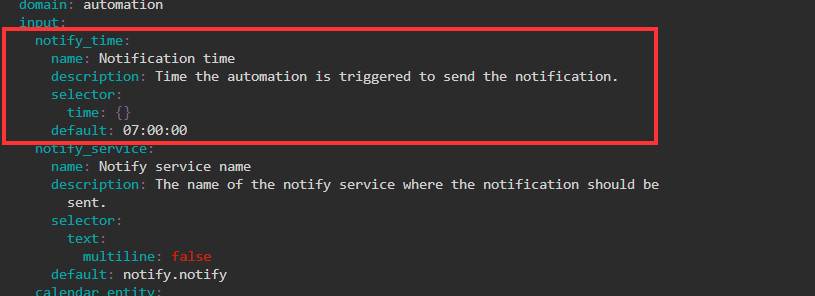
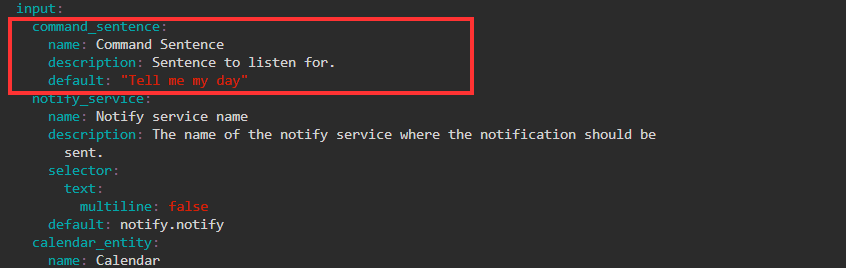
- Changed the time input to a sentence input
- Changed the trigger command to platform: conversation with the command being the sentence input.

Make sure to follow along in the video for details on how I made these and other changes. It's easier to explain that way 😉. You will need to reload automations after creating and modifying this file in order for it to show in your list of blueprints.
After, when creating an automation, you can use the modified blueprint.
You will see the new trigger type where you can specify the sentence to trigger the automation.
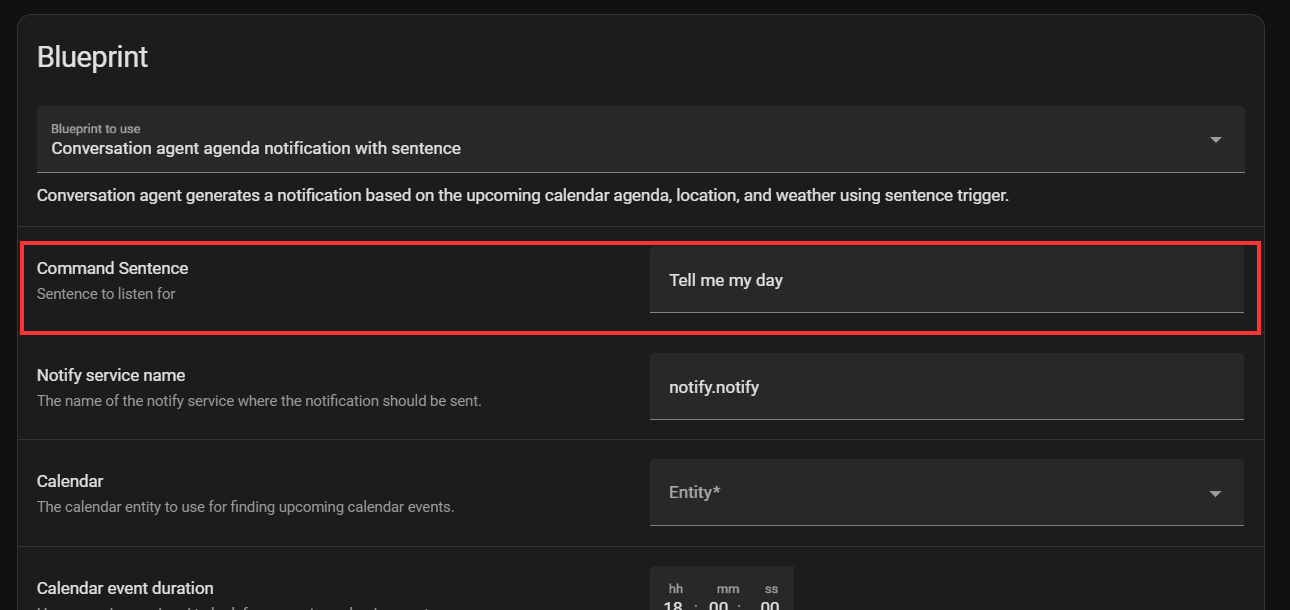
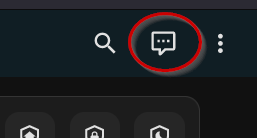
Fill that in with your choice of words and then you can use the "assist" function to call this automation.
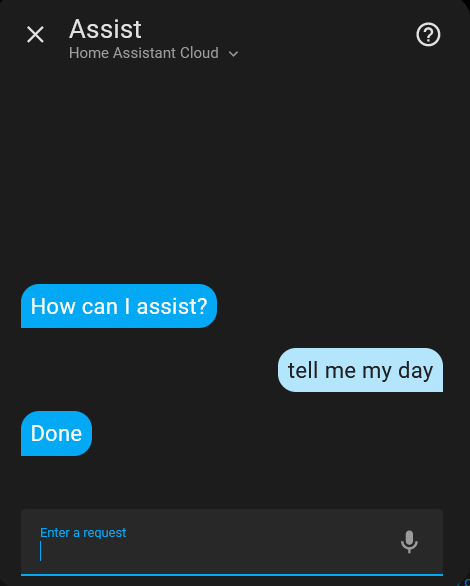
That's it! Make sure to take a look at the video for a demonstration and walkthrough of what I cover in this post.