Ditching LastPass for Bitwarden
LastPass has had a serious data breach. Maybe it's time to take control of your passwords!
If you have been reading any kind of news lately (as of of this post anyway), you have probably heard of the LastPass data breach. That breach has turned up a number of security issues with the platform, so much so that many in the security community are recommending not using their service.
DISCLAIMER: Everyone is responsible for their own online security, including how they choose to handle passwords. For some, that is a notebook in a drawer (not my recommendation). For others, it's a full-fledged password manager. Then there is everything else in-between. With that in mind, this article is designed to provide an option for a locally hosted password manager. It doesn't mean that this is right for everyone. Ok, that being said, let's dig in.
We are, of course, talking about Vaultwarden. Vaultwarden is the open-source version of Bitwarden and the fine folks over at Home Assistant/Nabu Casa have built an add-on that makes installing Vaultwarden super easy.
Simply navigate to the Settings -> Add-ons section in Home Assistant (or use the 'c' key shortcut).

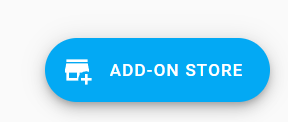
Click the ADD-ON STORE button.
Start typing Vaultwarden in the search box and it should show up. Click the Vaultwarden Add-On and then click install on the next page.
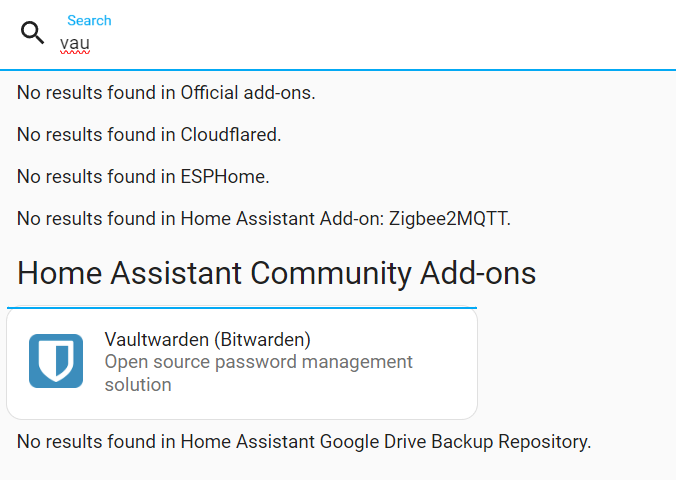
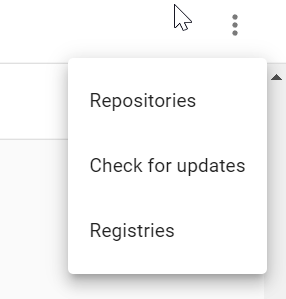
NOTE: You need to make sure you have the "Home Assistant Community Add-ons" section added in the Add-on store. If you do not, click the three dots in the upper right of the add-on store and choose "Repositories".
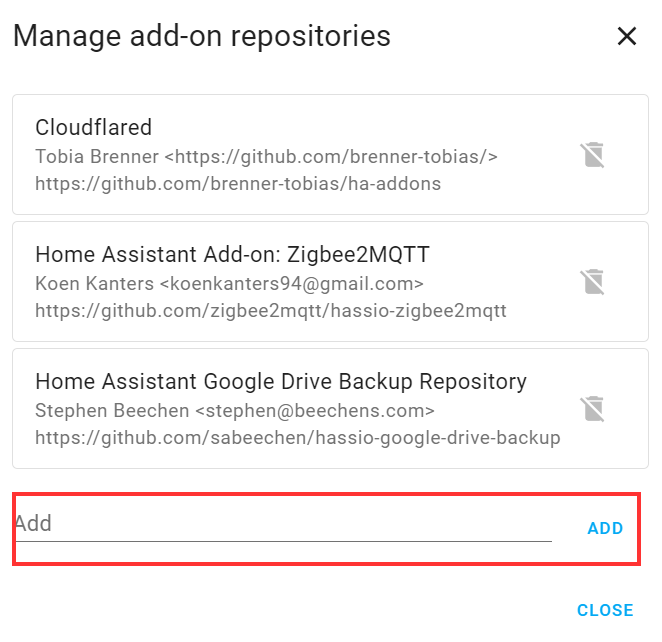
When the repository window pops up, you need to add https://github.com/hassio-addons/repository and click ADD. You will then have access to Vaultwarden as well as a host of other community-supplied add-ons.
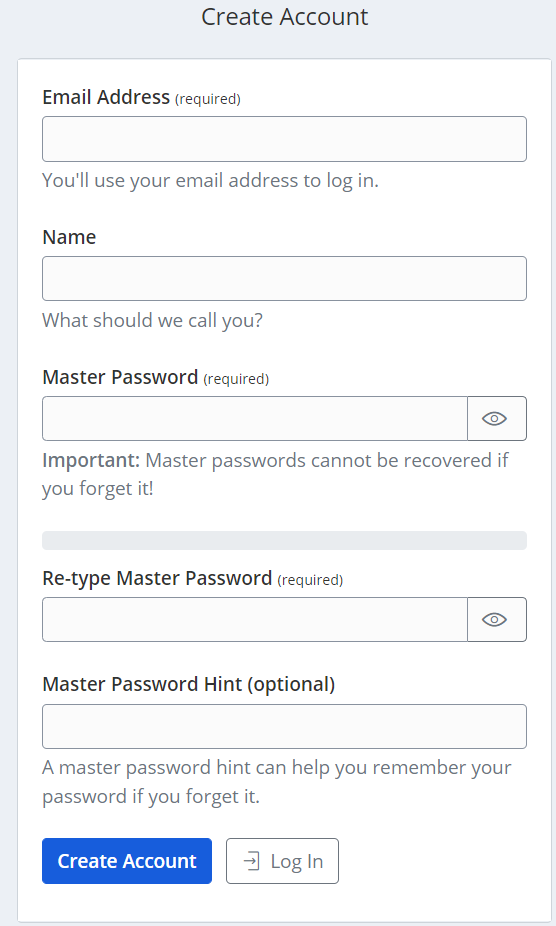
For most users, you can leave the configuration as default. In that case, just click START to run the add-on. Once it is up and running, open the web UI and you will need to create your first account. Make sure that you use a secure password as this will serve as your master password for your vault. If someone guesses that, they have access to all your secured items in your vault.
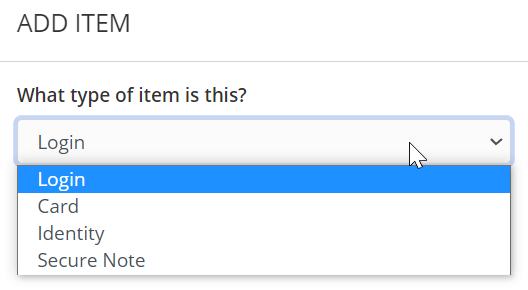
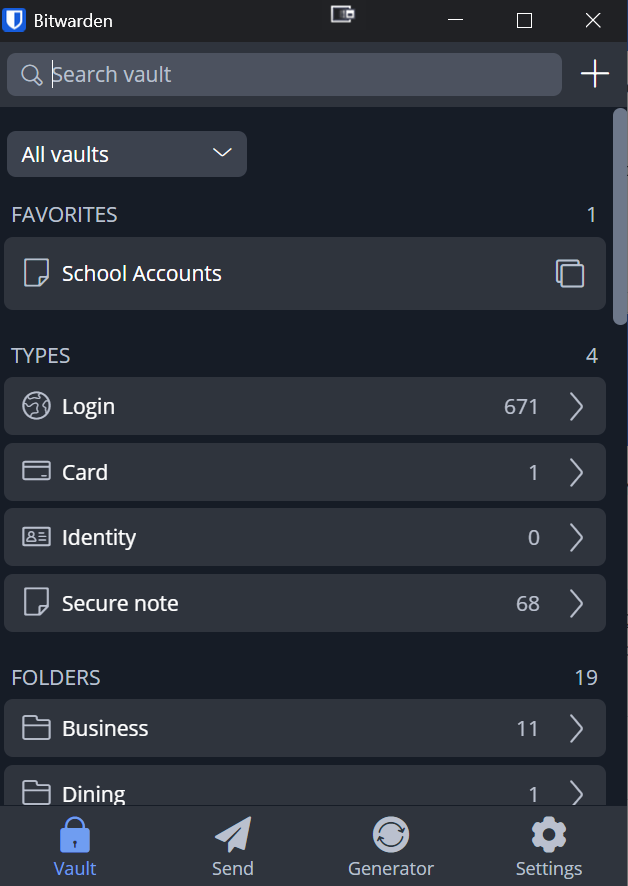
Once you have the account created, you can log in and start adding items to the vault. Keep in mind that the vault isn't just for passwords. It can be used to store credit card information, notes, identities, etc.
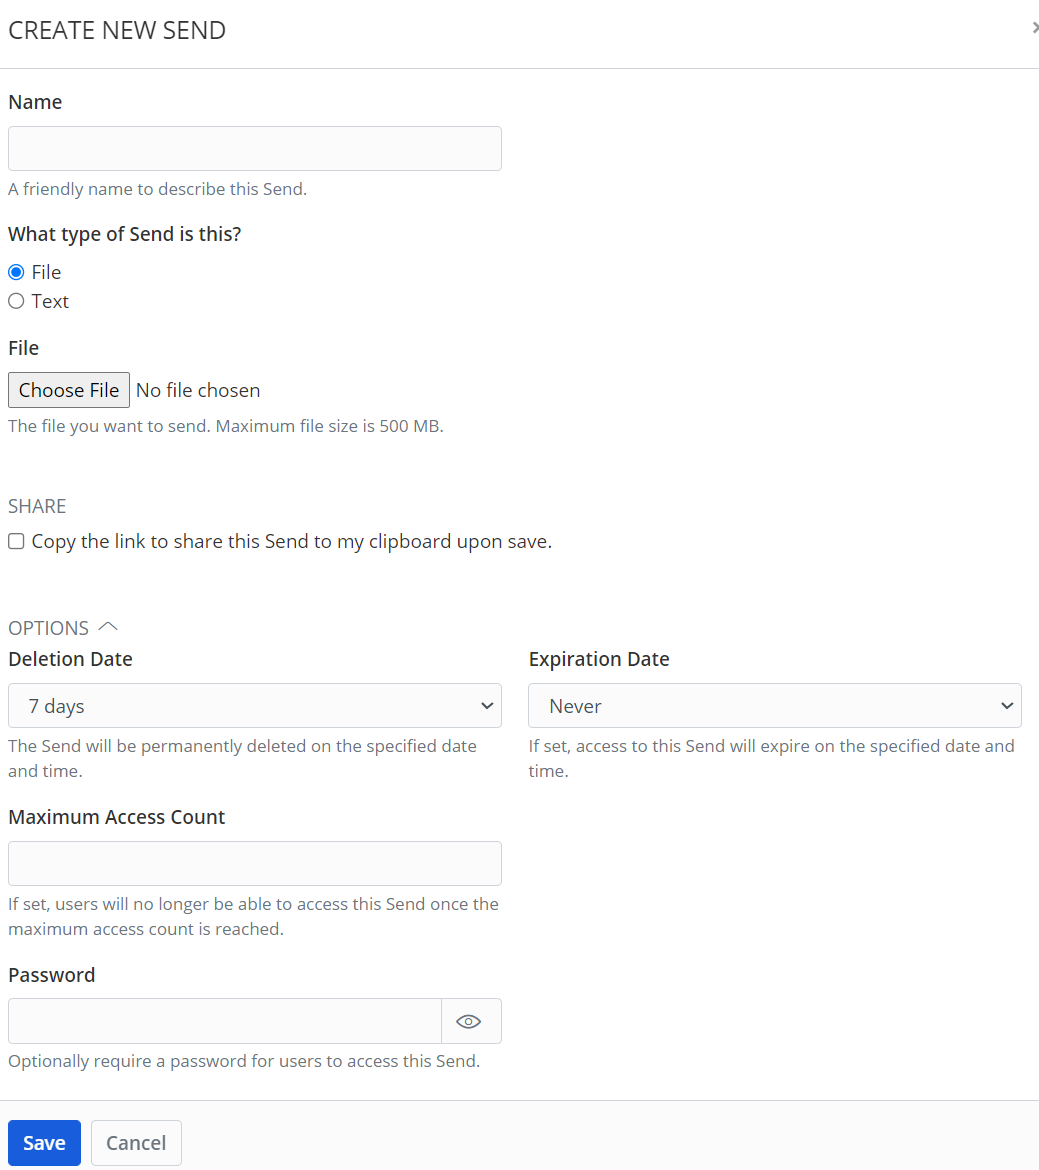
In addition to storing items in the vault, you can use Vaultwarden to send text and files securely. This creates a link that you share with someone. The send can be set to delete after a certain time and the link can also be set to expire after a certain time. Also, you can set a maximum number of times the send can be accessed. Finally, an additional password can be added to the send, making it even more secure.
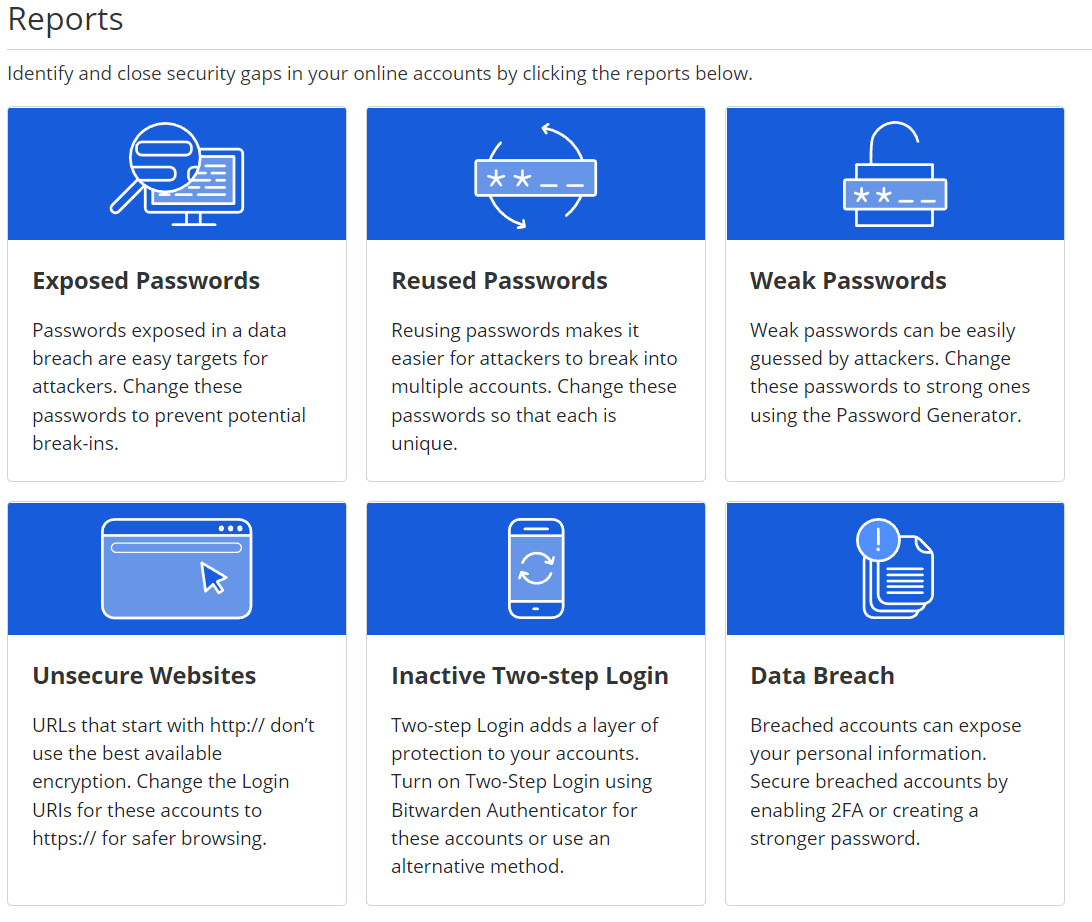
Vaultwarden also comes with a number of reporting tools that helps you audit your vault and make sure you don't have any exposed, reused or weak passwords. You can also check for data breaches for items in your vault.
To make things as easy as possible, you can use the Bitwarden browser extensions with Vaultwarden. You just need to set the self-hosting URL in the settings so that the extension knows where your vault is.
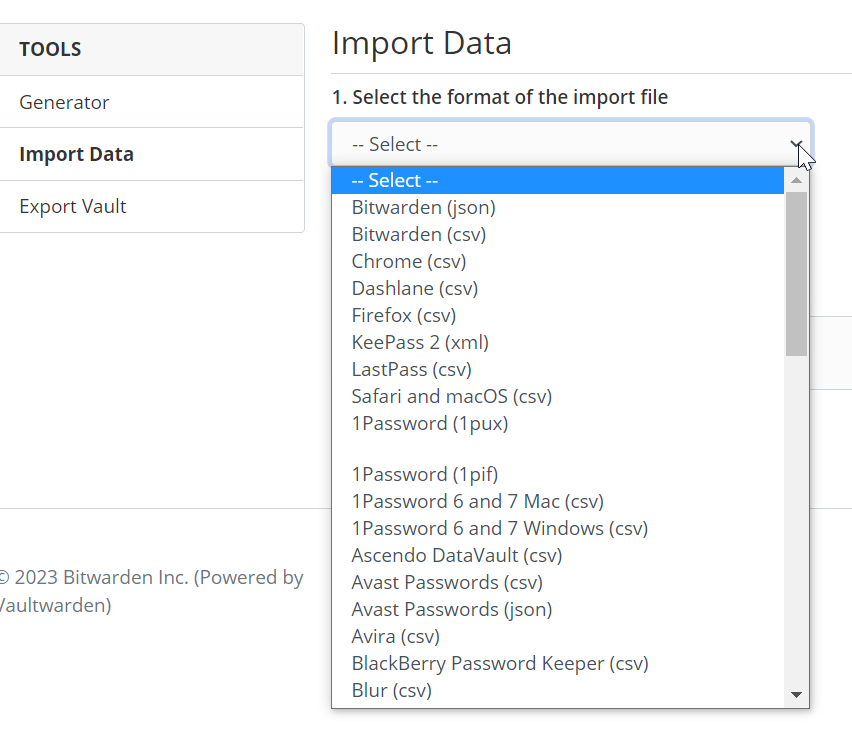
I have been running Vaultwarden as a Home Assistant add-on for a long time now (think years). Back when I started to use Vaultwarden, I was using LastPass. My reasons for migrating to self-hosted were different as there was not an active breach at the time. What was nice was that I was able to import all of my LastPass entries into Vaultwarden. If you are on LastPass now, I wouldn't recommend importing from there as your passwords and data might be compromised. However, there are dozens of password managers that can be imported into Vaultwarden. On the Vaultwarden Tools page, there is a section for importing data with a drop-down of other password managers that can be imported.
There are many other settings related to vault timeouts, domain rules, and emergency access that I cover in my video on this topic. Be sure to take a few moments and watch it as I go over all this and more. Also, be sure and subscribe while you are there so you know when I post new content.
That's it for this article. Thanks for reading!