
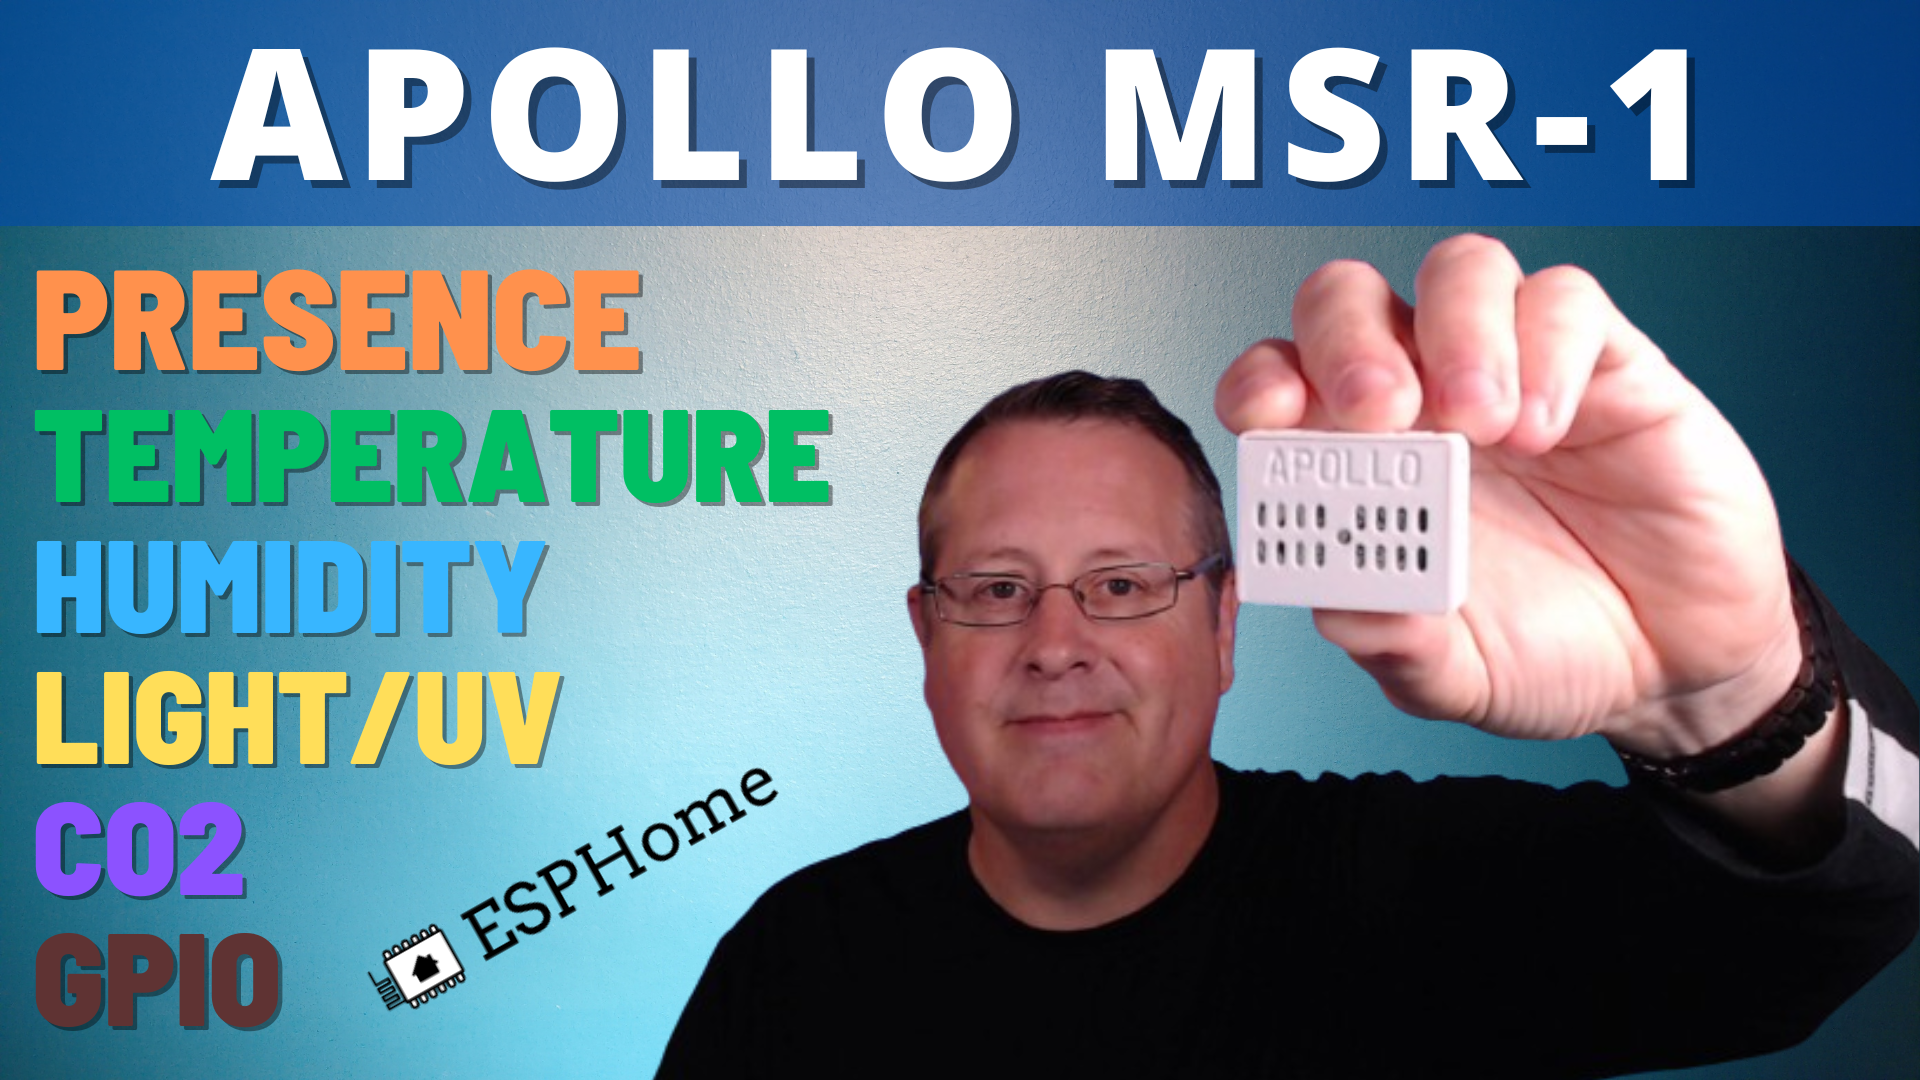
Apollo Automation MSR-1 Presence and More Sensor
This all-in-one very compact sensor is a great addition to your home automation and Home Assistant Setup. It is ESPHome based so can be used in all types of systems.
mmWave sensors are not new, but they are becoming more mainstream in home automation. I set up my first sensor, a linptech, a few months ago and have been happy with its performance so far. Based on the capabilities that I have seen in the linptech, I found that I had a use for another one. For my second sensor, I thought I would take a look at the Apollo Automation MSR-1 sensor.

This device has the following sensors:
- mmWave Radar based on the HLK-LD2410B Human Presence Sensing Module
- Max distance: 5m (16.4ft)
- Response time: Near instant
- Single target
- Detection angle: 60 degrees
- LUX/UV Sensor based on the LTR-390UV
- Temperature/Humidity/Pressure based on the BME280
- Optional CO2 sensor based on the SCD-40 (I didn't opt for this in my device)
- RGB Pixel
- Piezo Buzzer
- Exposed GPIO
This device is packed full of goodness and fits in a very small form factor (as seen above). In addition to using it as a presence sensor, it can be used as a Bluetooth Proxy in Home Assistant for communicating with those distant Bluetooth devices that can't be reached by your Home Assistant device tucked back in a back room closet.
As you can see from above, there are also other interesting features, such as changing the RGB light color based on some condition. Playing sounds and, yes, music via the Piezo Buzzer. Even though I didn't get the CO2 sensor, it is useful for keeping an eye on your levels in rooms in your house/office/etc. It can alert you to bring in some fresh air if the levels get too high.
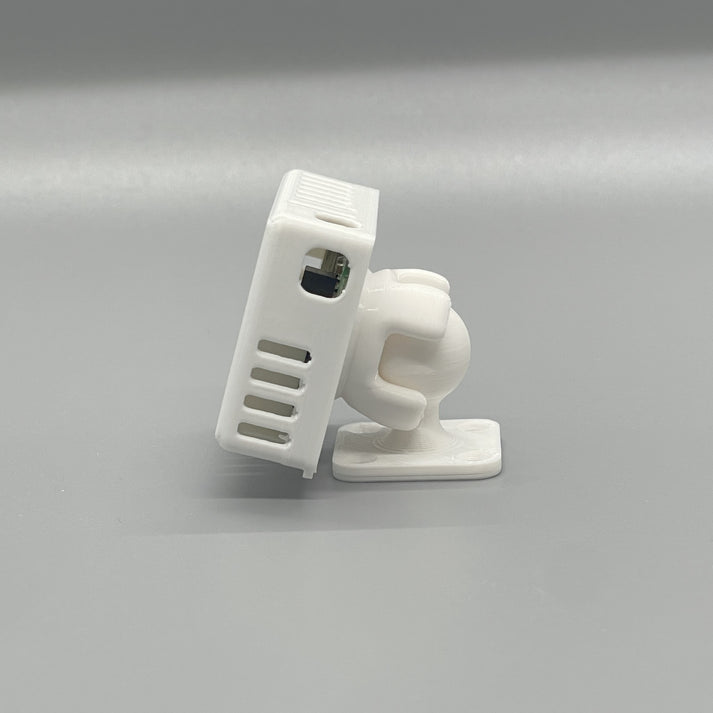
There are some available mounting and power options. This device uses the standard USB-C cable and USB power. Apollo sells a device that allows you to plug a power brick into an outlet and mount the MSR-1 directly on it.

There is also an available stand/ball mount that can stick to the back of the device for even more mounting options.
These mounting options are available for you to print yourself if you have access to a 3D printer. Access to all the code and CAD files is available on their GitHub page.
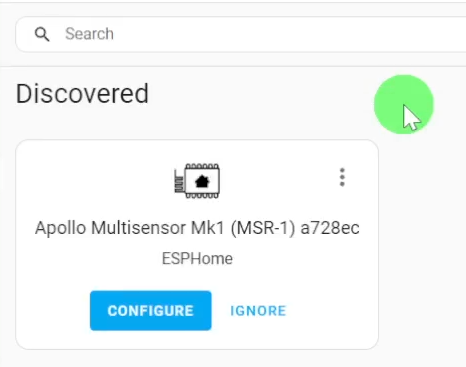
Adding to Home Assistant is as easy as adding most ESP devices that have a built-in wifi access point. Power up and attach to the "Apollo MSR-1" (or similar) access point. Once connected, head over to http://192.168.4.1 (if your browser doesn't automatically open to the page) and configure your wifi details. After doing that, Home Assistant should auto-discover the device. You'll need the ESPHome integration installed in Home Assistant of course.

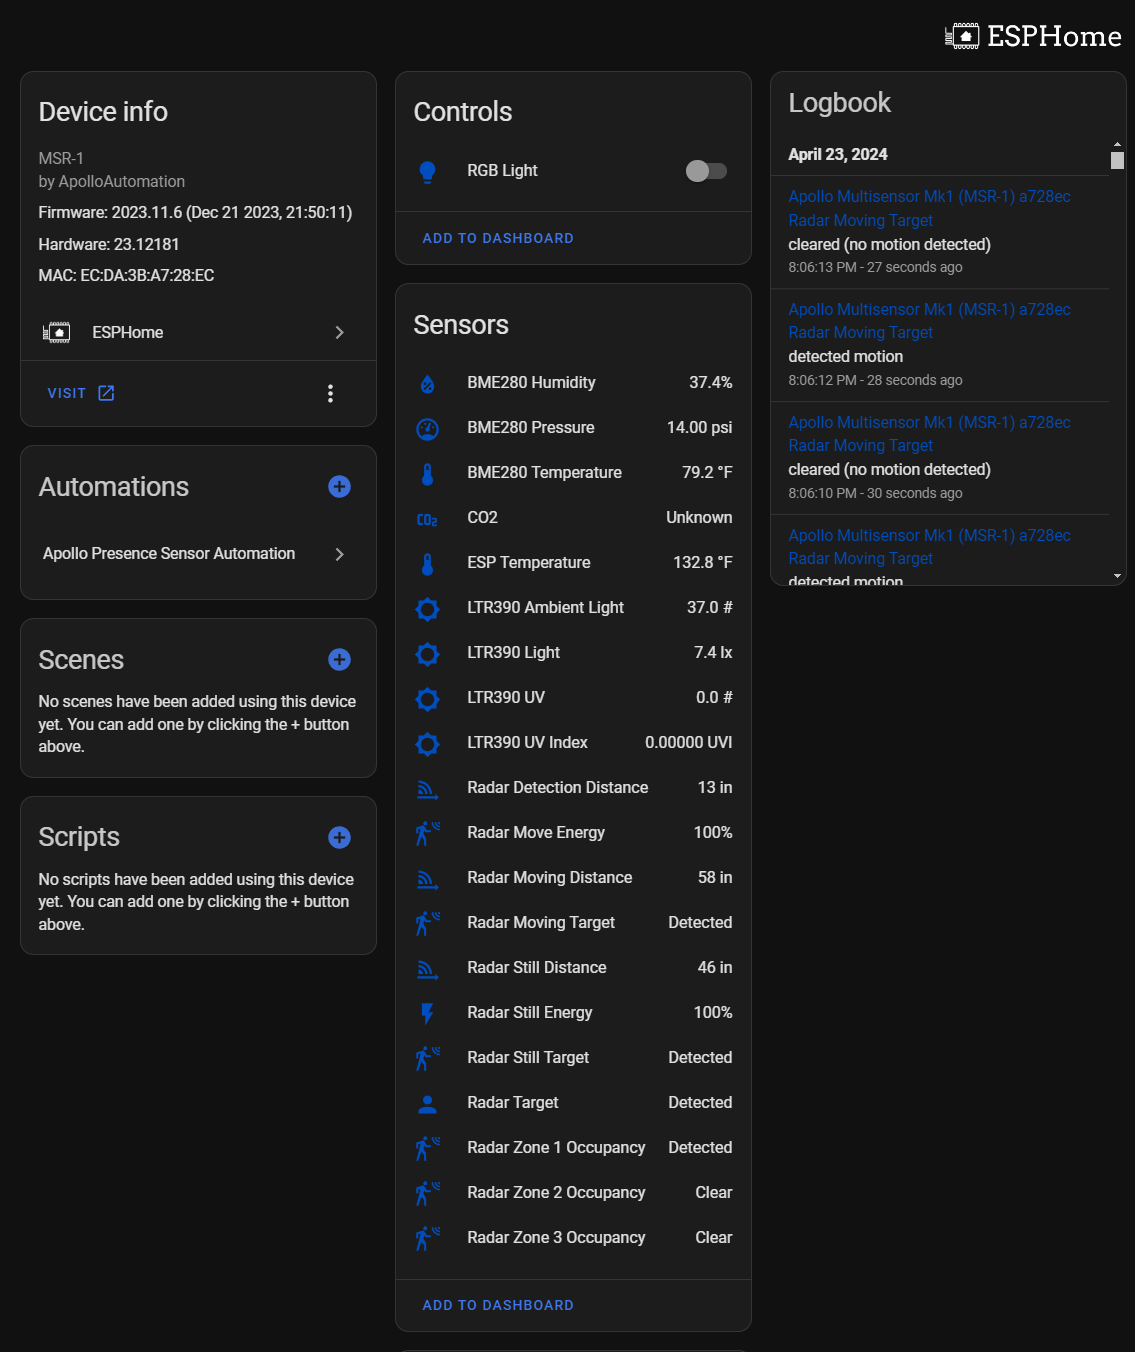
Once you have it configured, you should see all your sensors show up.
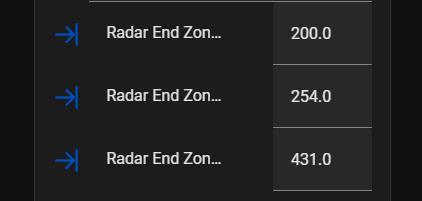
Setting up the detection for the presence sensor and each of the zones is a very individual task since how and where the sensor is placed will vary for each application. To get started on this topic, I recommend you look over the docs. There is specific documentation on tuning the mmWave sensor using Home Assistant and a couple of videos provided by Apollo on this subject. There is also an app you can install on your phone to calibrate and tune the sensor. However, I haven't played with that...yet.
The most important thing I found was setting the zone ranges to cover the area I wanted. The videos on the docs page show these values as inches. However, when experimenting, I discovered they are actually in centimeters so beware. I wonder if differing versions of firmware have different units and that is why the Apollo folks said inches in the video.
In my testing example, I use entry into zone 3 as an automation trigger to turn on my studio light strip if the light level is low. This gives me enough light to find the actual light switch in the room if it's dark. Zones 1 and 2 are not used for this automation so when zone 3 clears, I have the light strip turn back off, even if I am in either Zone 1 or 2. By this time I would have already turned on the overhead lights. So far, this is working well.
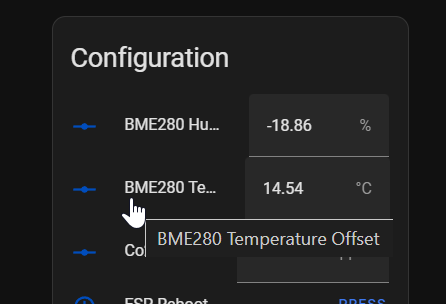
This MSR-1 also generates heat and that might skew the temp sensor inside the device. The available GPIO pin does allow for the addition of an external temp sensor for better accuracy.
"Note: The ESP32-C3 in constant WiFi connection generates significant heat; you might need to adjust the offset based on your setup and the temperature/humidity won't be as good as a dedicated sensor with less heat build-up."
There are adjustments for calibrating the temperature and humidity using something like a reference thermometer.
Conclusion. For the price point, the number of sensors, and the form factor I would recommend this device as a nice entry to mid-level sensor that fits nicely into your Home Automation environment. The one caveat I found is that it takes a bit of tuning and tweaking to get things working just the way you need. For that reason, this is probably not going to be for those who just want plug-and-play. Fortunately, I like to experiment and fine-tune things so it fits exactly what I need and want. Your mileage may vary.
Be sure to watch the video on this subject for more details.