
Human Here? My First Presence Sensor
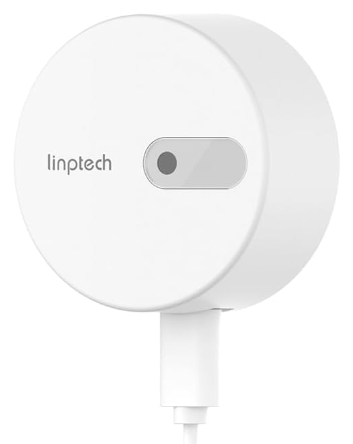
Trying out the Linptech 24g MmWave human presence detector and Home Assistant.
I've been playing with smart home devices and home automation for a few years now. One thing, of many, that I haven't spent any time with at all is radar-based human presence sensors. It's time that I change that.
I recently saw a social media post touting this inexpensive presence sensor and specifically the post stated that if one pays more than the cost of this sensor, they are paying too much. So I decided to see if the sensor works as expected.
Let's start off by talking about some requirements for this sensor to work. Since it is Tuya-based and uses Zigbee, you'll need a Zigbee Tuya hub.
If you've followed along with any of my videos and blog posts, you know I do pretty much everything in Home Assistant. This will be no different. Because of that, I will need to make some tweaks to make this work with my zigbee2mqtt setup in Home Assistant. We'll get to that in a bit.
These types of sensors are not like standard motion sensors in a number of ways. One of the biggest is the placement of the sensor. Motion sensors are typically placed 7 to 9 (2.1m to 2.7m) feet and angled into a room to cover the area you want to monitor. With this Linptech sensor, it needs to be placed 1 meter (about 3 feet) off the ground (chest height when sitting). If you need to move it higher, the maximum recommended height is 2 meters (about 6.8 feet), and then angling the sensor to point at the chest. The idea is that the sensor will pick up micro-movements of breathing to detect continued human presence.
Another thing to consider is that these sensors are radar-based. This means that they will penetrate certain structures, including some walls. If you place a sensor pointed at a wall and the distance setting is high, it may pick up presence on the other side of a wall.
Third, if there are moving items detection area, they might get picked up as human presence. These items include swinging plants, moving metal, ceiling fans, fluttering curtains or clothes, running air conditioners, etc. You will have to experiment with placement if your area has these types of interfering items.
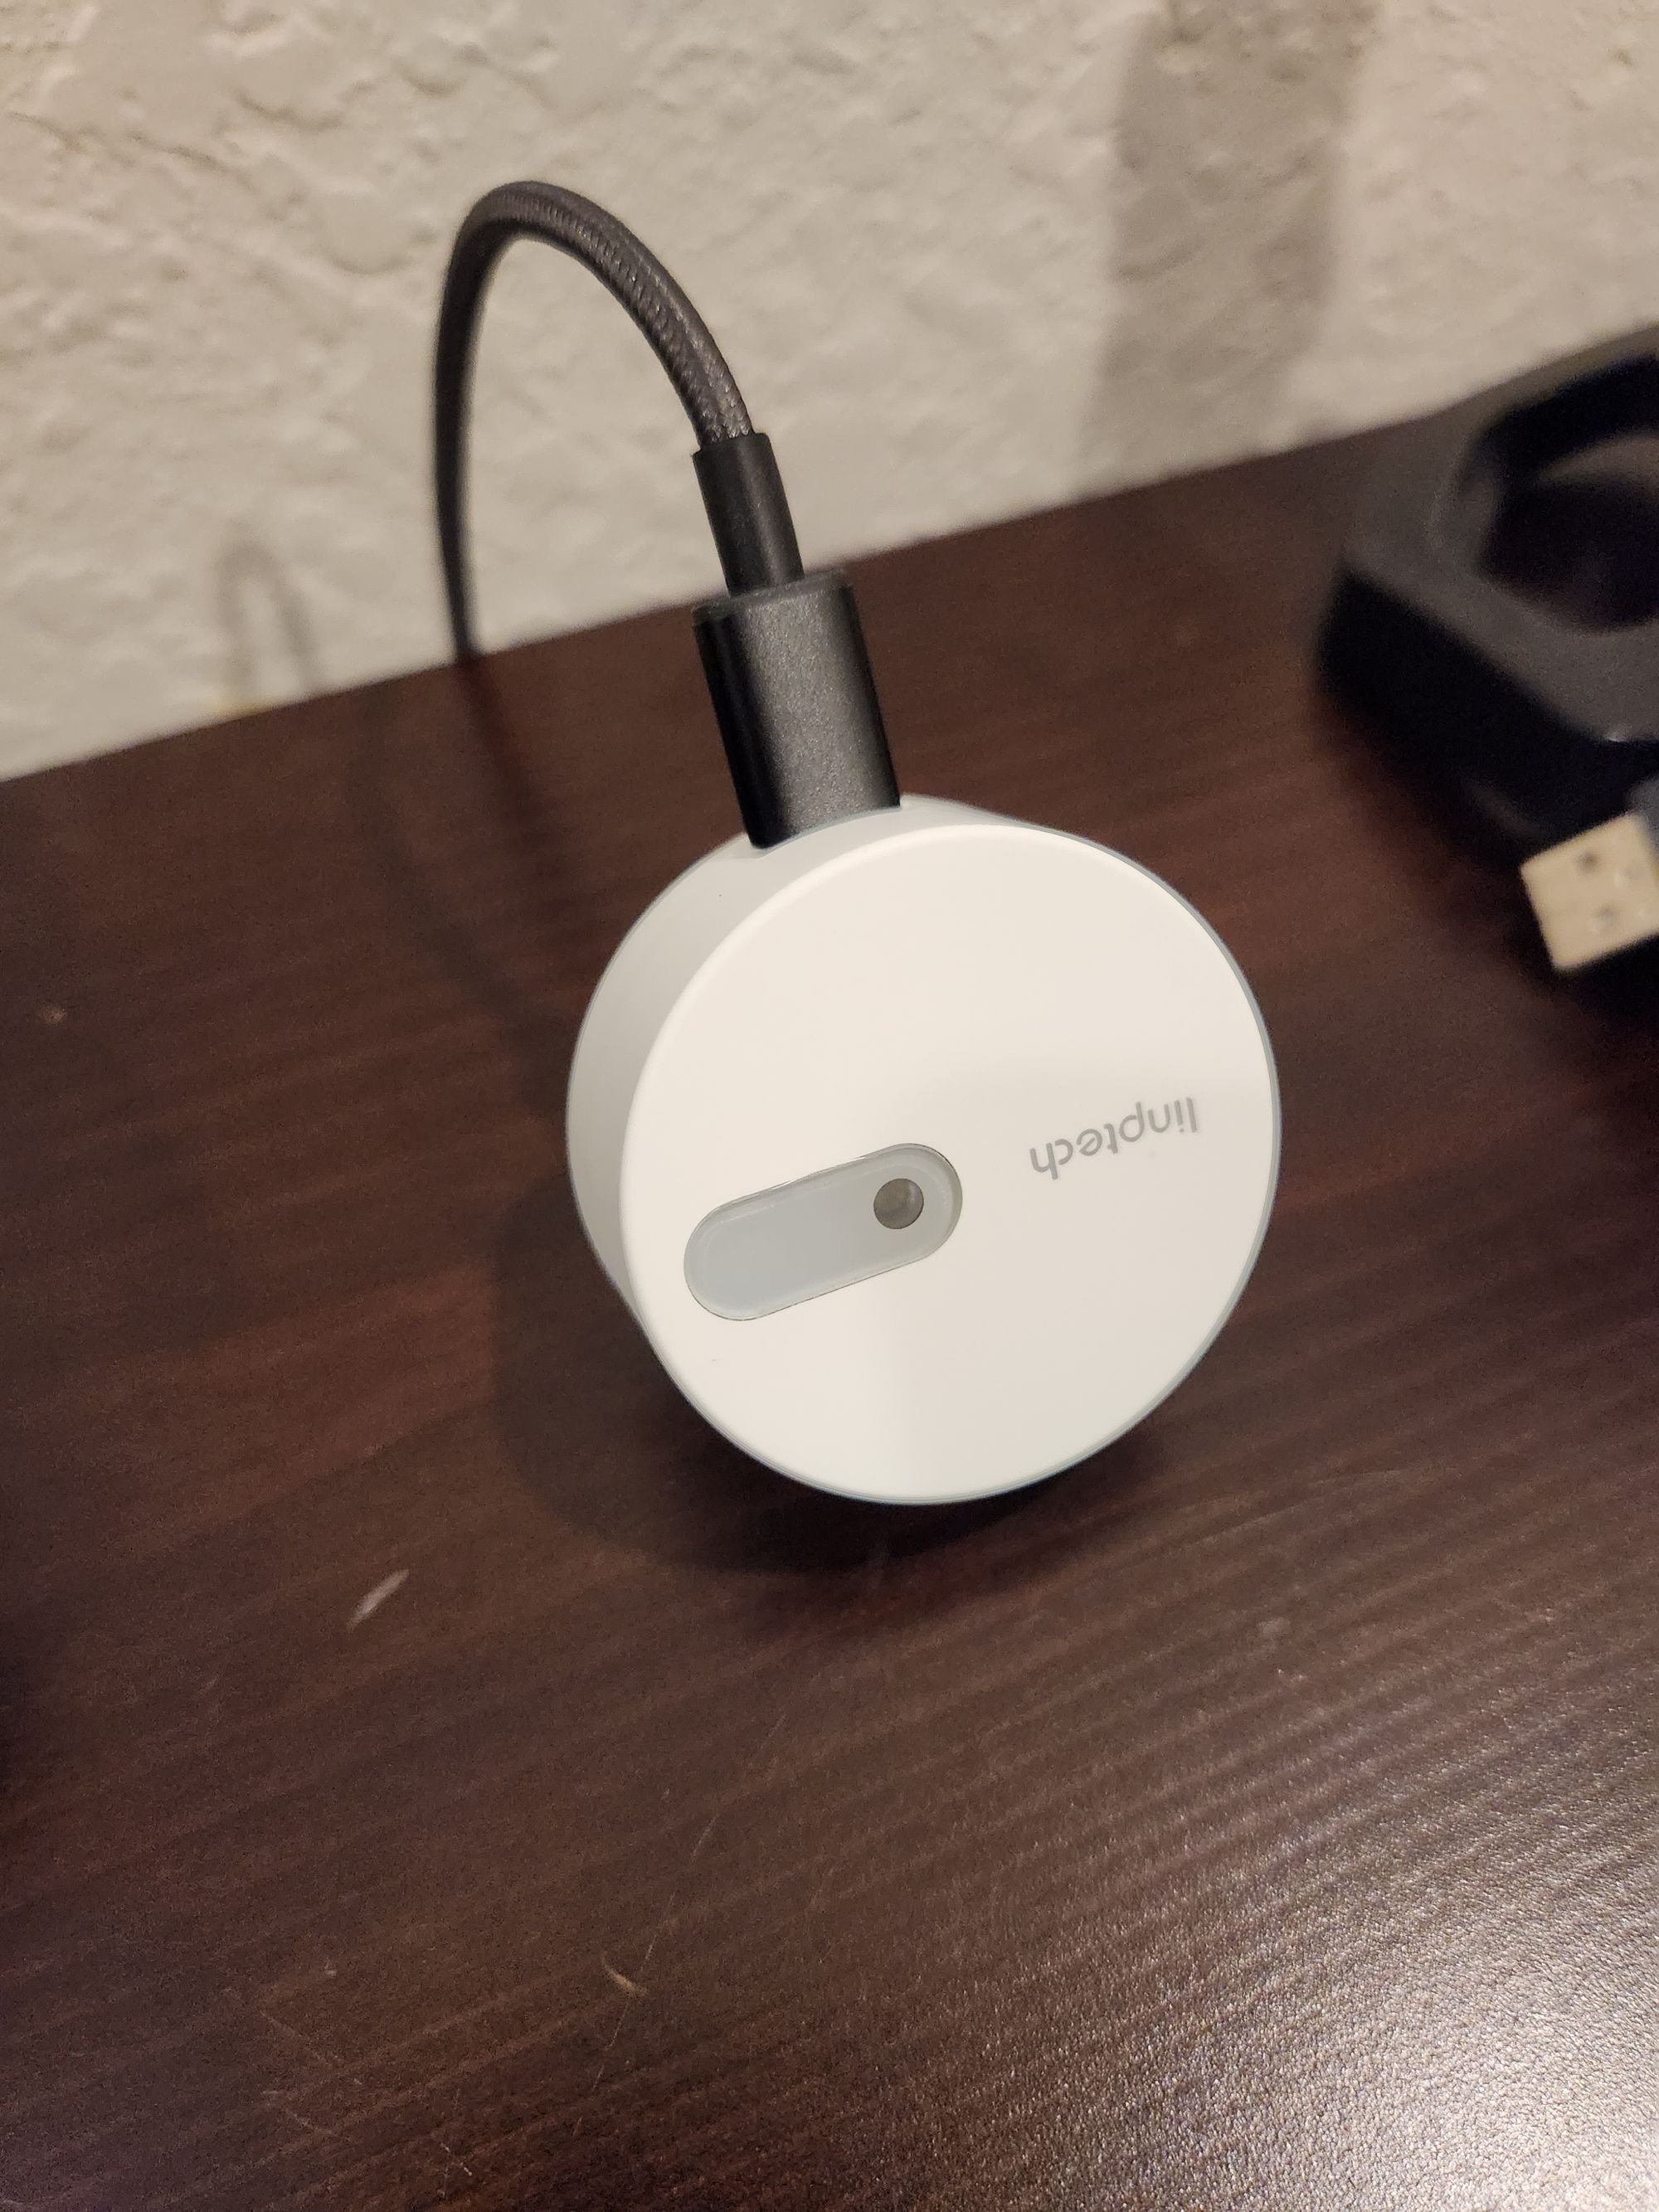
This sensor also has a built-in light sensor so you can do automation based on that. I have done this to only turn on the desk lamp when presence is detected only if the light level is low enough. This is also a USB-C device. In my book, that's a plus.
The little manual that comes with this device directs you to install an app to use this device. I'm not going to do that as I will be joining this to my Zigbee network.
Adding to Home Assistant
As I mentioned above, I am going to add this to Home Assistant so that I can do automation and other fancy stuff with my home automation setup. For this, I will be using the zigbee2mqtt (z2m) add-on. I run all my Zigbee devices through that add-on because there is a large community helping to add devices and there is support for bleeding edge and "less than compliant" Zigbee devices. All that means is there is a greater chance for a non-standard device to work because someone has done the legwork to figure it out.
For my Linptech sensor, this is exactly the case. As of this writing, there is no out-of-the-box convertor for this device so we will have to do some additional work by adding a convertor file to our z2m config.
After you have installed z2m in Home Assistant, you will have a /config/zigbee2mqtt directory. In this directory, you will create a new TS0225.js file to add the converter code. The filename is important as it must match the model defined in the definition section of the converter code.
Here is the converter code:
const fz = require('zigbee-herdsman-converters/converters/fromZigbee');
const tz = require('zigbee-herdsman-converters/converters/toZigbee');
const exposes = require('zigbee-herdsman-converters/lib/exposes');
const reporting = require('zigbee-herdsman-converters/lib/reporting');
const legacy = require('zigbee-herdsman-converters/lib/legacy');
const extend = require('zigbee-herdsman-converters/lib/extend');
const ota = require('zigbee-herdsman-converters/lib/ota');
const tuya = require('zigbee-herdsman-converters/lib/tuya');
const utils = require('zigbee-herdsman-converters/lib/utils');
const globalStore = require('zigbee-herdsman-converters/lib/store');
const e = exposes.presets;
const ea = exposes.access;
const {KeyValue, Definition, Tz, Fz, Expose, KeyValueAny, KeyValueNumberString, KeyValueString} = require('zigbee-herdsman-converters/lib/types');

const fzLocal = {
    illuminance: {
        cluster: 'msIlluminanceMeasurement',
        type: 'raw',
        convert: (model, msg, publish, options, meta) => {
            const result = {};
            const buffer = msg.data;
            //result['illuminance'] = Number(buffer[8]) * 4.7419 * Math.exp(0.0522);
            result['illuminance'] = Math.round(0.0001 * Math.pow(Number(buffer[7]), 3.413));
            return result;
        },
    },
// below is good
    target_distance: {
        cluster: 'manuSpecificTuya_2',
        type: ['attributeReport'],
        convert: (model, msg, publish, options, meta) => {
            const result = {};
            if (msg.data.hasOwnProperty('57354')) {
                result['target_distance'] = msg.data['57354'];
            }
            return result;
        },
    },
    motion_detection_distance: {
        cluster: 'manuSpecificTuya_2',
        type: ['attributeReport'],
        convert: (model, msg, publish, options, meta) => {
            const result = {};
            if (msg.data.hasOwnProperty('57355')) {
                result['motion_detection_distance'] = msg.data['57355'];
            }
            return result;
        },
    },
    motion_detection_sensitivity: {
        cluster: 'manuSpecificTuya_2',
        type: ['attributeReport'],
        convert: (model, msg, publish, options, meta) => {
            const result = {};
            if (msg.data.hasOwnProperty('57348')) {
                result['motion_detection_sensitivity'] = msg.data['57348'];
            }
            return result;
        },
    },
    static_detection_sensitivity: {
        cluster: 'manuSpecificTuya_2',
        type: ['attributeReport'],
        convert: (model, msg, publish, options, meta) => {
            const result = {};
            if (msg.data.hasOwnProperty('57349')) {
                result['static_detection_sensitivity'] = msg.data['57349'];
            }
            return result;
        },
    },
    // Presence Keep Time: Updates every 40 seconds
    presence_keep_time: {
        cluster: 'manuSpecificTuya_2',
        type: ['attributeReport'],
        convert: (model, msg, publish, options, meta) => {
            const result = {};
            if (msg.data.hasOwnProperty('57345')) {
                result['presence_keep_time'] = msg.data['57345'];
            }
            return result;
        },
    },
};


const tzLocal = {
    motion_detection_distance: {
        key: ['motion_detection_distance'],
        convertSet: async (entity, key, value, meta) => {
            let newDist = null;
            switch (key) {
            case 'motion_detection_distance': {
                utils.assertNumber(value, 'motion_detection_distance');
                await entity.write('manuSpecificTuya_2', {57355: {value, type: 0x21}});
                break;
            }
            default: // Unknown key
                meta.logger.warn(`Unhandled key ${key}`);
            }
        },
    },
    motion_detection_sensitivity: {
        key: ['motion_detection_sensitivity'],
        convertSet: async (entity, key, value, meta) => {
            switch (key) {
            case 'motion_detection_sensitivity': {
                utils.assertNumber(value, 'motion_detection_sensitivity');
                await entity.write('manuSpecificTuya_2', {57348: {value, type: 0x20}});
                break;
            }
            default: // Unknown key
                meta.logger.warn(`Unhandled key ${key}`);
            }
        },
    },
    static_detection_sensitivity: {
        key: ['static_detection_sensitivity'],
        convertSet: async (entity, key, value, meta) => {
            switch (key) {
            case 'static_detection_sensitivity': {
                utils.assertNumber(value, 'static_detection_sensitivity');
                await entity.write('manuSpecificTuya_2', {57349: {value, type: 0x20}});
                break;
            }
            default: // Unknown key
                meta.logger.warn(`Unhandled key ${key}`);
            }
        },
    },
};

const definition = {
    fingerprint: tuya.fingerprint('TS0225', ['_TZ3218_awarhusb']),
    model: 'TS0225',
    vendor: 'TuYa',
    description: 'Presence sensor',
    fromZigbee: [fz.ias_occupancy_alarm_1, fzLocal.target_distance,fzLocal.motion_detection_distance,fzLocal.motion_detection_sensitivity,fzLocal.static_detection_sensitivity,fzLocal.illuminance,fzLocal.presence_keep_time, tuya.fz.datapoints],
    toZigbee: [tzLocal.motion_detection_distance,tzLocal.motion_detection_sensitivity,tzLocal.static_detection_sensitivity, tuya.tz.datapoints],
    configure: tuya.configureMagicPacket,
    exposes: [
        e.occupancy().withDescription('Presence state'),
        e.numeric('illuminance', ea.STATE).withDescription('Illuminance in lux').withUnit('lx'),
        e.numeric('target_distance', ea.STATE).withDescription('Distance to target').withUnit('cm'),
        e.numeric('motion_detection_distance',ea.STATE_SET).withValueMin(75).withValueMax(600).withValueStep(75).withDescription('Motion detection distance').withUnit('cm'),
        e.numeric('presence_keep_time',ea.STATE).withDescription('Presence keep time').withUnit('s'),
        e.numeric('motion_detection_sensitivity', ea.STATE_SET).withValueMin(0).withValueMax(5).withValueStep(1).withDescription('Motion detection sensitivity'),
        e.numeric('static_detection_sensitivity', ea.STATE_SET).withValueMin(0).withValueMax(5).withValueStep(1).withDescription('Static detection sensitivity'),
        e.numeric('fading_time', ea.STATE_SET).withValueMin(10).withValueMax(10000).withValueStep(1).withUnit('sec').withDescription('Time after which the device will check again for presence')

    ],

    meta: {
        tuyaDatapoints: [
            [101, 'fading_time', tuya.valueConverter.raw],
        ],
    },
};

module.exports = definition;
Credit for the code goes to the community and you can read all about how it came to be in this GitHub issue: https://github.com/Koenkk/zigbee2mqtt/issues/18637
Once you have added the file, restart your zigbee2mqtt add-on and watch the logs for any issues. If the restart was successful, you can now add the new device like you would any other ZigBee device.
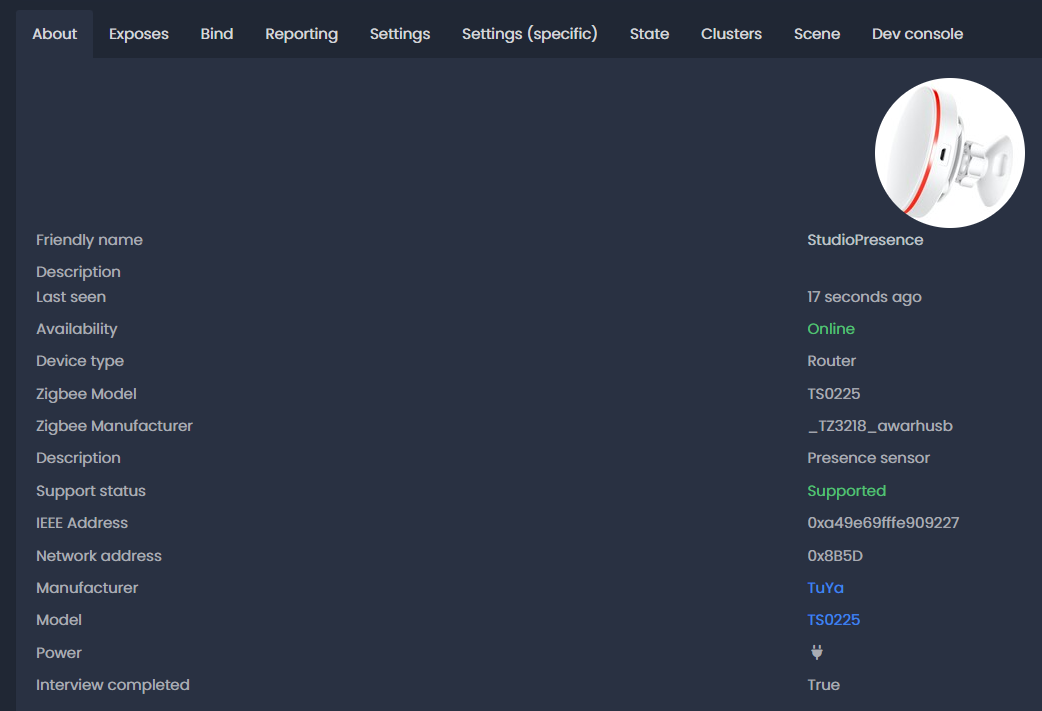
If things worked as they should, you'll see the device show in the z2m UI. Specifically, it will show as "Supported" under the Support status line and will be "Online" under Availability.
You will also be able to change various settings under the "Exposes" tab.
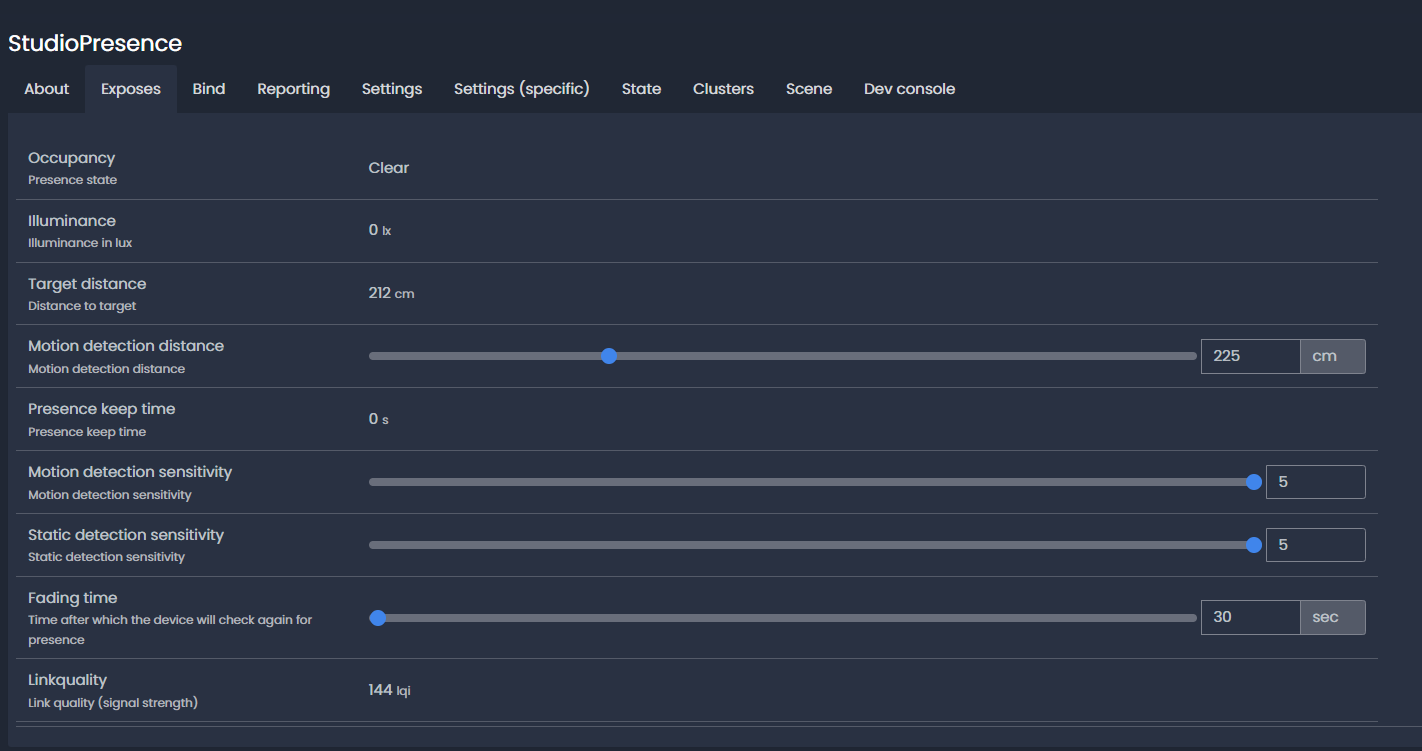
You will want to experiment with the Motion detection distance so that it doesn't try to work through walls and only measures the distance you need. You can move around the area you want to detect and the Target distance will tell you how far the sensor detected motion. This is a good way to determine what your Motion detection distance should be set to. The other settings are definitely something to experiment with. I've set both sensitivity settings to max (5).
MQTT Auto Discovery in Home Assistant
By default, Home Assistant will automatically add new MQTT devices as entities when the proper prefix in the device is set. This default is "homeassistant" for the MQTT topic. After you have added the device to z2m, a packet will be sent to Home Assistant to add the entities, after which you can do all the normal Home Assistant things, such as automation.
For example, this is my automation for the guest lamp based on presence and light value.
alias: Guest Lamp with Presence
description: ""
trigger:
  - platform: state
    entity_id:
      - binary_sensor.studiopresence_occupancy
    to: "on"
    id: Presence Detected
  - platform: state
    entity_id:
      - binary_sensor.studiopresence_occupancy
    to: "off"
    id: Presence Cleared
condition: []
action:
  - choose:
      - conditions:
          - condition: trigger
            id:
              - Presence Detected
          - condition: numeric_state
            entity_id: sensor.studiopresence_illuminance
            below: 150
        sequence:
          - service: light.turn_on
            data: {}
            target:
              entity_id: light.guest_lamp
      - conditions:
          - condition: trigger
            id:
              - Presence Cleared
        sequence:
          - service: light.turn_off
            data: {}
            target:
              entity_id: light.guest_lamp
mode: single
Some final notes and observations
Most of these types of sensors require constant power and have to be plugged in. This creates a challenge in where it can be mounted. I have seen discussions regarding newer, lower power consumption chips that will potentially allow battery operation but I don't know when those will hit the market.
Overall, I'm very pleased with the sensor and it has been operating flawlessly inside my ZigBee network for a few weeks. After tweaking the range settings, it detects when someone is present and doesn't false much, if at all.
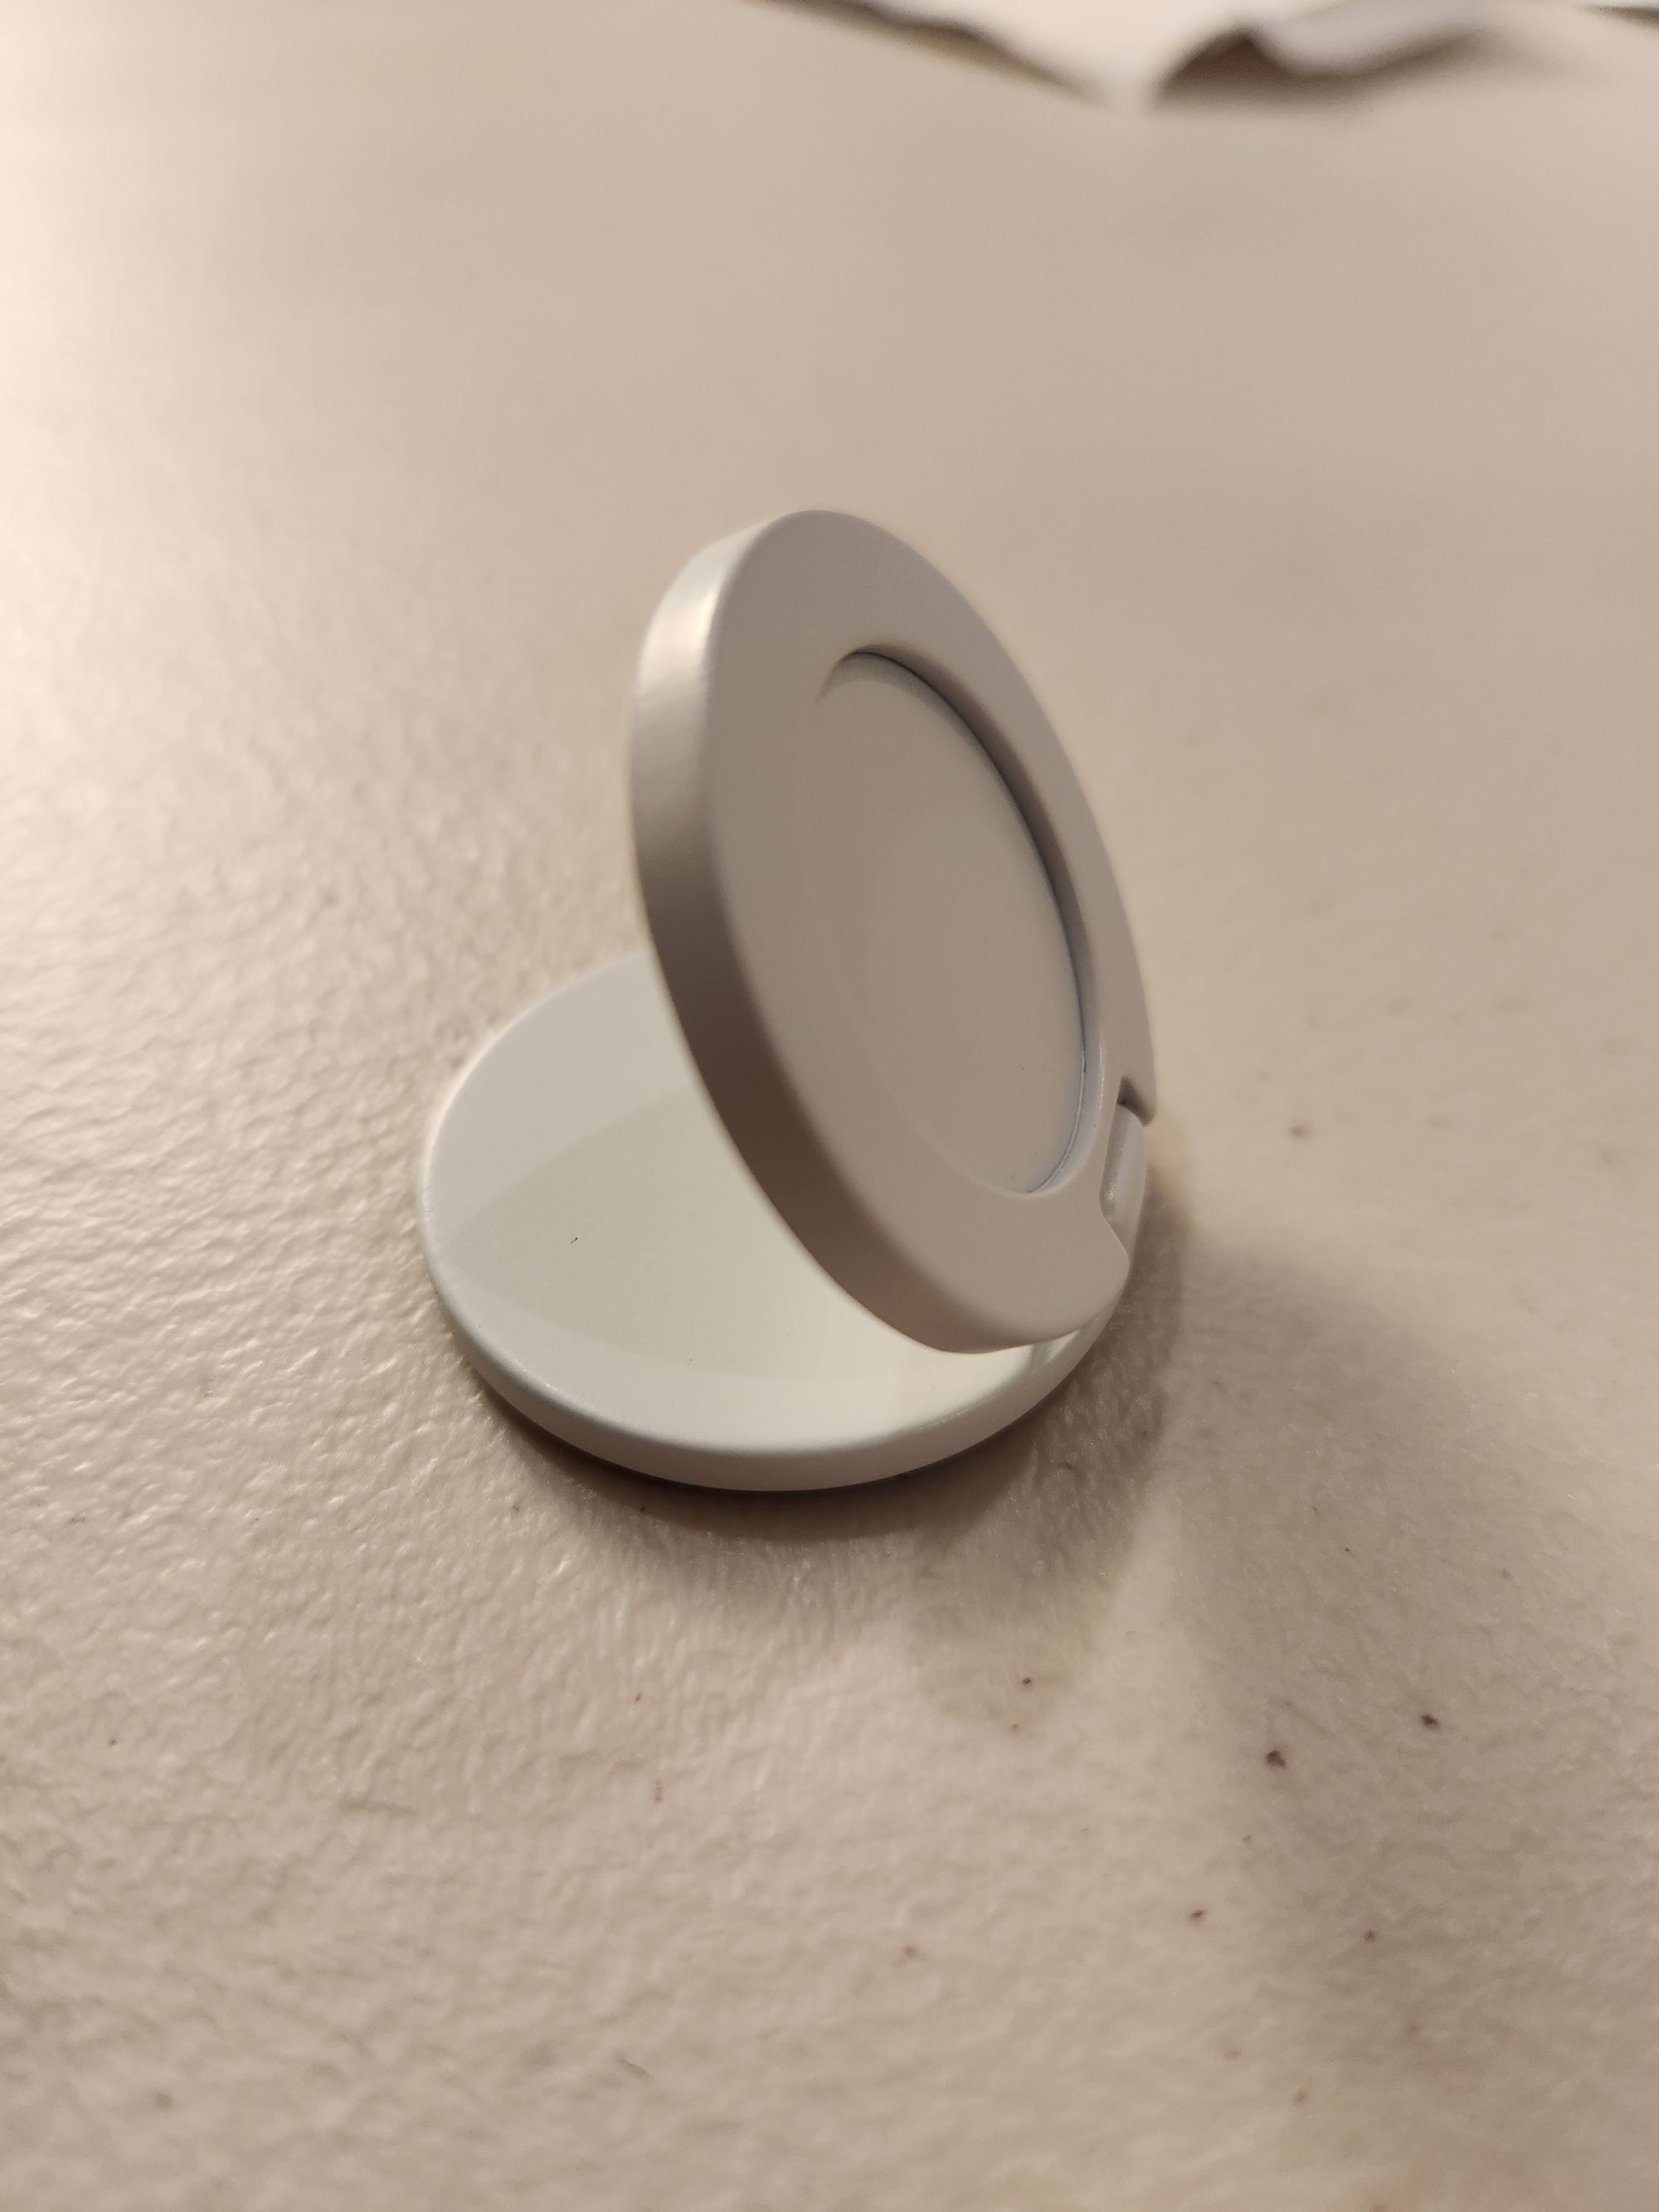
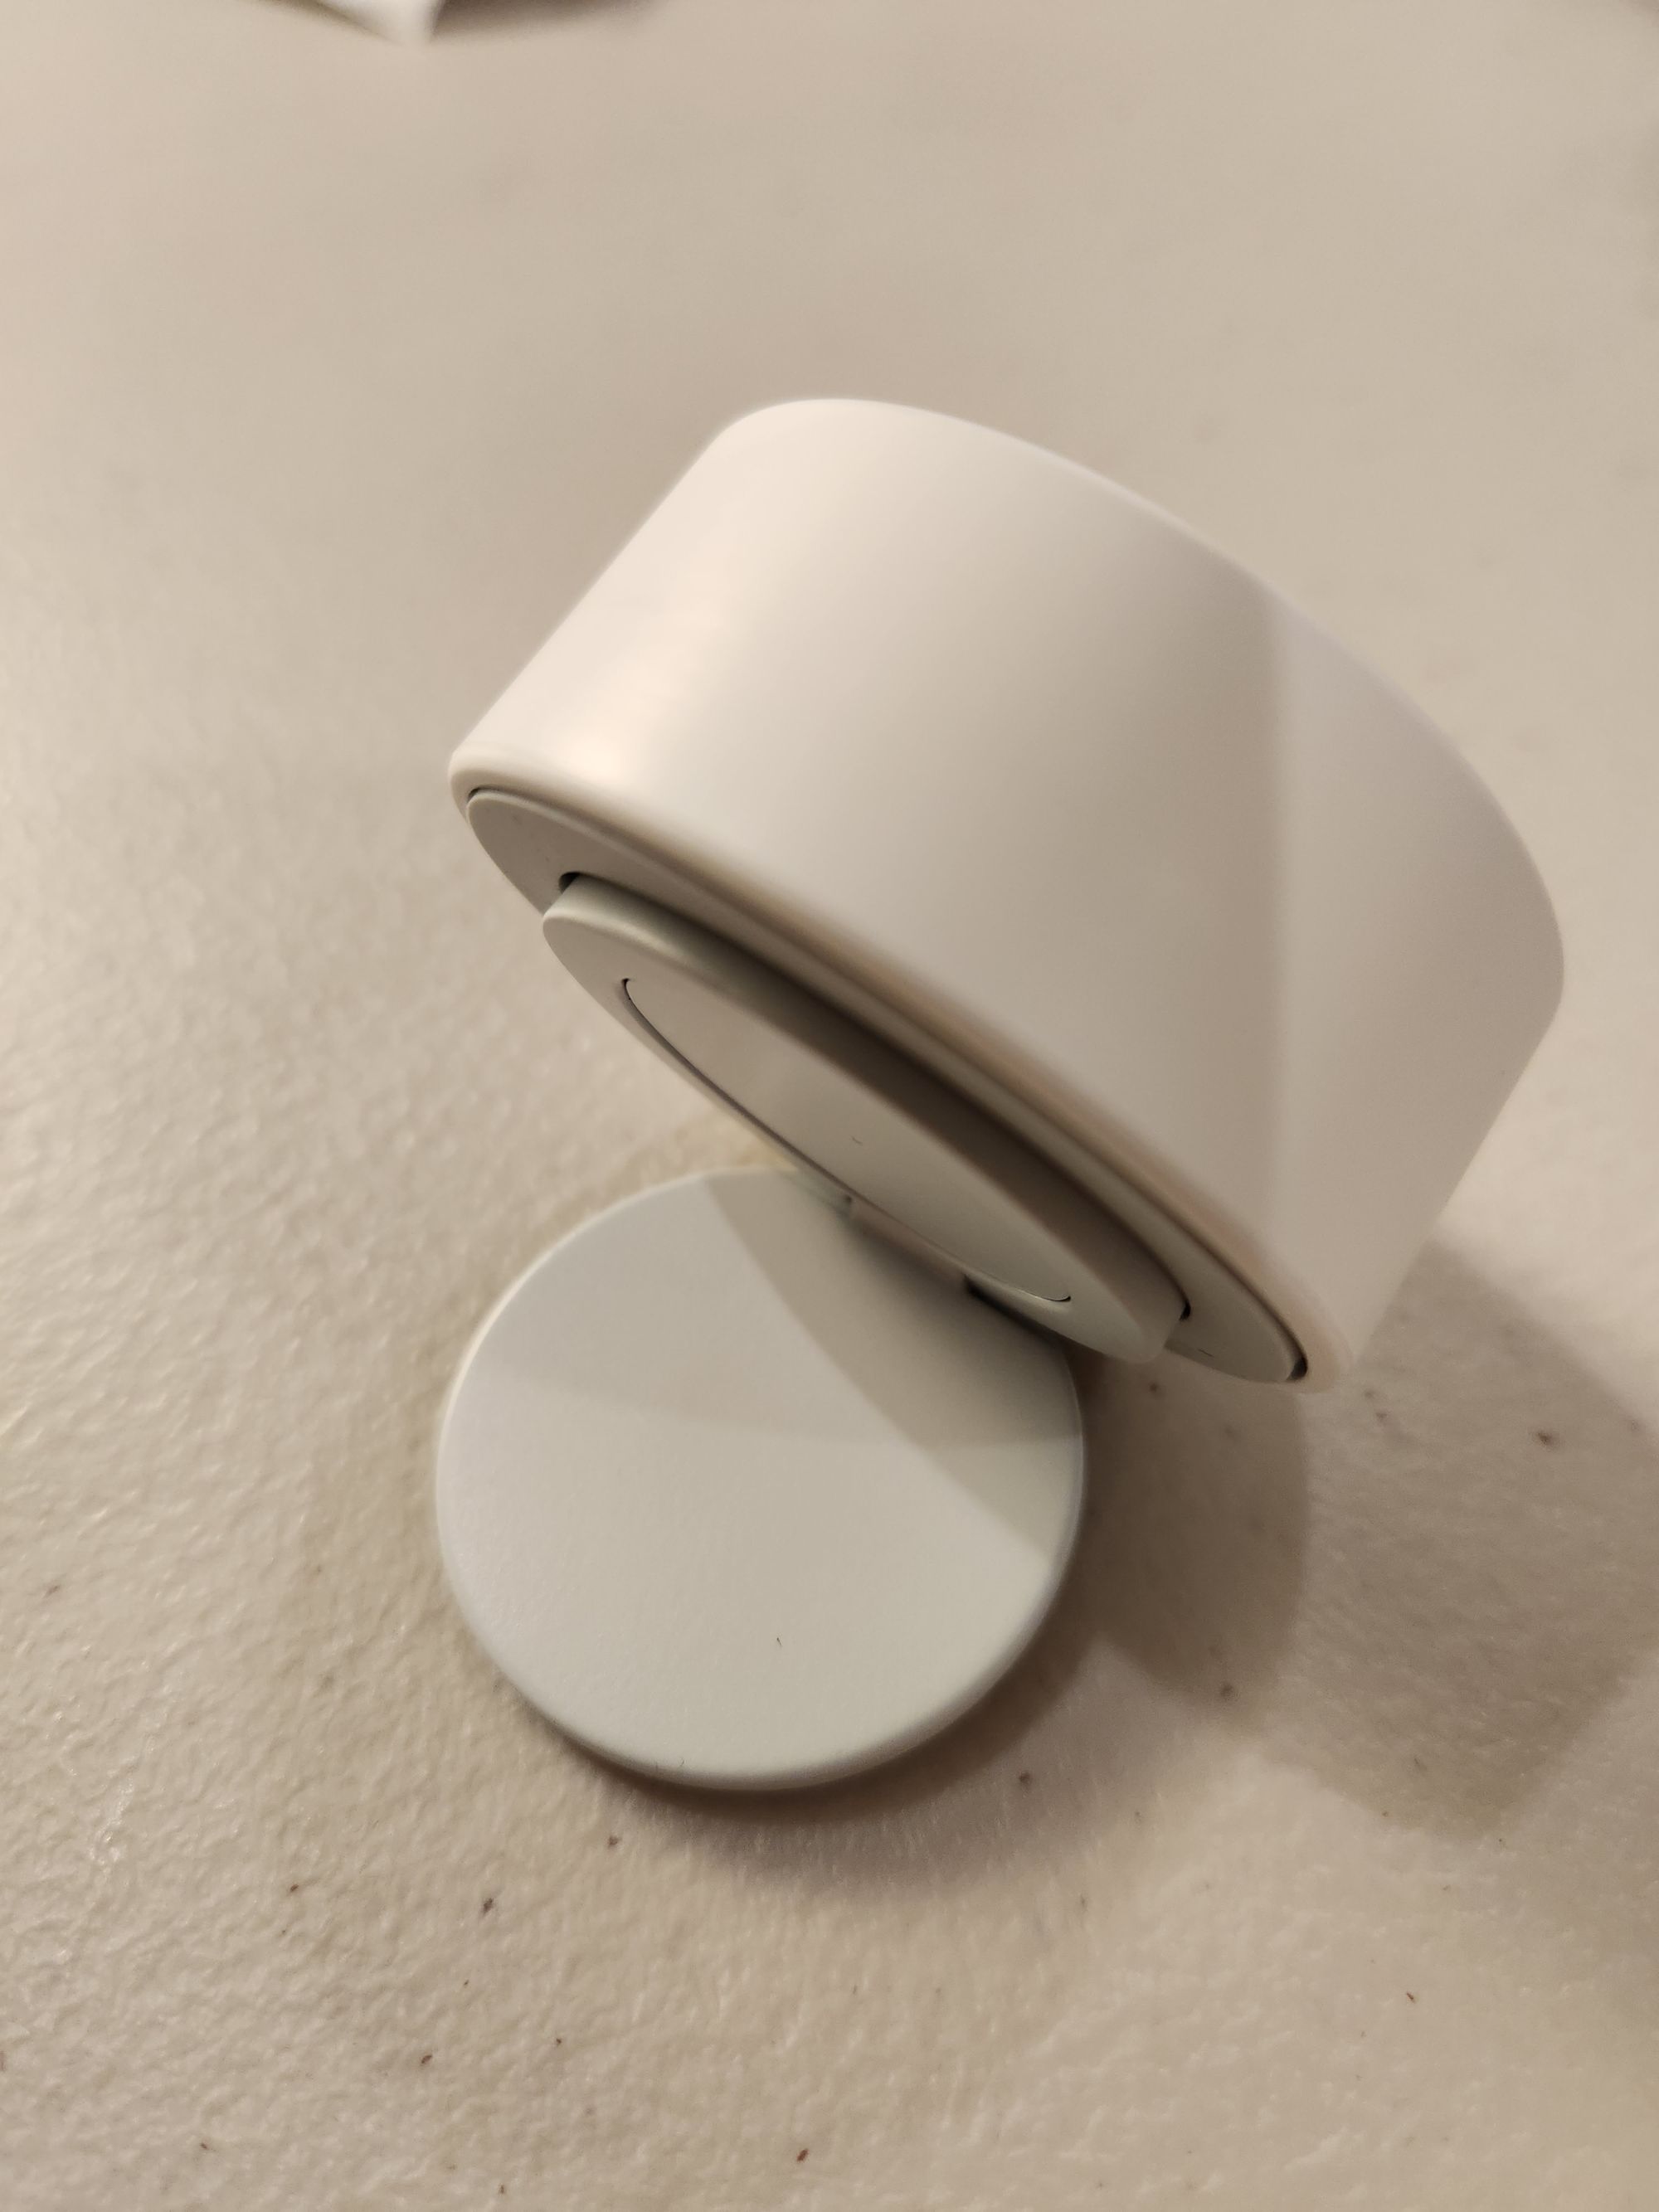
If I had a complaint, it would be about the mounting options. It has a magnet on the back that allows sticking it to metal surfaces. It also comes with an adjustable stick-on bracket that the sensor can magnetically attach to. The bracket isn't very resistant to movement and the power cord will pull it out of position. I had to adjust and tape down the power cord to hold the sensor where I wanted it.
Even with the mounting less than perfect, I feel that this is a good sensor for the price point and it does what it advertises. I might find myself getting another one for the garage, where I currently have a regular motion sensor that is hit or miss.
Be sure to watch the video and subscribe while you are there!